Rubber Floor Tiles Buying Guide
Use this all-inclusive rubber floor tiles buying guide to choose the best rubber floor tiles for your application. Learn everything from thickness to application.
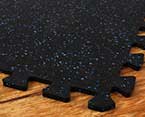
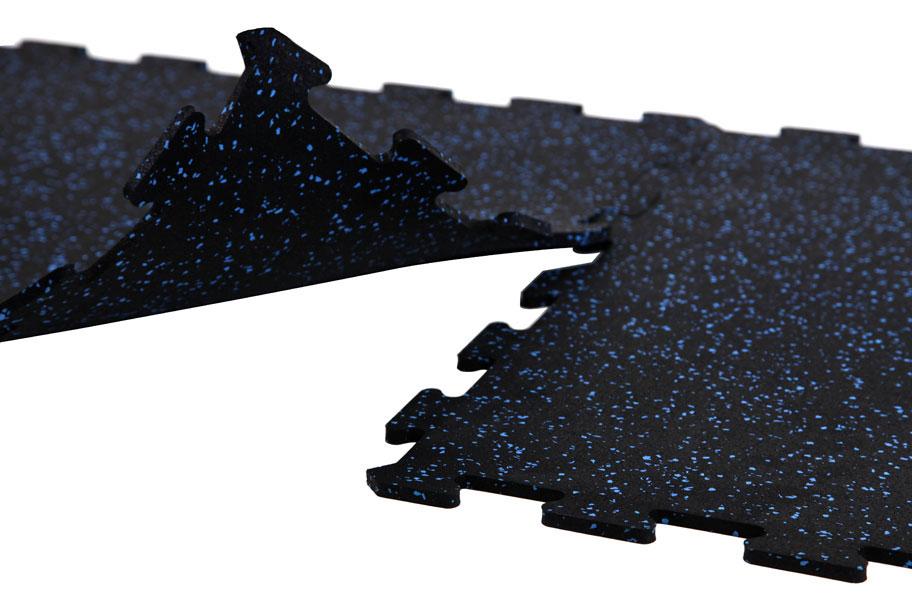
Rubber tiles are known for their ease and simplicity. Clicking in together like puzzle pieces, they are truly one of the easiest flooring options on the market.
It is a job anyone, and I mean anyone can do, and the tiles look great! You can also add some flair and design with different colors if that’s your jam, or keep it simple.
Rubber tiles are super popular for the home gym largely due to their approachability. They’re like the twist top wine of floors if you will. Known for their ease and accessibility, rubber floor tiles are renown as the DIY exercise flooring solution.
To choose your perfect rubber floor tile, you’ll want to consider:
- Your application
- Tile thickness
- Durability
- Material
- Colors and appearance
- Price
- Installation
Related content >> Home Gym Flooring Buying Guide
Customer Favorite Rubber Floor Tiles
Options are awesome, right? But sometimes they can be overwhelming. We offer the largest selection of rubber floor tiles to ensure you get exactly what you want.
But, in case you need a little help narrowing things down, let’s take a look at our customer favorites:
 |
 |
 |
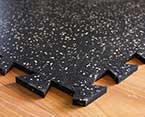 |
 |
 |
|
| Rubber Gym Tiles | ExactFit Rubber Tiles | Dura Lock Rubber Tiles | Monster Rubber Tiles | Strong Tile - Designer Series | ||
|
Thickness |
8mm | ⅜”, ½”, ¾” | 1/4", 8mm, 3/8”, 1/2" | 1/4", 8mm, 3/8", 1/2", 3/4" | 1” |
8mm |
|
Install |
Interlocking | Interlocking | Interlocking | Interlocking | Quad Blok Connectors |
Interlocking |
|
Interlock |
Stamped | Stamped | Waterjet | Stamped | Molded |
Stamped |
|
Shipping |
East Coast, West Coast | Midwest | East Coast, Midwest | Midwest | East Coast |
East Coast |
|
Price |
$$ | $$$ | $$ | $$ | $$$$ |
$$$ |
|
Durability |
3 | 4-5 | 3-4 | 4 | 5 |
5 |
|
Material |
Non Vulcanized |
Vulcanized | Non Vulcanized |
Non Vulcanized |
Non Vulcanized |
Non |
|
Origin |
American Made |
American Made |
American Made |
American Made |
American Made |
American |
| Warranty | 5 year | 5 year | 5 year | 5 year | 15 year |
5 year |
How & Where to Use Rubber Floor Tiles
Rubber flooring tiles are extremely versatile. While primarily used as gym flooring, rubber tiles are also commonly used in playgrounds, outdoors and other high-traffic areas that require durable and/or waterproof flooring.
Rubber Gym Tiles
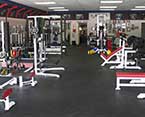
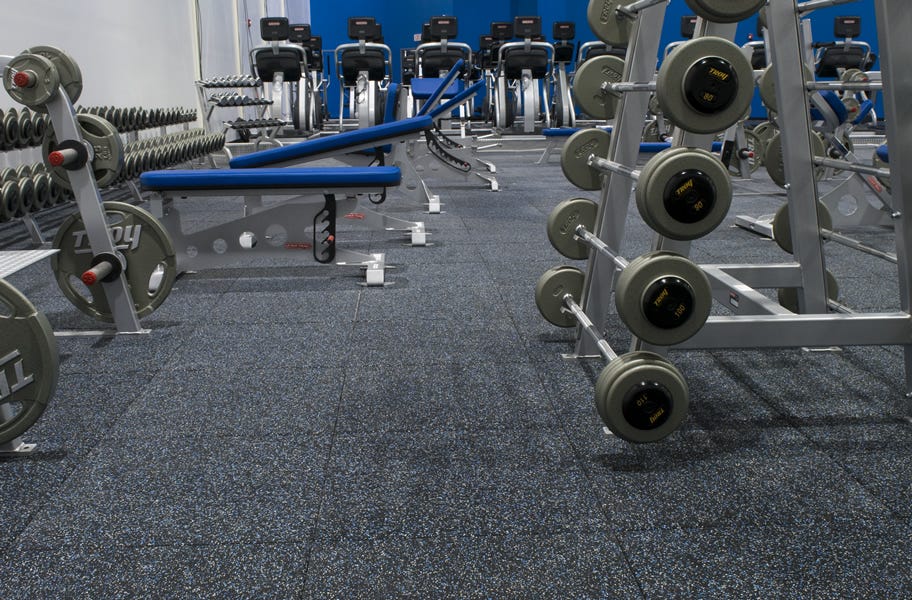
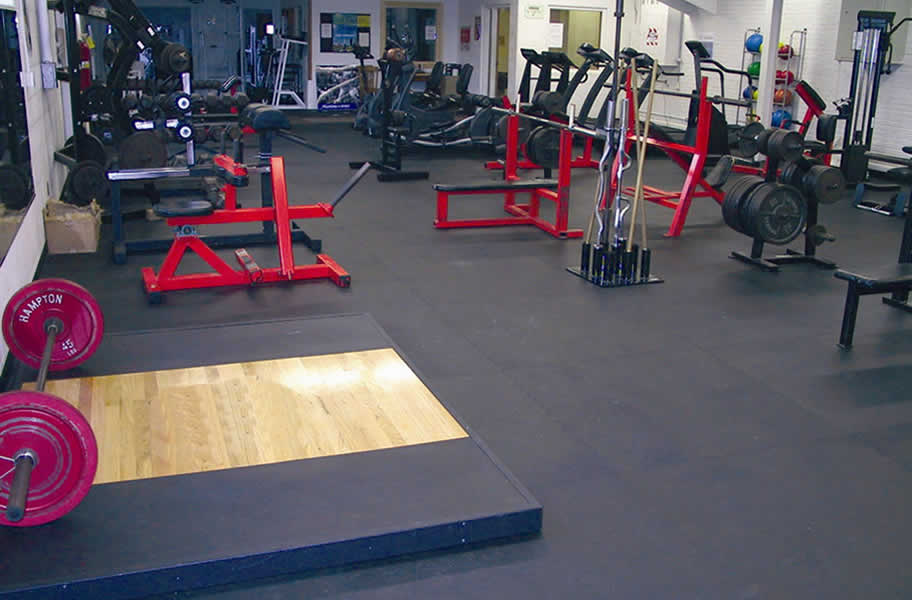
Rubber tiles are the most popular home gym flooring option on the market. When it comes to gym flooring solutions, rubber is the most versatile. It is perfect for virtually any gym or workout, and you have plenty of options to find the perfect solution for you.
Rubber gym tiles come in a variety of thickness options to suit your needs. You can even purchase rubber tiles specially designed to keep your joints safe during high-impact, plyometric movements.
Choose rubber gym flooring tiles for:
- Home gyms
- Small fitness studios
- Portable gym flooring
- DIY installations
Rubber Playground Tiles
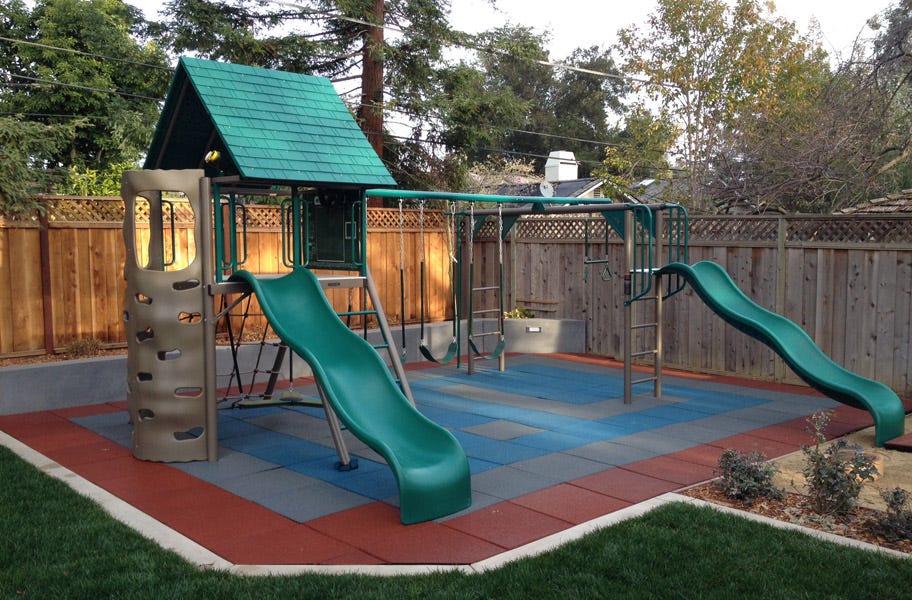
Playground tiles are the most popular safety surfacing we sell. These tiles come in many different colors and thicknesses. Because playground tiles are porous, they allow water to easily penetrate through the floor, ensuring a dry playing surface even after a heavy rain.
Rubber playground tiles are the most trusted playground flooring on the market. Each playground rubber tile comes with a certified fall height safety rating*, giving you the peace of mind that kiddos will be safe at play.
Use rubber playground tiles for commercial playground flooring, such as:
- Parks
- Schools
- Daycares
- Skateboard parks
Rubber playgrounds may be overkill for the smaller home playground. In those instances, we recommend using rubber mulch or playground turf.
*Fall height refers to the highest point that a person can fall without being severely hurt. Ex: if a tile has a 2' fall height, if they fall 2' from the playing surface they won't be severely hurt. Fall height is determined by testing the shock absorbency of the flooring.
Outdoor Rubber Paver Tiles
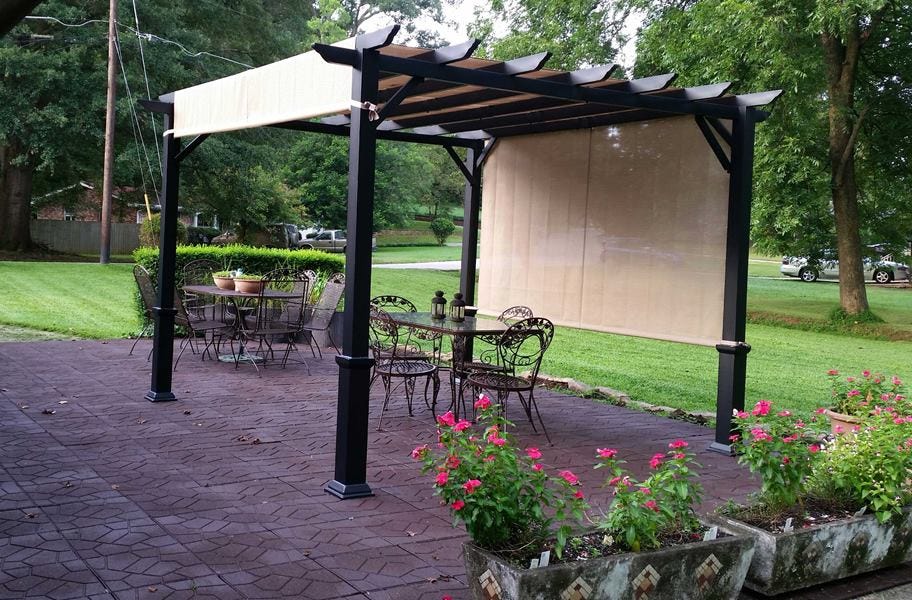
For the most durable, slip-resistant and temperate outdoor flooring, rubber pavers are the bee's knees! Rubber is naturally slip-resistant. In fact, outdoor rubber becomes more slip-resistant when wet. So go ahead, Rainmaker; our pavers can take it!
Outdoor rubber tiles come in many stylish options comparable to natural stone. But, you don’t get any of the pitfalls.
Outdoor rubber tiles stay cooler than concrete in direct sunlight and are also comfortable underfoot. And if the tiles do get too hot underfoot, go ahead and soak them.
Related content >> 8 Outdoor Flooring Options for Style & Comfort
Use outdoor rubber tiles for:
- Patio pavers
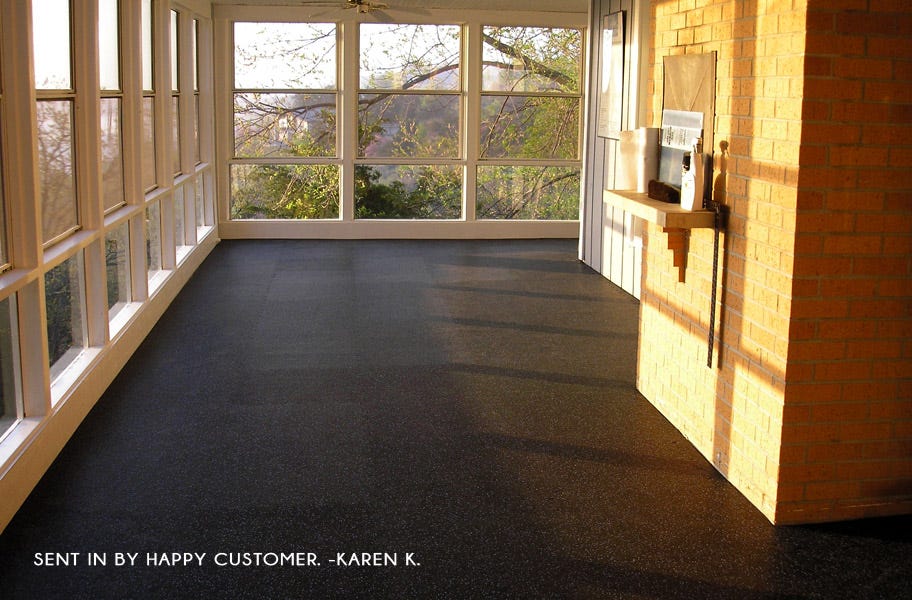
- Porch flooring
- Deck flooring
- Horse stall flooring
- Walkway pavers
- Pool decking
Other Uses for Rubber Floor Tiles
We told you rubber tiles were versatile, right? Honestly, the possibilities are endless.
People typically choose rubber flooring to use in high-traffic spaces and areas that see a lot of water because rubber is both durable and water-resistant.
It’s perfect for holding up to pets, basement floods, even ice skates- that’s why you typically see it surrounding most indoor rinks.
Rubber floor tiles are an excellent choice for:
- Pet flooring & doggy daycare
- Dugouts
- Basements
- Boat flooring
- Outdoor storage sheds
- Ice skating rinks
- Locker rooms
- Any high-traffic area
Rubber Floor Tile Size & Thickness Options
Choosing the size and thickness of your rubber tile is an important part of the buying process. Let’s take a look.
Rubber Floor Tiles by Size
Sizes vary by product. Typical sizes of rubber floor tiles include:
- 23" x 23"
- 2' x 2'
- 3' x 3'
- 4' x 4'
Rubber floor tiles come in many different sizes to fit all spaces and needs. Larger tiles are great for covering a large space but can require extra cutting and material.
Smaller tiles are lighter and typically result in less waste. If you have a small or oddly shaped room, they might be your best bet.
Related content >> Rubber Flooring: Tiles vs. Rolls
Rubber Floor Tiles by Thickness
One of the most important decisions you need to make is which thickness do you want for your rubber floor. There’s more to it than this, but the typical rule of thumb is: the thicker the rubber, the more durable the floor.
Ultra-thin rubber tiles can hold up to bodyweight exercises, light dumbbells, high-traffic areas, etc. Medium thicknesses are great for commercial gyms, CrossFit, powerlifting, Olympic lifting etc. Ultra-thick rubber tiles are typically used for playgrounds where you need premium shock absorbency and safety ratings.
Here’s a quick breakdown of our most popular thicknesses:
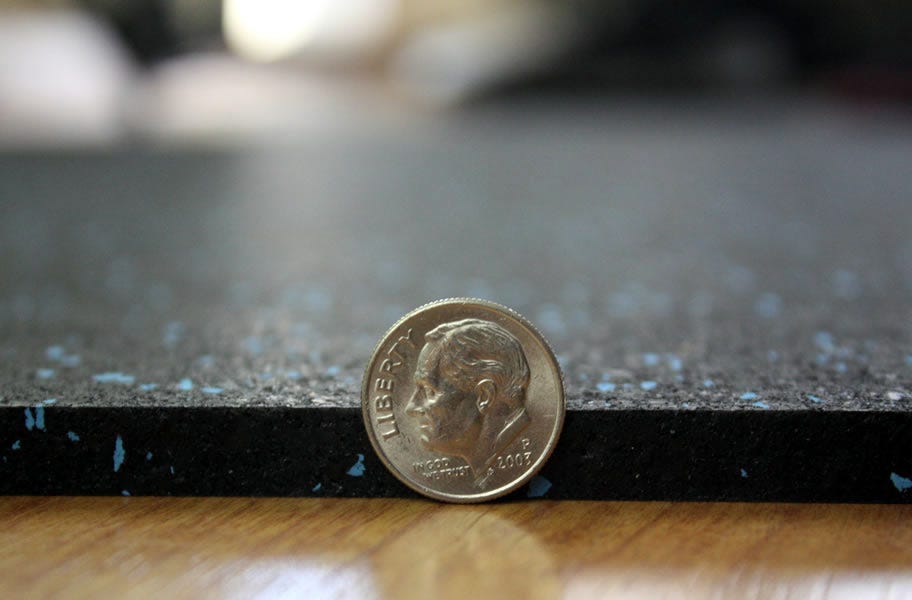
- 8mm - Most popular for home gyms.
- 3/8” - Most popular for commercial gyms and CrossFit.
- 1/2” - Ultra-thick commercial gym / CrossFit tiles.
- 3/4” Ultra-thick commercial gym / CrossFit tiles.
- 1” - Ultra-thick gym tiles that you can install over plush carpet or playground tiles.
- 2-3” - Residential playground tiles.
Rubber Floor Tile Materials
Did you know there are 3 different types of rubber you can choose from when you purchase rubber floor tiles?
Traditional rubber floor tiles are made from recycled rubber, but you can also purchase non-vulcanized or even the purest virgin rubber.
Related content >> 4 Options for Home Gym Flooring
Vulcanized Rubber Tiles
Vulcanized rubber is the cream of the crop. During the vulcanization process, the rubber is compressed into a dense, ultra-durable, non-porous rubber.
If you’re concerned about that whole rubber scent, vulcanized rubber tiles are the way to go. They naturally have a significantly milder scent than non-vulcanized rubber, which appeals to many homeowners.
Another bonus? Because they’re non-porous, they’re even easier to clean than traditional, non-vulcanized rubber tiles and they don’t trap any of the sweat from your workout.
These super-dense, durable vulcanized gym tiles are pros at absorbing the shock from your heaviest weights. Go ahead and drop that heavy barbell. It ain’t no thang.
Non-Vulcanized Rubber Tiles
Non-vulcanized rubber tiles are more common. When comparing vulcanized vs. non-vulcanized rubber tiles, the biggest differences are density and porosity.
While non-vulcanized rubber tiles are still incredibly easy to clean and maintain, they are not 100% non-porous the way vulcanized rubber tiles are. Additionally, they are lighter and less dense.
Also, good news: non-vulcanized rubber is super affordable and you can find just about any thickness or style you want.
SHOP NON-VULCANIZED RUBBER TILES
Responsibly Made Rubber Floor Tiles
Almost all of our rubber flooring tiles were made right here in the USA. American-made gym floor tiles are something you can feel good about every time you step foot in your space.
Additionally, many of these gym flooring tiles are FloorScore certified, which means they are free of many harmful chemicals found in lower quality products.
These responsibly-made gym tiles won’t pollute your air and harm your lungs during your workout. The only thing you’ll feel burning your lungs is that killer cardio workout you just crushed.
To find out if a rubber tile is FloorScore certified or American-made, check for the little “Made in the USA” and FloorScore symbols on the product page.
Rubber Floor Tile Interlocking Systems
You have a lot of choices when it comes to interlocking rubber floor tiles. So...what is the actual difference between tiles? A lot of the time its thickness, price, colors and materials.
The other thing that can set tiles apart is the way they are cut and how they interlock together. Tiles are either waterjet-cut or stamped.
Waterjet. Perfect cuts made by, you guessed it, waterjet. These provide the most seamless appearance.
Stamped. Tiles are cut with a rolled stamp. These are not quite as perfectly cut as waterjet cuts.
Related content >> The Best Flooring for CrossFit
Rubber Floor Tile Colors & Appearance
Okay, we all know functionality and durability are the highest priority when purchasing rubber flooring tiles. But, let’s be honest, we all want our floor to look sharp.
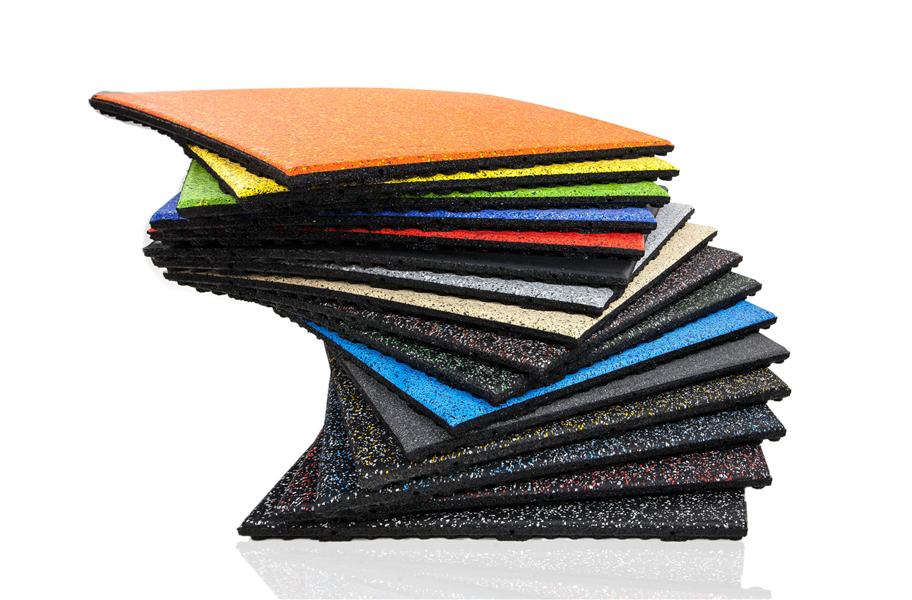
Most of our rubber floor tiles come in a variety of color options so you can choose the perfect color to match your space. In fact, some tiles have over a dozen color options to choose from.
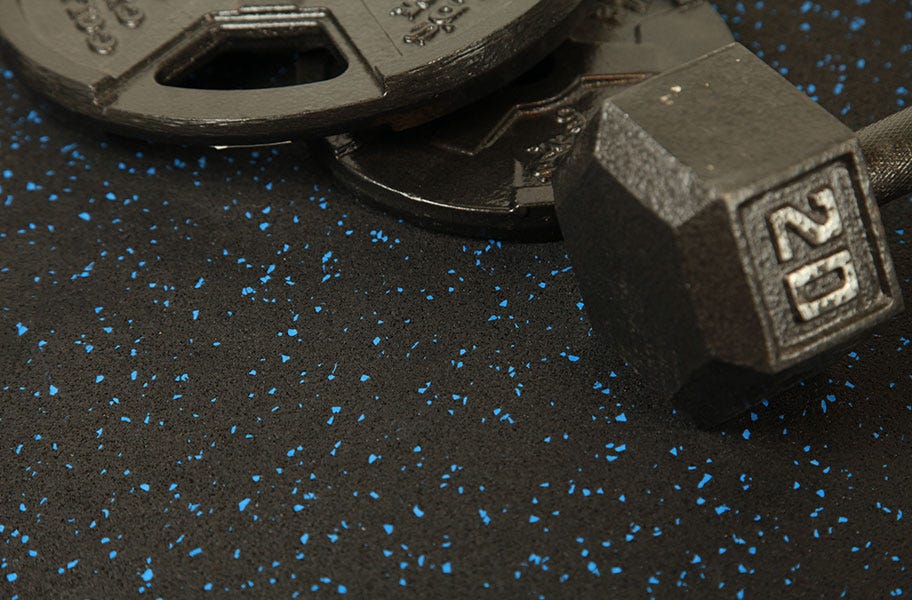
While most rubber floor tiles are black with confetti-looking color flecks throughout, you can also up the ante by going with one of our designer series tiles which offer more color variety and different base colors.
One concern people have when choosing rubber flooring tiles vs rubber flooring rolls is the seams. Everyone wants that sleek, seamless appearance in their floor.
The truth is, the way high-quality rubber tiles are cut, they really do provide a virtually seamless appearance. Although, if you get up close and personal, the seams will be visible, the majority of rubber floor tiles really do look clean and cohesive from a standing perspective.
Related content >> Home Gym Flooring for Your Budget
Rubber Floor Tiles Installation & Maintenance
The Best Subfloor for Rubber Tiles
Rubber tiles do best with any concrete, low pile carpet, hardwood, ceramic or porcelain tiles, or even on top of compacted dirt. It is important that any subfloor is leveled to ensure safety and a flat surface for workouts.
Create Your Space
One major benefit of choosing rubber gym tiles is you have the ability to fully control your space. Order just a few tiles for a DIY gym mat, cover an entire home gym, or try something in between.
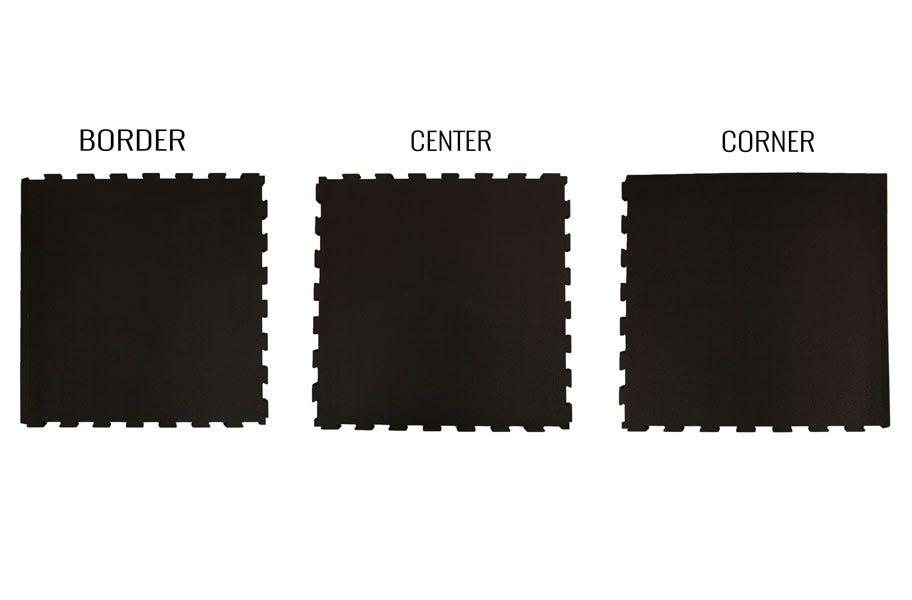
To ensure you have a fully finished look, we provide center pieces, border pieces and corner pieces. This way, you don’t have any puzzle pieces sticking out at the edge of your space looking weird and unfinished.
Here’s how they all work together:
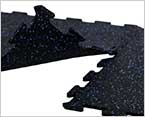
- Center pieces. These pieces look like the middle of a puzzle with interlocks on all sides. Use them in the center of your room or mat.
- Border pieces. These pieces have interlocks on 3 sides with one straight edge, similar to an edge puzzle piece. Use these on the perimeter of your space.
- Corner pieces. These pieces have 2 interlocking sides and 2 straight sides to form a corner. Use them, well, in the corner!
How to Install Rubber Floor Tiles
One of the primary benefits of rubber floor tiles is they are ridiculously easy to install - so easy, even a novice can install them in an afternoon.
Interlocking rubber tiles come together just like a puzzle. Simply lock each tile into place, then sit back and praise yourself for your exceptional installation. Yes, it’s really that simple.
You can install your rubber gym floor tiles by either loose laying them or using double-sided tape for a more permanent installation. We do not recommend gluing your rubber tiles to the subfloor because the glue can seep up through the seams and nobody wants that.
- Loose lay gym flooring. If you are loose laying your gym tiles, after you lock them together, you really are done! Most of the time, the tiles are heavy enough to naturally stay in place with no extra adhesive necessary. If you loose lay your tiles, you can easily pick them up and move them at any time.
- Double-sided tape. For more extreme conditions, consider using double-sided carpet tape around the perimeter of your floor. This is extremely easy and you will still be able to transport your rubber gym tiles in the event that you change locations.
Note: Many rubber tiles have arrows on the back. They indicate the direction of the rubber grain. Though the grain is subtle, it becomes more obvious if you place two rubber tiles side by side and orient them in different directions.
The way the light hits the grain at different angles can make it look like the tiles are different colors. To ensure your rubber tiles look consistent, you’ll want to install them with their arrows all pointing in the same direction.
Rubber Floor Tile Installation Tools
Rubber tiles are famous for their easy, DIY installation. In fact, you really don’t need any extra gear unless you need to cut your tiles to fit your space.
But, in case you wanna get fancy, here are some tools that can help you with your rubber flooring tile installation:
- Double-sided carpet tape. Use around the perimeter, if necessary, to avoid tile movement.
- Seam sealer. Use on tile seams, if necessary, to prevent liquids from seeping through the cracks. This is great for pets and water-prone areas.
- Adjustable t-square. Use to measure and mark your tiles during installation.
- Utility knife. Use to effortlessly cut tiles to perfectly fit your space.
- Knee pads. Use for added comfort during installation.
Cleaning Rubber Floor Tiles
Keeping your rubber floor clean is a big concern. We all know workout spaces and high-traffic areas tend to get dirty pretty quickly.
To keep your rubber flooring tiles shiny and clean, simply vacuum them regularly and occasionally go over them with a damp mop. Do make sure to clean up any major messes right away to keep them looking sharp 24/7.
Additionally, we offer some cleaning and seam-protecting solutions for your convenience.
- Rubber Floor Cleaner and Degreaser. Your easy, all-in-one rubber floor cleaner.
- Rubber Floor Finish and Sealer. Use this on the seams of your tiles to prevent liquids from seeping down into your subfloor.
Pros of Rubber Floor Tiles
Now that you know the ins and outs of rubber floor tiles (you’re basically an expert now), let’s do a quick review on some of the main highlights.
- Easy, DIY, Glue-free installation
- Easy to cut to fit your space
- Ultra-durable for tough workouts and lots of foot traffic
- Easy to clean
- Virtually seamless*
- Lightweight compared to rubber rolls
- Many USA-made and FloorScore certified options
*Note: This does not apply to all tiles but the majority of the tiles have a seamless appearance.
Cons of Rubber Floor Tiles
The truth is, nothing is perfect for every application. Rubber floor tiles are great, but they have a couple limiting factors.
- Tedious installation for big spaces
- More seams than rubber rolls
Related content >> Rubber Flooring: 5 Myths Busted
Rubber Floor Tiles Shipping
Our rubber floor tiles ship from either our East Coast, West Coast or Midwest locations. Thicker, heavier tiles can start to rack up larger shipping fees. You can save quite a bit on shipping by ordering tiles that ship from a location near you.
Additionally, each tile has a different lead time. If you’re in a hurry to complete your project, you can choose a quick ship product that ships in as little as 1-2 business days.
If you’re on a strict timeline for your project, be sure to check the lead time on your rubber floor tile to ensure you are able to complete your project promptly.
Rubber Floor Tile FAQs
Still have questions? Here are some of the most common questions customers ask about rubber floor tiles.
How much do rubber floor tiles cost?
Rubber floor tiles range in price from under $2/sqft all the way to over $18/sqft.
Whoa! That is quite the range, eh?
There are many variables that factor in to determine cost. Our most popular gym flooring tiles typically run anywhere from $2/sqft-$3.50/sqft.
The good news is, rubber floor tiles are super DIY-friendly so your cost simply comes down to materials and shipping.
Here’s what it would look like to floor a typical 10’x10’ home gym.
|
Thickness |
Good Deal Price by Sqft | Average Shipping Cost |
Good Deal Total Cost |
|
1/4" |
$1.89 | $50 |
$250 |
|
8mm |
$2.36 | $125 |
$460 |
|
3/8" |
$3.07 | $280 |
$800 |
|
1/2" |
$3.18 | $520 |
$1,280 |
Note: Prices vary and are subject to change at any time. Shipping costs vary by location and these averages were calculated averaging locations in the US, excluding Hawaii and Canada.
Are rubber floor tiles waterproof?
One of the best things about rubber flooring is it’s extremely water-resistant! Spilled water, sweaty workouts, heck, even the ocean! No water is too much for these rubber floor tiles.
In the event that you need to be 100% certain no water ever reaches your subfloor, you can use a seam sealer where the tiles interlock since the interlock isn’t 100% impenetrable. However, for most cases, that is not necessary.
Related content >> The Best Waterproof Flooring Options
Can you install rubber floor tiles over carpet?
Yes, you can! You can easily install rubber tiles over a short, low-pile carpet. Additionally, you can install ultra-thick 1” rubber tiles, such as Monster Tiles even over plush carpets.
If you go for a thinner tile and cannot rip up your plush carpet, you can lay plywood over the plush carpet and install your rubber tiles over your plywood.
Related content >> Can You Install Rubber Gym Flooring Over Carpet?
Can rubber tiles be used outdoors?
Rubber floor tiles are a great outdoor flooring option, as well. They are ultra-durable, specially designed to handle lots of use and abuse.
Tips for outdoor rubber flooring success:
- Keep tiles covered. These rubber floor tiles are rated for outdoor use; however, they are not UV stable and they may fade in direct sunlight.
- Be cautious of the elements. While these tiles are waterproof, there are many more elements that get into our rain and snow, such as salts. These rubber flooring tiles are porous and salts can get trapped in the pores.
- Account for expansion. With temperature fluctuation, these floor tiles may expand and contract.
How do I clean rubber floor tiles?
Good news; learning how to clean rubber floor tiles is super easy.
- Give them a quick vacuum to get rid of any loose crumbs, dust or debris.
- Occasionally, use a damp mop with a mild soap and water cleaning solution.
- Sit back and enjoy!
For ideal gentle soaps, you can purchase Tide laundry detergent or Dawn dish detergent. Or, get everything in one place - we offer some cleaning and seam-protecting solutions for your convenience.
- Rubber Floor Cleaner and Degreaser. Your easy, all-in-one rubber floor cleaner.
- Rubber Floor Finish and Sealer. Use this on the seams of your tiles to prevent liquids from seeping down into your subfloor.
Note: Do not use any solvent or oil-based cleaners, such as Pine-Sol, Lysol. Murphy’s Oil Soap, WD40, paint thinner, etc. These cleaners may damage the floor over time.
How do I cut rubber floor tiles?
Sometimes you end up with a little extra material. Not to worry; learning how to cut rubber floor tiles is quite simple.
- Measure the size of your cut.
- Measure it again. No, really. You can’t go back once you cut your tile so we always say to measure twice, cut once.
- Use a straight edge and chalk to mark the cut.
- Place your straight edge on the chalk line and use a sharp utility knife to score your tile, adding a deep crease in the tile.
- Pick up the tile and bend it at that crease to break it open further.
- Return the rubber tile to the ground and continue scoring the rest of the way through until your cut is complete.
Does rubber flooring smell?
I mean….yes. Rubber flooring does have the smell of, well, rubber. Some rubber flooring products smell stronger than others, depending on the type of raw material used or how the flooring was made.
Here’s the real deal: when you first get your flooring, the smell will be the strongest, but after installing your rubber flooring, the room and floor will air out over the next few days/weeks.
In addition to giving your rubber flooring proper time to air out, give it a nice wash with a mild soap and water cleaning solution like any of the ones mentioned above. This will help alleviate some of that rubber smell.
Once your rubber floor has had the opportunity to fully air out, you won’t even notice the rubber scent without bending over and physically putting your nose up to the flooring.
So...maybe doing burpees? But that just gives you an excuse not to hang out down there and get movin’!
Ready to get started?
SHOP ALL RUBBER TILES ORDER FREE SAMPLES


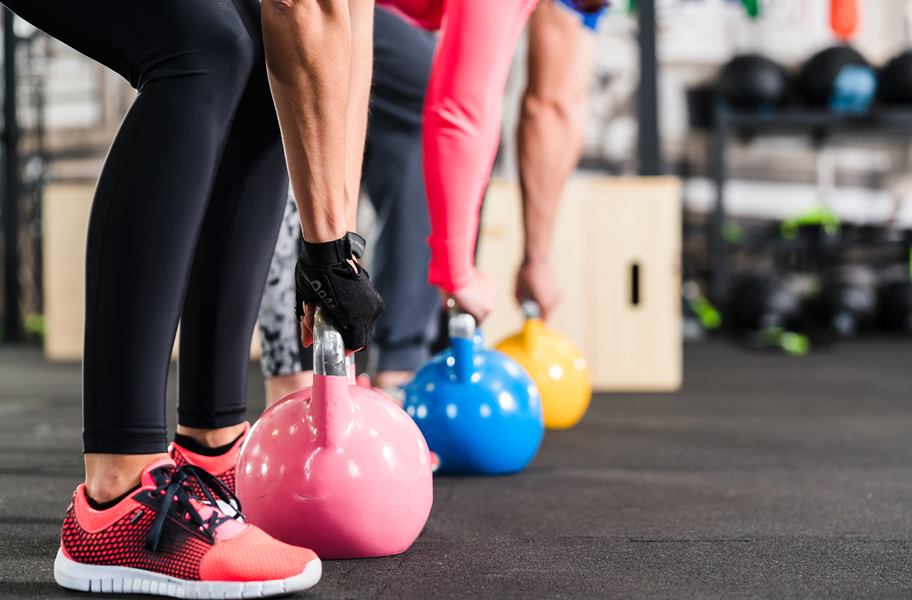


Thanks for your question. Yes, you can use rubber flooring in a basement bedroom. However, at first there may be a smell from the rubber off-gassing. If you are sensitive to any off-gassing smells, you can mop the flooring with a mild soap and water solution with a synthetic mop head and allow for ample ventilation in the room. You will more than likely have to repeat this process a few times to get the smell to a tolerable level.
Please reach out if you have any other questions. Thank you!