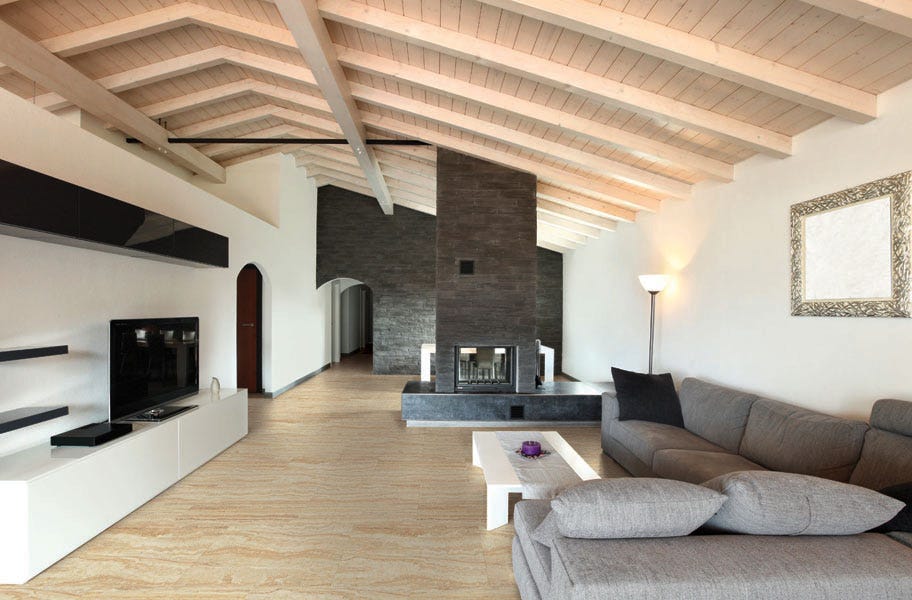
Cork flooring is one of the hottest new trends on the market. Learn how to install cork flooring with just a few, easy steps!
If you're new to looking at flooring, you may not have even heard of cork flooring. It's pretty crazy how many materials are used for flooring these days, but with cork it's for good reason! Cork is very green and eco friendly, and also provides great insulation with easy installation, even in oddly shaped rooms and bathrooms.

One of my favorite things about cork? Most of the time, you don't need any glue or tape for your installation! You can easily tap and lock the planks together, making it perfect for the avid DIYer and the budget conscious family. Here's what you need to get started.
Cork flooring installation checklist
- Pencil
- Rubber mallet
- Spacers
- Tapping block
- Tape measure
- Tile cutter / table saw

Related Content >> Cheap Flooring Ideas: Keep Your Budget and Style
To install your cork flooring:
- Place rubber spacers against the wall.
- Begin laying cork planks in the right corner and lay length wise, continuing along the wall.
- Use rubber mallet and tapping block to lock planks together.
- When you reach a wall or obstruction, mark out your measurements and cut your tile.
- Begin the next row of tiles and continue through steps 2-4.
For even more detail, be sure to watch our step-by-step instructional video to help you through your installation.
Ready to get started? Order your free samples today!


