Garage Floor Coatings
So you've decided that you would like to add a protective coating to your garage or basement, but there are a lot of options out there. Between epoxy and polyaspartic garage floor coatings, how do you figure out the right one to choose for your application?
Here, you’ll get a breakdown of the different factors you should consider.
Types of Garage Floor Protective Coatings
Epoxy
Epoxy is a resin that people used to protect concrete flooring for decades, providing a chemical-resistant and slip-free surface. It works best indoors, because it may fade and yellow as a result of UV exposure.
Typical garage floor epoxy application consists of a primer, a color base coat, and two surface coatings of polyurethane. The style is highly customizable, which is a plus for those looking for a specific style.
Epoxy takes a pretty long time to dry, so if you’re not the patient type, you may want to consider a faster-drying option. With epoxy, there’s the potential to reduce air quality with off-gassing. However, newer formulas have been made to address this issue.
Polyaspartic
Polyaspartic is a hybrid material that resembles polyurethane. It was first developed in the ‘90s as a coating for steel in bridges and used for its corrosion-resistant properties.
Manufacturers have designed polyaspartic to have quick drying times and limited gas emissions after application. These innovations make it more versatile than traditional epoxy. One downside is that it’s more expensive than epoxy, so if you’re on a tight budget, keep that in mind.
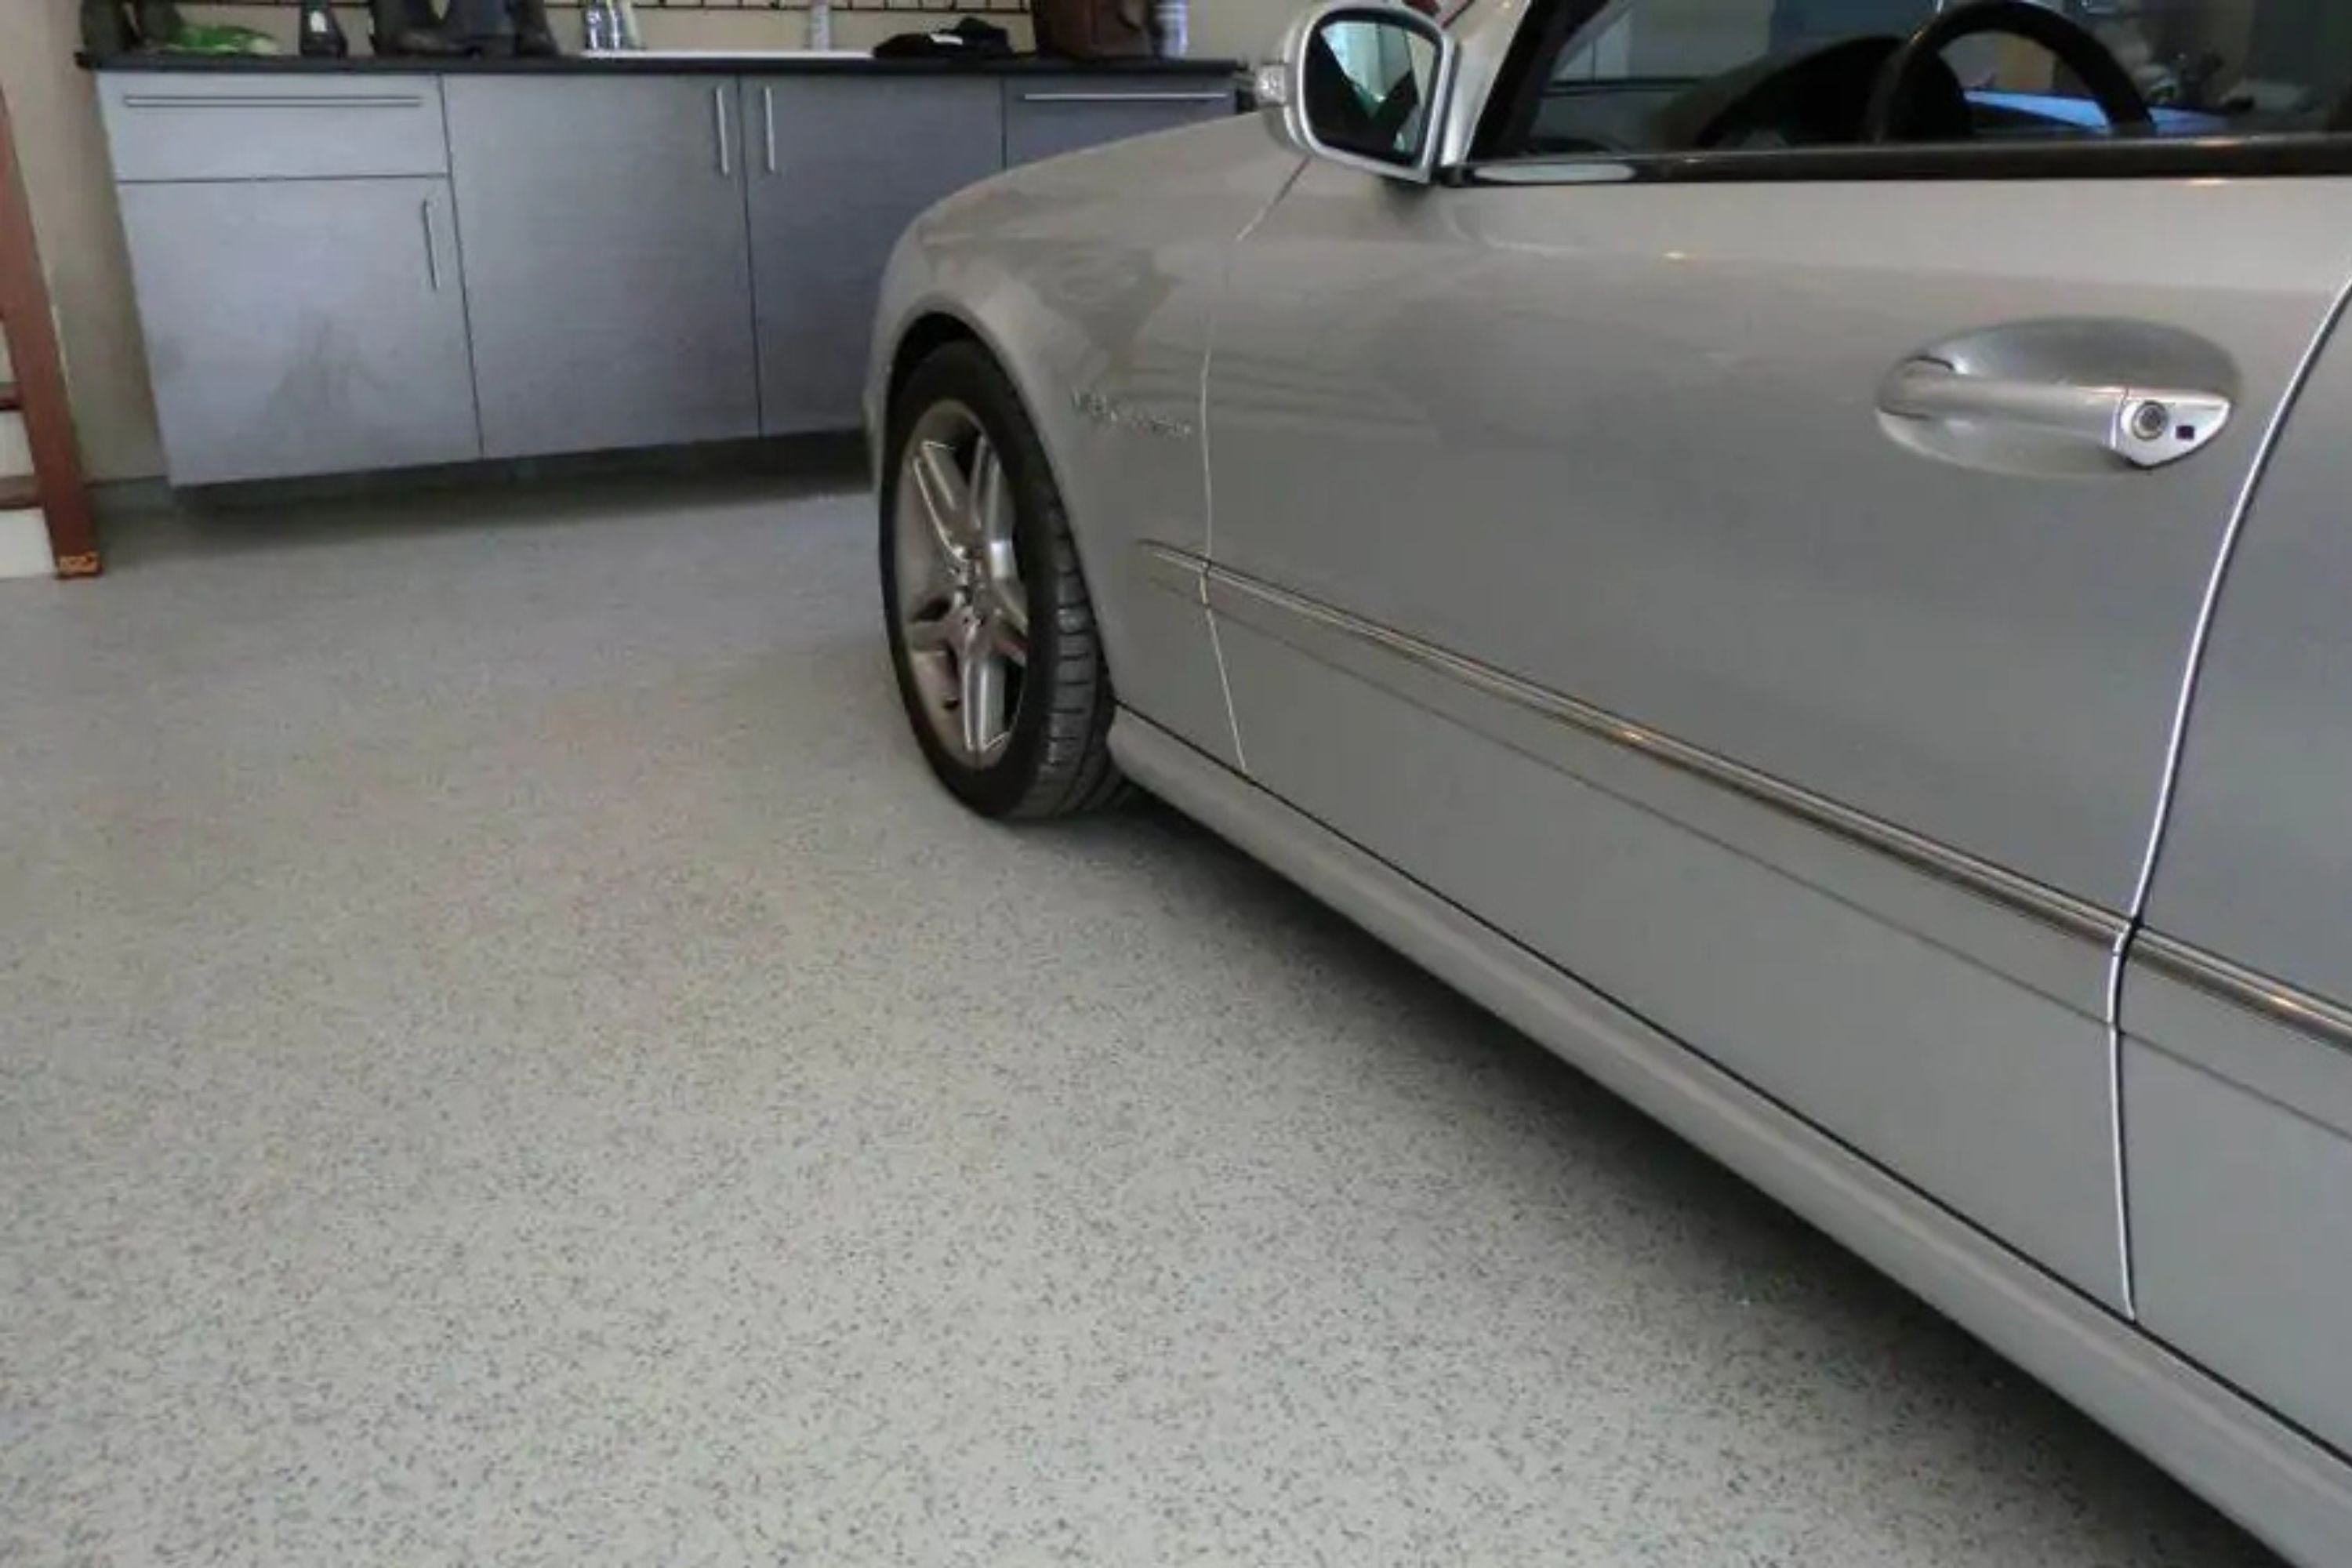
Usually, this coating has a clear, glossy finish. On its own, it creates the look of a wet concrete floor. You can add color to the mixture for a bolder look if desired. You can spread decorative chips across the surface of a still-wet coating to introduce a bit more color and non-slip texture. This is a good idea because polyaspartic can make your floor slippery.
Durability of Garage Floor Coatings
How long can your floor coating hold up? Obviously, you want your new floor to last, and a garage can be a tough environment. Here are some factors that influence the durability of a potential coating.
Abrasion
One of the first things you will want to look at is the abrasion rate. This factor is very important if you want to have a floor that will last for more than just a year. The main takeaway with the abrasion rating is that the lower the abrasion rating is, the more durable the floor will be.
For residential spaces you will want an abrasion rating of 20mgs or lower, for commercial floors, you will want an abrasion rating of 8mgs or low, and for industrial floors, you will want a rating of 4mgs or lower. These numbers represent the amount of material that was removed during the test. So the less material removed during the test, the better the product will hold up.
Adhesion
The next thing to consider when selecting the right epoxy for your space is the adhesion of the product. Epoxy has a higher adhesion level compared to enamel, but water-based epoxies have a lower adhesion level compared to enamel.
If the product doesn't adhere well, then its long term durability can be called into question. So the moral of the story here is, don't pick a water-based epoxy, if you don't want to have to reapply it every few years.
Installing Epoxy and Polyaspartic Garage Floor Coatings
Polyaspartic and epoxy coatings have different properties that impact the installation process. If you want to DIY install your garage floor coating, it’s important to learn which option will be easiest for you.
How to Install Epoxy
Applying epoxy coating in your garage is a manual process that requires an extended paint roller. This manual application can take about an hour to properly coat a standard two-car garage. Fortunately, epoxy has a long “pot life” a.k.a. the amount of time it can spend open in a bucket before it dries up.
The first coating will take around 16 hours to dry, but the most accurate information will always come from the manufacturer. When it’s time to apply the second layer, also include non-skid granules to reduce the risk of a slippery surface.
Give it another 16 hours (or whatever the manufacturer says) for the second layer to dry enough to handle foot traffic. It can take up to a week before the epoxy is ready for cars to park and drive across the surface. As always, the most accurate drying time estimates will come from the manufacturer.
How to Apply Polyaspartic
Applying polyaspartic is a speedy process because it dries so quickly. The consistency and appearance of the material is much like water – it’s clear (when not using color additives), almost odorless, and very fluid.
Pour ribbons of polyaspartic across the floor and evenly spread it with a squeegee or roller. In just a few hours, the first coat will be dry enough to walk on, so you can begin the second layer. (check manufacturer instructions)
This second coat will include any non-skid traction materials you might want to use. Polyaspartic is more slippery than epoxy, so this is always a good idea.
Polyaspartic dries really, really fast. There’s a very short “pot life” for polyaspartic since it was developed to have a quick drying time. For this reason, you need to make sure you’re completely prepared before you start the project. Many people choose to hire a professional to avoid the risk of making a mistake.
Other Helpful Garage Floor Coatings Content
In this comprehensive guide, we'll delve into a popular garage floor idea—epoxy flooring—and highlight the benefits that have made it a game-changer for both commercial and residential spaces.
You'll discover how epoxy not only elevates the durability of your garage floor but also stands strong against the toughest chemical spill. We'll explore how its aesthetic versatility provides you with a canvas to express your style, ensuring your garage becomes more than just a functional space. Start discovering why epoxy garage flooring is a transformative choice that redefines your garage.
During your search for the right garage floor coating, you’ve probably come across options for epoxy and a newer product called polyaspartic. These concrete coatings seem similar, so naturally, you want to know the difference. This head-to-head comparison of polyaspartic vs. epoxy will get you all the answers you need.
Both options offer durable, attractive coatings that can transform your garage from “blah” to “ta-da!” - but there are still key differences that can inform your purchase. In order to make the right choice between epoxy and polyaspartic, you’ll need to know what they are, how to apply them, and of course, the pros and cons of each.


