How to Install Foam Tiles
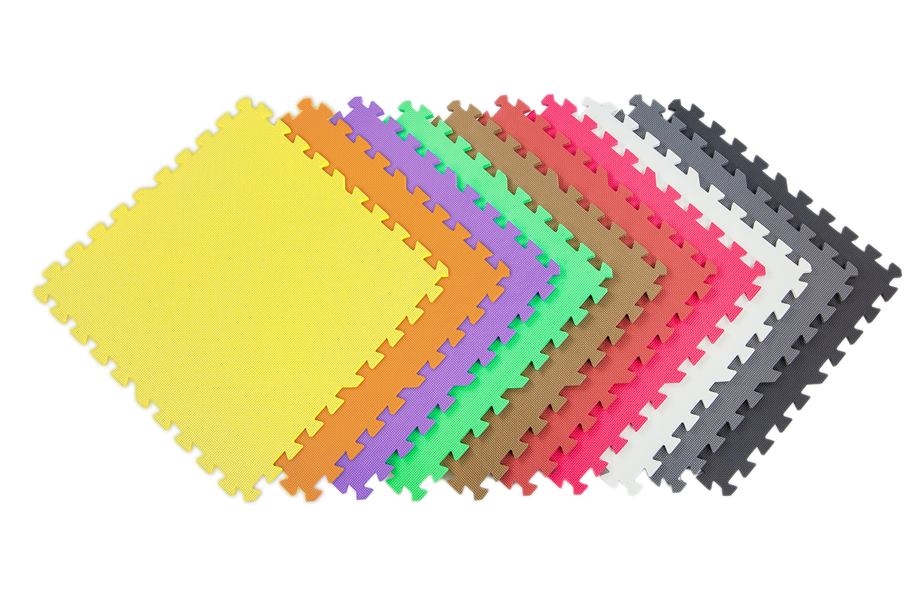
Foam tiles are soft, cushiony, and perfect for play or workouts. Learn how to install foam tiles with 4 easy steps, and start enjoying your new foam floor today!
Any time I order something from the internet, my biggest concern is installation. Have you ever spent hours putting together that 1/2 price piece of furniture you bought at Ikea? Yeah, me too. But with foam tiles, there is none of that! The installation takes minutes, and it’s truly so easy that, other than the cutting part, a toddler could do it! In case you’ve still got concerns, we’ve provided a step by step instructional video so you can follow along.
About Foam Tiles
Foam tiles are a great, affordable option for a soft play area or an at-home workout space. They’re often used in preschools, daycare, and gyms, but that doesn’t mean you can’t enjoy them at home as well! For kids, workout enthusiasts, and clumsy people alike, foam tiles can add safety, brighten up your room, and create a fun little play nook for the kiddos.
| Related Content >> EVA Foam Safety |
Tools and Materials
Installing foam tiles on your own is incredibly easy, but it always helps to have the right tools! Here’s what we recommend.
- Utility knife
- T-square
- Mat tape (optional)
How To Install Foam Tiles
- Preparation: First, clean your sub floor so it is free of all dirt, grease, or debris.
- Begin installation: Start in one corner of the room with a corner tile and add border tiles outward along the adjacent walls. Add center, corner, and border tiles where you see fit. Some foam tiles have edge pieces, so you can customize a tile to fit in a corner, edge, or center.
- Cut the tiles: When coming up to an opposite wall, make sure you cut the tiles to fit the area leaving a gap that’s roughly the thickness of the tiles being used to account for expansion and contraction of the floor tiles in varied temperature ranges.
- Finishing Steps: Use finishing edge pieces where desired.
Note: When piecing interlocking tiles together, adhesives are usually not used since the weight of the locked together product is usually enough to keep the floor tiles from moving. However, if you do experience movement and would like to ensure that the tiles do not slide at all, some double-sided tape or mat tape can be used around the perimeter of the installation to prevent any movement.
| Related Content >> Best Trade Show Flooring Ideas |
Conclusion
Ready to get your own foam tiles? Order your free samples today!
























Can you put tiles over an outdoor Brick surface?
Hi Glenn, our Life Floor series are the only soft tiles we would recommend storing outdoors. However, you may take any of our soft tiles outside as long as they are not being stored out there for a prolonged period of time. Sun and other weather can damage the tiles not specifically manufactured for outdoor use. Thanks so much for the inquiry, and please let me know if you have any further questions. Also, don’t forget, you can use discount code blog28 for 28% off your purchase.
I purchased the wood grain foam tiles to install in an older fiberglass camp trailer. My question is what is the best type of adhesive to glue them to vertical (sides) and horizontal (ceiling) so that they stay put
Hi Tom,
That’s a great place to use foam tiles. We recommend using a mat tape like this one that has an aggressive adhesive. You want a super durable vinyl tape with a strong adhesive that is still removable without causing any damage or leaving a residue. Our mat tape also offers a strong bond in a wide range of temperatures and can be applied easily.
Good luck with your project!