
One of the quickest and most affordable ways to update your kitchen is to add a backsplash, especially if you can install it on your own. If you’re just starting out learning how to install backsplash tiles, I’ve got some great news. There’s more than just one way to do it! You have options, and everyone loves options.
The perfect choice for you depends on your skill level and the amount of time you want to invest in this project. To help you make your decision, this guide will teach you how to install peel and stick, traditional, and grout-free backsplash tile. Plus, you’ll learn some handy tips along the way to make things even easier.
So, without further ado, here are three ways to install a backsplash.
| Related Content >> How to Tile a Floor |
How to Install Peel and Stick Backsplash
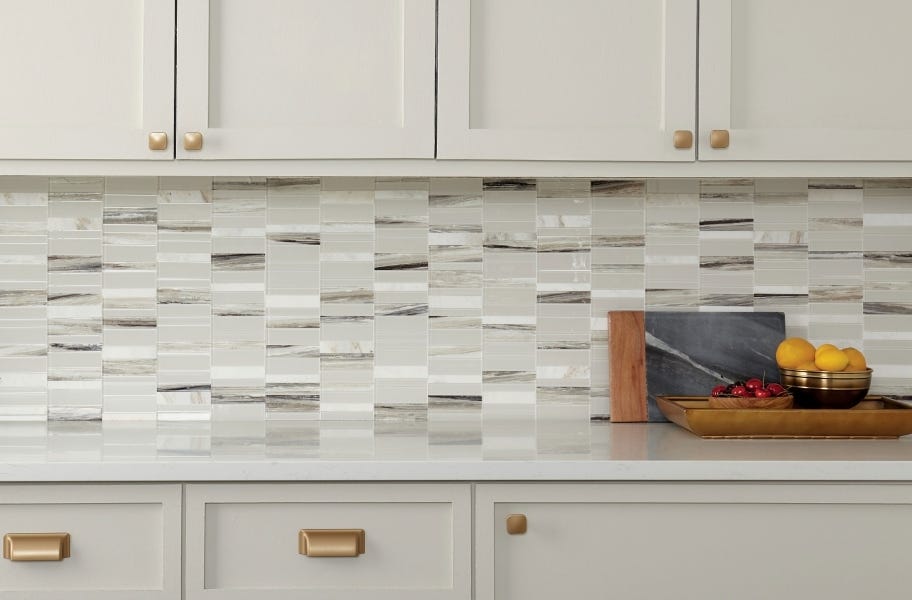
You can update your kitchen backsplash in less than a day with peel and stick tiles. Long gone are the days when you needed to purchase a ton of special tools and spend days tiling a backsplash. Now, it can be as simple as peel, stick, and you’re done!
By the way, just because a tile is peel and stick definitely doesn’t make it low-quality or flimsy. You get the bragging rights of having an actual stone backsplash with the ease of peel and stick tile. Why can’t more things in life be this easy?
While I don’t have an answer to that question, I can show you how to install backsplash peel and stick tile. Let’s get started!
| Related Content >> Backsplash and Mosaic Tile Guide |
Tools
Level, Straight edge, Measuring tape, Rotary tool, Tile saw, Utility knife, Caulk gun for adhesive
Materials
Sand paper, Polyurethane adhesive, Masking tape, Caulk, Stone sealer
Preparation
- Turn off the power in the installation area. Move any obstacles or appliances, and remove outlet and switch plate covers.
- Make sure the wall is clean, dry, and smooth. There shouldn’t be a lot of texture on the surface. You may need to sand down any paint or gloss so the adhesive can bond.
- Measure the installation area. Make sure the floor/counter is squared with the wall so the backsplash has an even appearance.
- Find and mark the center of the wall. This is where the first mosaic tile sheet will be installed.
- Before installing, do a dry lay of the tile, ensuring that no mosaics are damaged and that they all interlock properly.
Installation
- The center of the tile sheet should align with the center mark you make on the wall. Partially peel away the backing from the first mosaic sheet and press it in place. Once you’re sure it’s aligned properly, remove the rest of the backing and firmly press it onto the wall.
- Continue applying tile sheets, leaving a 1/8" gap between the tile and the edges of the counter, cabinets, and any other surfaces.
- Make sure all tiles are aligned before sticking them to the wall. If you make a mistake and try to remove the tile after firmly pressing it to the wall, you may cause damage to the surface.
- Once all tiles are adhered, seal up the edges with caulk.
- Protect the tile from water by applying a stone sealer as recommended by the manufacturer.
| Pro tip: If you want an even stronger bond, apply a small amount of polyurethane adhesive to the corners of the mosaic sheet before pressing it to the wall. |
Cutting
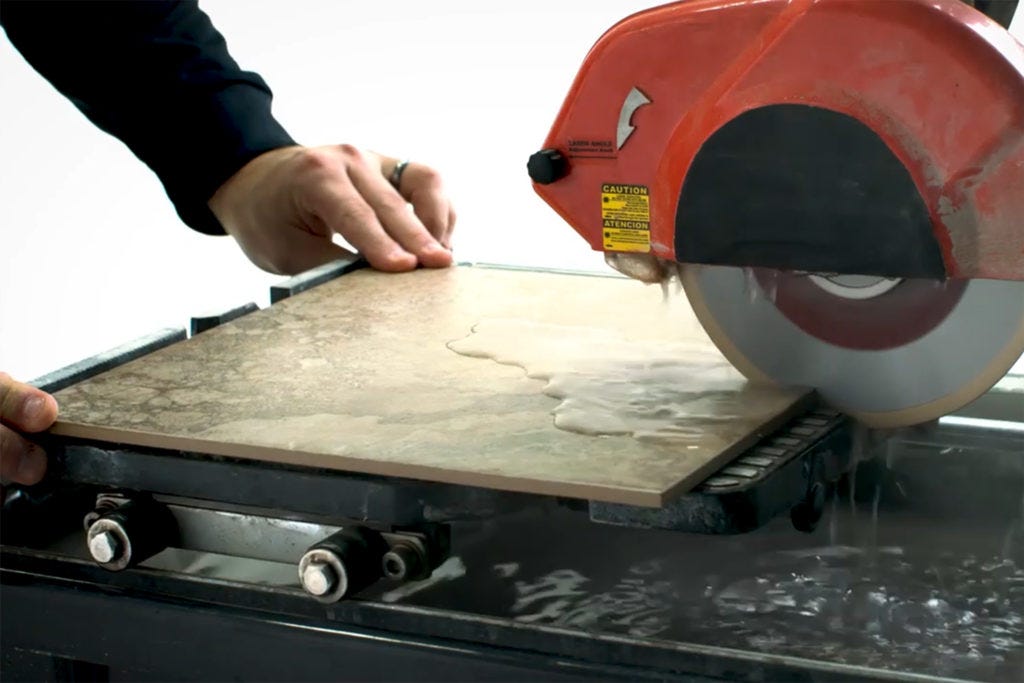
- Measure the tile sheet and mark where it needs to be cut on the face of the tile. Ensure that the mark is erasable, because it could otherwise be visible after cutting.
- Mark the line with masking tape, so you can use it as a straight edge and keep the tiles in place on the sheet.
- Use a tile saw or wet saw to cut through the sheet. Keep the backing on during this process.
- Once the cut is finished, sand down the rough edges and apply the tile as usual.
Final Steps
- Reinstall any outlets/switch plate covers, replace any objects or appliances that you removed from the counters, and restore power.
Once you’re done, that’s it! That’s all it takes to install peel and stick backsplash tile. Please note: This kind of tile is only appropriate for indoor use on walls. Don’t install it in a shower or in areas that experience extreme temperatures.
SHOP PEEL AND STICK BACKSPLASH TILE
| Related Content >> Wall Tile Guide |
How to Install Backsplash the Traditional Way

Maybe you’re not interested in saving time and effort with peel and stick tile. Who knows, maybe you want to become a professional installer, or maybe you’ve got a lot of time on your hands. If that’s you, you can still install a backsplash the traditional way. Here’s how!
Tools
Batten Board, Tile cutter, Straight edge, Level, Pencil, Notched trowel, Rubber grout float, Tape measure, Sponge
Materials
Five gallon mixing bucket, Grout haze remover, Tile, Mortar, Grout, Sealer, Masking tape
Preparation
- Shut off power to the kitchen, and remove the cover plates for any outlets or switches in the installation area.
- Remove obstructions from the countertop and move large appliances like stoves.
- To protect your countertops and cabinets, cover the surrounding areas with masking tape or cardboard.
- Your walls should be clean, dry, and smooth. Patch any holes or dips with spackling. If the wall is painted, it should be gently sanded so the tile can properly stick to it.
- If needed, use a level to attach a batten board. This board acts as a support for the tiles as they bond to the wall. You can use it in areas where there is no countertop for support, such as behind the oven.
- Measure the installation area and mark where the center of the first tile will be placed.
- Prelay the tile on the counter, making sure there is no damage. Adjust the layout as needed to ensure there are no fragments of tiles or tile sheets left at the ends of the backsplash.
| Related Content >> Grout FAQ |
Installation
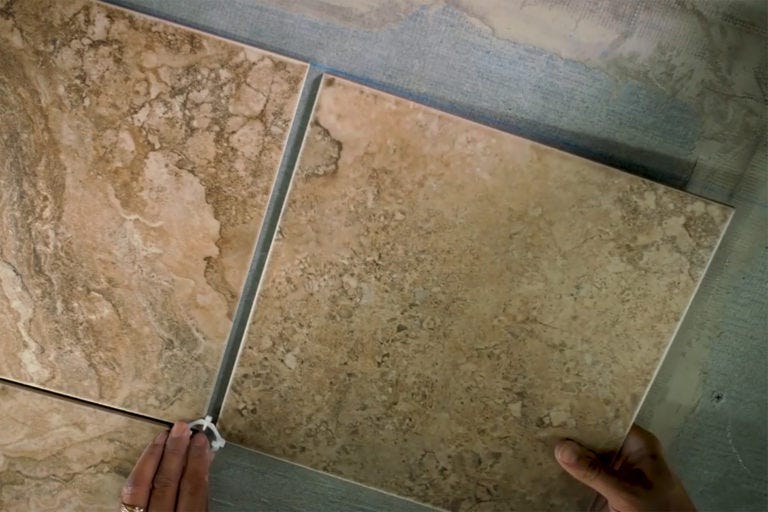
- Mix the mortar according to the manufacturer’s instructions. Apply the mortar in a small area using the flat side of a notched trowel, and then comb it using the notched side. Apply it in small sections at a time so it doesn’t dry out before you apply the tile.
| Pro tip: If you have light-colored or glass tile, it’s typically a good idea to select a white mortar for the best visuals. However, you should always make sure it’s compatible by reading the manufacturer’s instructions. |
- Place the tiles or mosaic sheets along the wall, pressing firmly into the mortar. If you are using single tiles, insert spacers to keep everything evenly aligned.
- Once all tiles are installed, ensure that the surface is clean and level, and no mortar is drying on the face of the tiles.
- Allow the mortar to dry as recommended on the packaging. This could take anywhere from 24 to 72 hours.
- Remove any tile spacers. Mix the tile grout following the manufacturer’s instructions. Apply it to the tile joints using a rubber grout float. Press the grout into the tile joints at a 45 degree angle and work diagonally so you don’t drag out the grout as you work.
- Once finished, scrape away any excess grout. Use a damp sponge to clean the tiles and to smooth out the grout joints. Then wait a few more hours to wipe down the tile for a final time, removing the grout haze that might have formed on the surface.
- Seal the grout, and the tile if recommended. This will protect the backsplash from water and prevent mold or mildew.
- Apply latex caulk between the backsplash and the counter to completely seal the area.
| Related Content >> Backsplash and Mosaic Tile Guide |
Cutting
- Measure the tile and mark where it should be cut. If you need to mark the surface instead of the back, make sure it’s erasable.
- Use a tile saw or a wet saw to make all cuts.
- Once the cut is complete, sand down the rough edges for a finished appearance.
Final Steps
- Remove any protective coverings from cabinets and countertops.
- Reinstall appliances and switch covers, and replace appliances and cookware. Last but not least, restore power to the outlets.
Then pat yourself on the back, because you did it! You installed a backsplash, and now your kitchen looks brand new!
| Related Content >> Accent Wall Ideas |
How to Install Grout-Free Backsplash
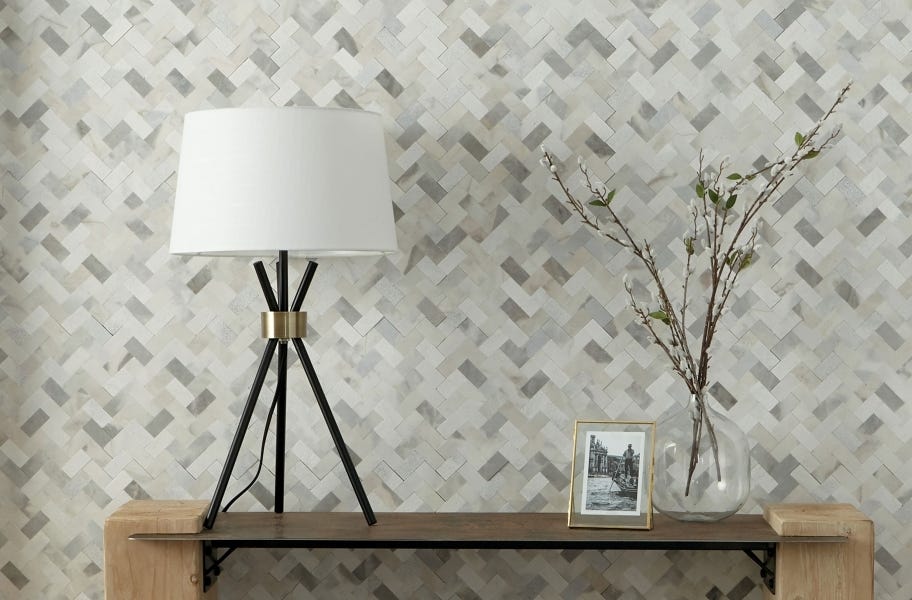
At this point, you know how to install backsplash the really, really easy way, and how to install it the traditional way. It’s simpler to install grout-free tile than tradition tile, but it requires more steps than a peel and stick installation.
As you can guess from the name, you skip a step by installing grout-free wall tiles. All you have to do is apply the mortar, sticky the tile to the wall, and let it dry! No grout necessary. You get a really solid installation, while also cutting a ton of time from your project. It’s real backsplash tile, made real easy.
If you’re ready to spruce up your backslash with minimal effort, then here are the steps you should take!
Tools
Batten Board, Tile cutter, Carpenter square, Level, Pencil, Notched trowel, Tape measure, Sponge
Materials
Five gallon mixing bucket, Tile, Mortar, Sealer, Masking tape
Preparation
These steps are all the same as if you were installing traditional backsplash tiles. In case you need a refresher, here they are!
- Turn off power in the installation area. Remove obstructions like outlet/switch plate covers, and move any large appliances out of the way.
- Use cardboard or masking tape to cover any cabinets or countertops that might come into contact with the mortar.
- Make sure the walls are in prime condition: level, dry, and clean, with any paint or gloss sanded down to get the best bond with the mortar.
- If there is an area with no countertop to support the tiles as the mortar sets, install a batten board.
- Take measurements to mark the center of the installation area. This is where you will place your first tile.
- Dry lay the tile to ensure they’re not damaged, and make any necessary adjustment to avoid fragments at the ends of the backsplash.
Installation
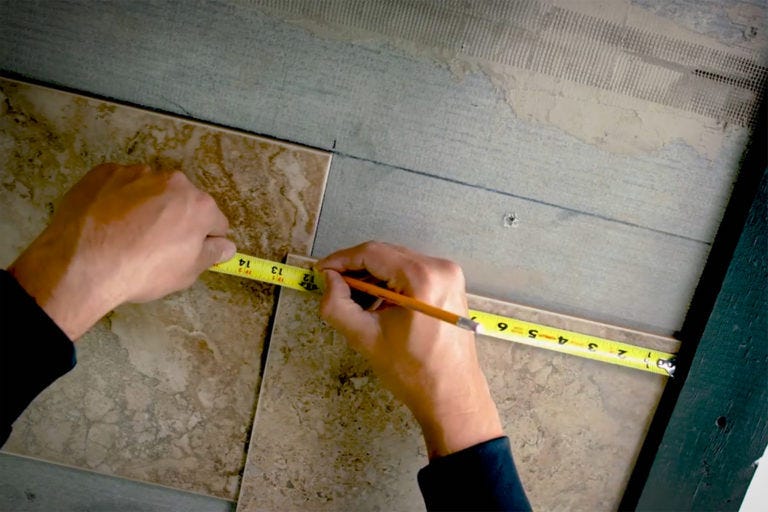
- Follow the manufacturer’s instructions to mix the mortar. Use a notched trowel to smooth a small amount over the wall, and then comb it with the notched side of the trowel. It’s a good idea to add mortar a small amount at a time, so it doesn’t dry out too quickly.
- Firmly press the tile sheets into the mortar, making sure it’s even and aligned as you do so.
- Finish installing all tiles, and then check to make sure the surface is level. Clean any mortar that might be on the tiles, before it has a chance to dry.
- This is a grout-free tile, so obviously grouting is not required! However, if you still really want to use grout, you still can. It can be used to cover gaps in between sheets. If you choose to apply grout, do it with a grout bag.
- Use caulk to seal up the gaps between the tile and the counter.
Final Steps
- Clear away the cardboard and masking tape used to protect the counters and cabinets.
- Restore your kitchen to its former glorify, reinstalling appliances and outlet/switch plate covers. Turn the power back on and enjoy your kitchen’s new look!
Please note: Grout-free tiles are not suitable for flooring. They can be used in high-moisture areas such as showers as long as you take the proper precautions to protect the walls beforehand. Always check the manufacturer’s instructions to be certain.
| Related Content >> Backsplash Tile Trends |
Conclusion
Hurray! Now you know how to install backsplash tiles, and best of all, you know what kind of options you have to do it. Tile manufacturers have been working hard to bring you DIY-friendly backsplash options, so that you don’t have to work hard.
No matter which option you choose, peel and stick, traditional, or grout-free, you’re certain to love the way your space looks with this upgrade. Of course, you don’t have to keep the backsplash in the kitchen, either. Take a walk on the wild side and try sprucing up your bathroom backsplash with some trendy tile.
The choice is all yours. So, are you ready to check out some gorgeous backsplash tiles?


