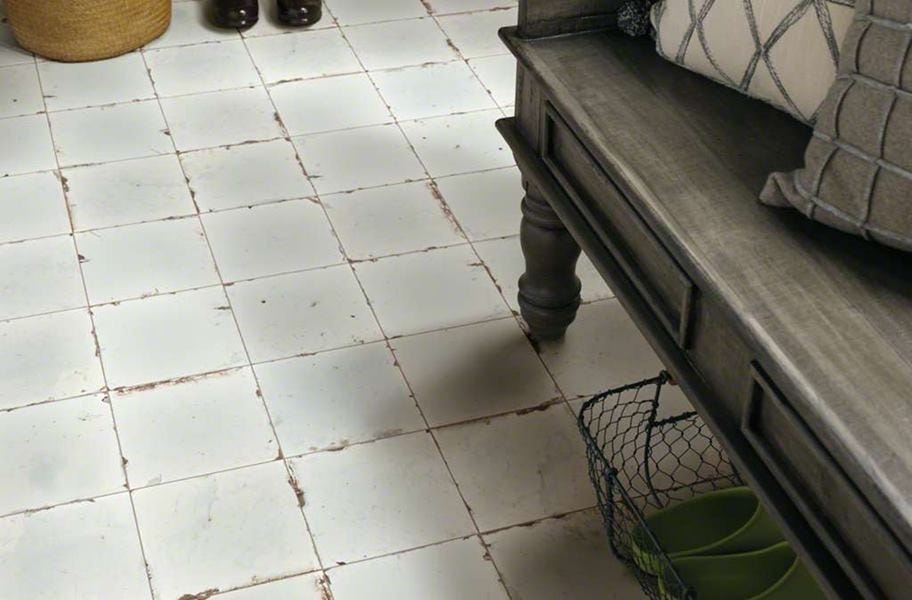
While it’s pretty easy to clean tile, not everyone is sure how to clean grout. The porous texture and typically light color of grout makes it a magnet for dirt and stains. Fortunately, you can battle the grime without needing any special tools. Then, once your grout is good as new, you can seal it to keep it looking great.
With this guide, you’ll learn how to make a homemade grout cleaner, how to clean dirty grout, how to seal grout, and the different types of grout seal that might work best for you.
| Related Content >> How to Clean Tile Floors |
Grout Cleaning Supplies

You probably already have everything you need to get your grout lines sparkly clean again. Just check out your pantry and the cleaning supplies under your kitchen sink.
Tool and materials you may need:
Hot water, Dish soap, Hydrogen peroxide, Sponge, Baking soda, Vinegar, Oxygen bleach powder, Toothbrush, Rubber gloves, Steam cleaner, Spray bottle
You’ll also need to apply a good amount of elbow grease to get the job done. You may have to scrub the grout multiple times, or even choose a tougher cleaning method in order to succeed.
| Related Content >> Grout and Thinset Buying Guide |
How to Clean Grout
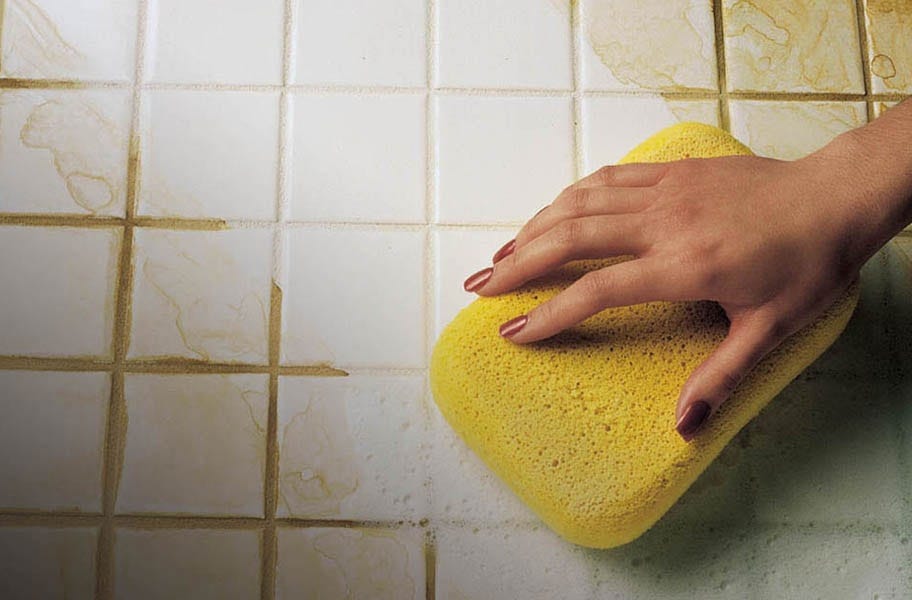
The first step to keeping clean grout lines is to make sure your grout is properly sealed. Grout sealant is your first line of defense against dirt. Still, it’s not the be-all, end-all of grout cleaning wisdom.
Before you break out the cleaning supplies, you should know that the best approach to cleaning grout is a gradual approach. Start with a mild cleaner and ramp up to more caustic products if any dirt or staining remains. Always test a new cleaning solution in an isolated area to make sure it doesn’t damage your flooring.
Using Homemade Grout Cleaners
Looking for a way to clean mold in grout naturally? Some people prefer natural remedies because they can avoid harsh chemicals and save money at the same time by making a cleaner from products around the home.
These homemade cleaners can be just as effective as a product you can find at a store, but you don’t have to just take our word for it.
“Making the switch to natural cleaners for tile and grout is incredibly easy and very inexpensive. You likely already have all the things you need, and they are more effective, in my opinion, than store-bought alternatives.”
Katie Wells, WellnessMama.com
Try these tips to get your floor looking good as new, naturally. They’re ranked from least to most aggressive, so gradually work your way down the list.
- Use dish soap: Combine hot water and dish soap to create a mild cleaning solution. Scrubbing with the soap mixture should wash away dirt and grime without a problem.
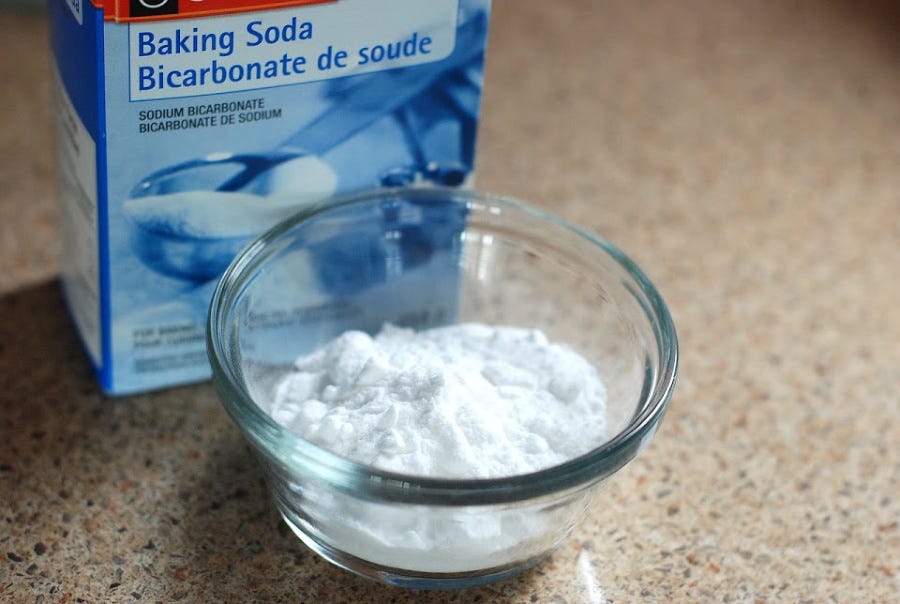
- Create a baking soda paste: Mix water and baking soda into a paste, and apply it to the grout lines. Let the paste sit overnight and scrub it away in the morning.
- Apply lemon juice: A mix of lemon juice and baking soda could be just the trick for stubborn stains. Use a stiff-bristled brush to work the mixture into the grout, and let it sit for a few minutes before rinsing.
- Try hydrogen peroxide: You can use this product on its own and apply it with a spray bottle, or you can mix it with baking soda for a home-made grout cleaner. Let the peroxide sit on the grout surface before scrubbing and rinsing.
- Create a vinegar solution: Dilute a small amount of vinegar in some water, and let the mixture sit on the grout surface for a few minutes before wiping away. Vinegar is acidic, so be careful as you handle it, and make sure the room is properly ventilated. Please note: Vinegar can stain porous tiles, so it won’t be a good fit for that kind of flooring.
| Related Content >> How to Tile a Floor |
Using Store-Bought Grout Cleaners
- Grout pen: Rather than fully removing tough grout stains, a grout pen covers up unsightly areas with a fresh color. The amount of product will vary, but you can expect to get over 100 linear feet of stain coverage from one pen. It’s easy to use, and dries within an hour, but it’s more of a cover-up than a real cleaning solution.
- Oxygen-based bleach powder: When you’re battling a really stubborn stain, oxygen bleach powder might be the best way to go. Carefully wash the tiles so no residues from previous cleaners remain and react with the bleach powder. Follow the manufacturer’s instructions to create a solution and apply it to the grout. Use rubber gloves, make sure the area is well-ventilated, and be sure to follow all of the manufacturer’s instructions. Please note that oxygen bleach can damage tile surfaces, so test it in an isolated area, and don’t use it if you have porous tiles.
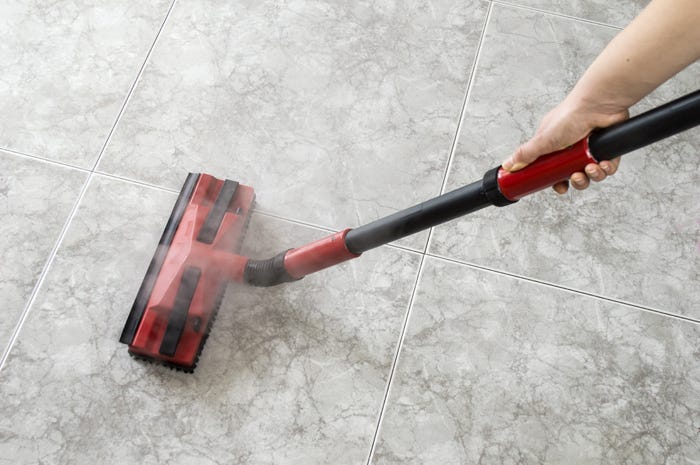
- Steam clean: If you have a steamer handy, carefully try applying steam to the grout lines. The heat and moisture might be able to loosen up ground-in dirt, and it will eliminate any mold or germs in the porous surface.
| Related Content >> How to Choose Grout Color |
How to Clean Grout in Stone Tile
Remember how I said vinegar can stain porous tiles? Natural stone tiles are what I’m talking about. Porous surfaces like real stone, marble, travertine, and limestone can be penetrated by caustic cleaners, which will stain the tile.
Obviously, you don’t want that to happen, not after you invested in that beautiful stone in the first place. Still, that grout’s gotta get clean. What’s a person to do?
Easy! Follow these tips to clean grout in stone and marble tiles:
- Use soapy water: Sometimes the best solution is the simplest one. Start by washing everything with hot, soapy water, and scrubbing the grout lines with a toothbrush.
- Create a non-acidic and ammonia-free cleaning solution: While bleach, vinegar, and lemon juice are a no-no for natural stone, you can still use a gentler solution like water and baking soda.
- Use a dedicated store-bought stone cleaner: If all else fails, try a commercial stone cleaner. If it’s good enough for your stone tile, it’s good enough for your grout.
| Related Content >> Floor Tile Buying Guide |
Why You Need to Seal Grout
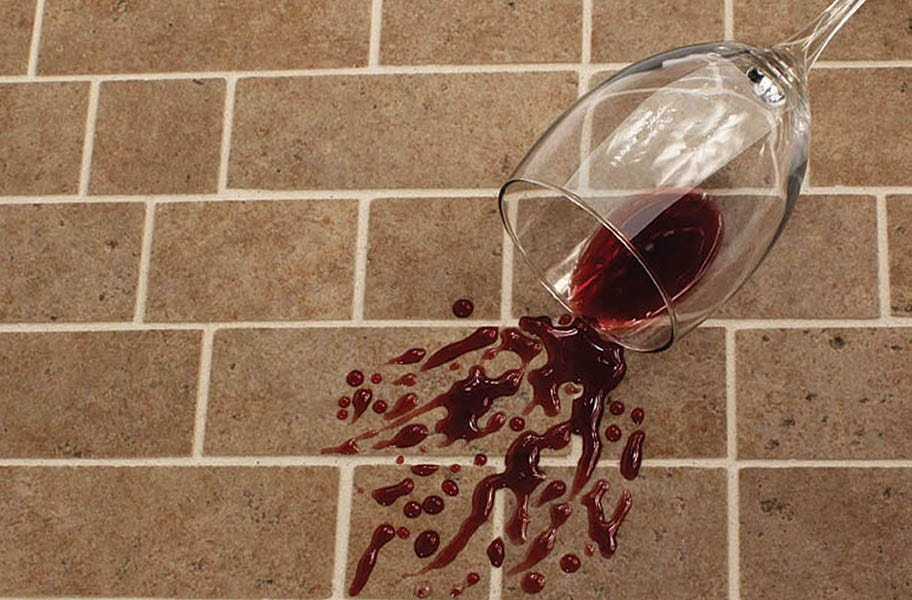
Once your grout is back to its clean, beautiful self, make sure to reseal it right away. All that scrubbing and cleaning will have worn away any remaining seal, and you don’t want your hard work to go to waste.
Right now you might be asking yourself something like, “That sounds like a hassle. Do I really have to seal my grout lines?” The answer is: Yes, really. Unless you have an epoxy grout, it all needs to be sealed. It might seem like an unnecessary step right after you’ve cleaned it, and it looks so pretty and brand new, but trust me - grout won’t stay pretty for long unless you seal it.
Grout sealant is key to maintaining a clean and attractive tile surface. It increases stain resistance, durability, and moisture-resistance. You should seal all grout that doesn’t already contain a sealant in the mixture, and you also need to seal natural stone tiles. Porcelain and glazed ceramic tiles don’t require sealing.
Sealing isn’t a one-time event. Stone tiles and grout require new applications of sealer every few years to ensure they’re completely protected.
| Related Content >> Grout FAQ |
When to Seal Grout
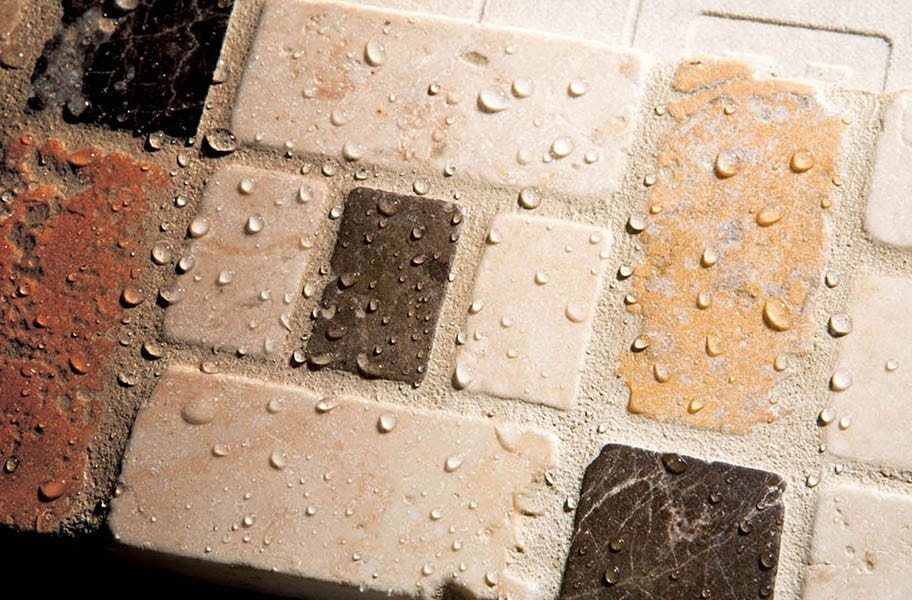
Seal grout immediately after it dries and cures so that it remains looking clean and new. While this initial seal will do a great job protecting your floor, it won’t last forever. You should reseal grout every year as the protective layer wears down.
So how can you tell if you need to reseal grout? There’s actually a really simple test to help you figure that out. Just sprinkle some water over the grout line and see what happens. If the water beads up on the surface, the seal is still good. However, if you notice the water soaking into the grout and creating dark spots, that means moisture can access the porous material.
Types of Grout Sealant
Not all grout seal products are made the same, so don’t go buying the first sealant you find. Instead, determine what type of sealant will work best for your grout, and go from there. Here’s a breakdown of each type to help you out.
Solvent-based Sealer
For an area that requires a stronger, more durable seal, such as a bathroom, kitchen, or high-traffic area, choose a solvent-based sealer. Solvent-based sealers are chemically based, so they provide maximum strength.
Water-based Sealer
Not interested in the chemicals of a solvent-based sealer? Opt for a more natural water-based sealer. Water sealants are a great option in areas where you want a low exposure to chemicals, such as in a bedroom.
Penetrating Sealer
This water-based sealer is also known as an impregnating sealer, because it goes beyond the surface of the grout or stone tile to fill in all porous areas. This process won’t alter the look of the product, but it will make it waterproof and stain-resistant. A penetrating sealer may require multiple coats for a completely effective application.
Enhancing Sealer
If you have a beautiful natural stone product, and you want to showcase the color variation, then an enhancing sealer is a good choice for you. To achieve a complete seal, you might have to apply multiple coats, depending on the porosity of the surface.
| Related Content >> Best Homemade Floor Cleaners |
How to Seal Grout
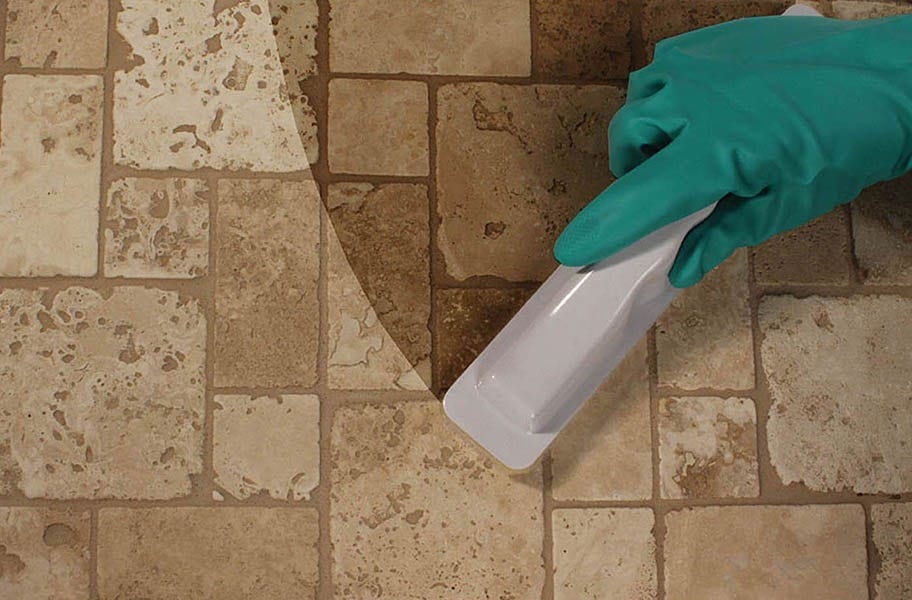
Sealing grout is crucial to keeping your floor clean, so it’s important to know how to do it right. Start by making sure all grout is clean, dry and intact. What’s the point of sealing dirty or damaged grout?
Before you break out the sealing tools, be certain that your grout lines are looking their best. Grout also needs to be completely dry before you seal it, or else it won’t bond properly with the tile. Now you’re ready to apply a grout seal.
Pick the Right Sealer
If you want to keep your grout in top shape, you need to use the right kind of sealer. Will you be sealing the whole tile, or just the grout? Enhancing sealer is great for whole tile applications, but isn’t necessary when you’re only sealing grout.
Also consider the application area to determine if there will be a lot of traffic or moisture. If you expect the grout to face some challenges, it’s wise to choose a solvent-based sealer.
The ideal sealer will also depend on the available application methods, which we’ll get into with the next section.
Choose a Grout Seal Applicator
When it’s time to apply the grout seal, you can paint it, roll it on, or even spray it. The level of ease and precision varies with each type. Depending on the coverage you need, and the level of detail you need to achieve, one application type might suit you better than the others.
There are three main ways to seal grout:
- Roll: For maximum precision, choose a sealant with a roller wheel. The wheel ensures complete coverage, and the product will always be applied in an even layer.
- Paint: Brush tip applicators are still pretty accurate, but sometimes the product can get clogged in the bristles, which can contribute to a sloppier look.
- Spray: Some applications might not require a lot of precision, so a spray-on sealer might suffice. However, if you aren’t also sealing the tile, this won’t be a good fit. Additionally, it can be difficult to tell where you’ve already sprayed sealer, so you need to be thorough to achieve full coverage.
| Related Content >> Floor Tile Trends |
Prepare the Space
You don’t want any excessive sealant to accidentally mess up baseboards, cabinets, or other important surfaces. To protect your investments, cover them with painter’s tape before you begin.
Gradually Apply the Sealer
Start in the far corner of the room. Roll, paint, or spray along the grout lines, moving in one direction as you gradually cover the whole floor. Remain aware of your place in the room so you don’t seal yourself into a corner.
Be sure that you are methodical in your application. Get every last nook and cranny. The last thing you want is to miss a spot and be constantly wondering if your floor is really protected. Wipe away excess sealer from tiles before it dries to keep a neat appearance.
Let the Seal Dry
Wait for at least 15 minutes to give the first coat an opportunity to dry completely.
Add a Second Coat of Sealer
Many types of sealer require multiple applications to achieve optimal performance, ranging between one and three layers. Always follow the manufacturer’s instructions to be sure. Follow the same steps as the first layer to apply a second coat when needed.
| Related Content >> Wall Tile Trends |
Wait for the Seal to Cure
Allow the seal to dry and cure completely before moving forward. This process can take up to 48 hours, add the time will vary from product to product, so always check with the manufacturer as you’re deciding if it’s ready for the next steps.
Test the Quality of the Seal
Once fully cured, test the seal by sprinkling a few droplets of water over the surface. If the water absorbs, you need another coating of sealant. If it beads up and doesn’t soak in, you’re ready to use your floor!
Conclusion
See? That wasn’t so bad! Now that you’ve cleaned and sealed your grout lines, your tile should look like new. Be sure to keep it that way by regularly cleaning and sealing. Frequent maintenance will prevent any big issues from popping up again, so you can say “goodbye” to grout grime forever.


