

How to Install Rubber Flooring: 11 Tips to Know
By Ciana Gitre
| Fact Checked By: Ashley De Zeeuw
Published: February 28, 2024 | Updated: March 5, 2024
When it comes to transforming your space, few things rival the impact of a new floor. Rubber flooring has become a popular choice for its durability and versatility. In this comprehensive guide, we’ll teach you how to install your rubber flooring, whether you’re tackling it as a DIY project or considering professional services. Let’s dive into what is rubber flooring and what makes it the go-to option for gyms, dance studios, and other spaces.
Why Should You Choose Rubber Flooring
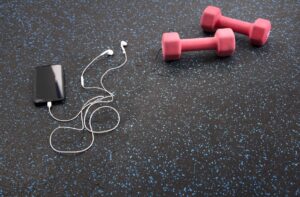
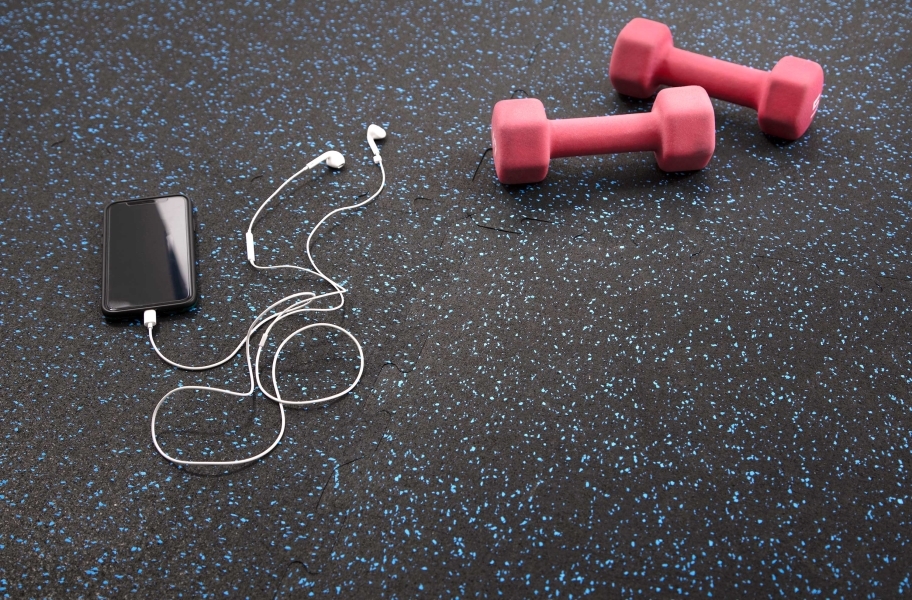
Rubber flooring is more than just a surface beneath your feet; it’s a practical and stylish choice for various settings. Its durability stands out, making it suitable for high-traffic areas. Comfort is another key feature, providing a cushioned feel underfoot, while also offering exceptional shock absorption, particularly beneficial for gyms and athletes. Add to that the ease of maintenance, and you have a flooring option that checks all the boxes for modern living.
Preparing for Installation

Before you begin your rubber flooring process, proper preparation is crucial. Begin by ensuring your subfloor is clean and level – a level foundation ensures a smooth finish. Allow the rubber flooring to acclimate to the room’s temperature; this step prevents issues down the line and ensures a snug fit.
Tools and Materials Needed

Installing rubber flooring may seem complex, but with the right tools and materials, you can tackle it like a pro. Here’s a comprehensive list for a successful installation:
- Utility Knife – A sharp utility knife is your best friend during rubber flooring installation. It ensures precise cuts, helping you achieve a seamless and professional-looking finish. Invest in a quality utility knife to make the cutting process smooth and efficient.
- Straight Edge – Achieving precise cuts is crucial for seamlessly laying rubber flooring. A straight edge provides the necessary guidance to ensure your cuts are accurate and clean. These tools contribute to the overall professional appearance of your installation.
- Adhesive Options – Choosing the suitable adhesive is key to a secure and durable rubber flooring installation. Explore adhesive options suitable for rubber flooring, considering factors like the subfloor type and your space’s specific requirements. Adhesives play a crucial role in the longevity and stability of the flooring.
- Interlocking Tiles – Interlocking rubber floor tiles can simplify installation. These tiles come with built-in mechanisms to fit seamlessly together, ensuring a snug and secure connection. This is an excellent option for DIY enthusiasts looking for a hassle-free installation.
- Double-Sided Tape – Double-sided tape offers a versatile alternative for securing rubber flooring. It’s an adhesive option that provides flexibility, making it easier to adjust or replace tiles if needed. Consider using double-sided tape for specific areas where a less permanent solution is preferable.
- Rolled Rubber Flooring – If you have a larger space to cover, rolled rubber flooring is an efficient option. This format allows quicker installation, especially in commercial settings or expansive home gyms. Rolled rubber provides a continuous and uniform surface, minimizing seams for a polished look.
- Rubber Mats – Rubber mats offer a customizable solution for smaller areas or specific zones within a larger space. They come in various sizes and thicknesses, allowing you to tailor the installation to your requirements. Mats are versatile and can be easily rearranged or replaced.
- Installation Process Accessories– Gather additional accessories to streamline the installation process. This includes items like knee pads for comfort during extended periods of work, a measuring tape for accurate dimensions, and a chalk line to establish guidelines for alignment.
- Subfloor Preparation Materials – Ensure your subfloor is well-prepared before laying rubber flooring. Depending on the existing surface, you might need materials like leveling compounds, plywood, or underlayment to create a stable and level foundation for the rubber flooring.
- Cleaning Supplies– Before installation, ensure the subfloor is clean and free of foreign materials. Cleaning supplies, such as a broom and a vacuum, ensure the surface is ready for the rubber flooring, preventing issues like uneven adhesion.
- Safety Gear– Lastly, prioritize safety gear. Wear appropriate protective gear, including gloves and safety glasses, to safeguard yourself during installation. Safety should always be a top priority when working with tools and adhesives.
Step-by-Step Installation Guide
Now, let’s get into the nitty-gritty of how to install your rubber flooring. Follow these steps for a seamless process that guarantees a professional-looking finish.
Step 1 – Preparing the Subfloor
Before laying the rubber flooring, it’s crucial to prepare the subfloor thoroughly. Ensure that the surface is clean, dry, and free from any debris or imperfections that could affect the adhesion of the rubber rolls. Proper preparation of the subfloor sets the stage for a successful installation, providing a stable foundation for the rubber flooring to adhere to.
Step 2 – Laying the First Roll
The rubber flooring process always starts by laying the first roll. This initial step sets the foundation for the installation, so proceed precisely. Begin at a reference point, ensuring proper alignment and adhesion as you roll out the rubber flooring. Take extra care at corners and edges to create a smooth and visually appealing transition.
Rubber rolls establish the pattern and tone for the entire flooring area. Resist the temptation to rush through this step; the success of the whole installation hinges on this initial foundation. As a general tip, it’s usually best to start with a corner when doing a wall-to-wall installation.
Step 3 – Securing the Flooring
With the first roll laid out, the next critical step is securing the flooring in place. This involves a thoughtful choice between adhesives and tapes, each with its own set of advantages and considerations. Adhesives provide a robust, long-term solution, ensuring a solid bond between the rubber flooring and the subfloor. This option particularly benefits areas with high foot traffic or heavy equipment use.
On the other hand, tapes offer flexibility, allowing for easier adjustments and repositioning during installation. Consider your space’s specific needs and the expected activity level when choosing between adhesives and tapes.
Pay attention to seams and edges during this phase. Ensuring a seamless and well-finished appearance at these critical points contributes significantly to the overall aesthetics and longevity of the rubber flooring. To guarantee a flawless result, take the time to address potential issues, such as air pockets or uneven adhesion.
By securing the flooring with precision, you not only enhance its durability but also elevate the visual appeal of your space. This attention to detail ensures that your rubber flooring doesn’t just serve a functional purpose but becomes a stylish and integral part of the overall design.
DIY vs. Professional Installation

Now, let’s dive into the classic dilemma: should you embark on a do-it-yourself (DIY) endeavor or seek the expertise of professional installers? Each approach has its advantages, and the decision hinges on your unique circumstances and preferences.
When to Consider Professional Help
Undoubtedly, the appeal of a DIY project is strong, offering a sense of accomplishment and potential cost savings. However, there are instances where the complexity of your space or the scale of your project may tip the scales in favor of professional assistance. For intricate layouts or expansive areas, the precision and experience professionals bring can significantly impact the overall outcome.
Consider the following factors: the size of your project, the intricacy of the design, and your comfort level with the installation process. If your project involves complex spaces, intricate patterns, or extensive square footage, enlisting the help of professionals ensures that the installation is efficient and attains the high standards necessary for a flawless finish. It’s a thoughtful investment that guarantees your rubber flooring becomes a seamless and durable part of your space.
Maintenance and Care of Rubber Flooring

Your rubber flooring is an investment, and proper maintenance ensures it stands the test of time. Regular cleaning with mild detergent is key to preserving its appearance. Avoid harsh chemicals that can compromise the material. For example, never use solvent or oil-based cleaners such as Pine-sol, as they can cause damage to the rubber floor. Consult our experts for customized advice based on your specific flooring type when in doubt.
Elevate Your Space with Flooring Inc.
Transforming your space with rubber flooring is a rewarding and modern addition to any environment. We’ve guided you through the installation process, underscoring the significance of preparation, the utilization of the right tools, and the essence of proper maintenance. Whether upgrading your home gym or rejuvenating a commercial space, rubber flooring is a dependable and stylish choice.
Remember, the decision between a DIY approach and professional installation hinges on the scale and complexity of your project. Whichever path you choose, you’re not just investing in flooring; you’re selecting a foundation renowned for its durability, comfort, and aesthetic appeal. At Flooring Inc., we offer top-tier rubber flooring options, ensuring that your investment reflects our commitment to quality and your desire for a space that truly stands out.
ORDER FREE SAMPLES SHOP ALL RUBBER FLOORING
Ciana Gitre is a proud Advertising graduate of Washington State University. She translated her love of interior design and creative writing into her career aspirations at IncStores. She hopes to educate and help buyers find optimal flooring solutions for all their commercial and residential needs.
Dura Lock Rubber Tiles
Our rubber floor tiles are resistant to mold and mildew growth, and are as easy to install and maintain as your favorite workout routine.
Shop Now >>
8mm Strong Rubber Rolls - Designer Series
With our industry-leading full 5-year warranty, you can rest assured that this rubber flooring will withstand even the most intense gym sessions.
Shop Now >>
Next-Day Rubber Rolls
Upgrade your space today with durable, stylish, and conveniently fast rubber flooring. Don't wait – choose Next-Day Rubber Rolls for your flooring solutions!
Shop Now >>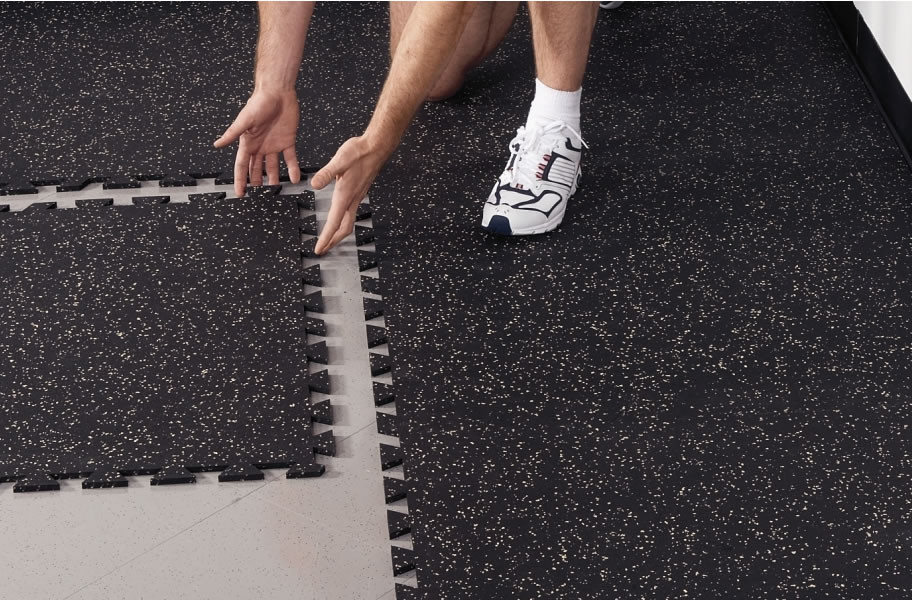
3/8" Tight-Lock Tiles™ w/ Removable Borders
Each tile comes with removable edge pieces meaning the tile can be used as a border, corner, or center without having to custom cut the tiles.
Shop Now >>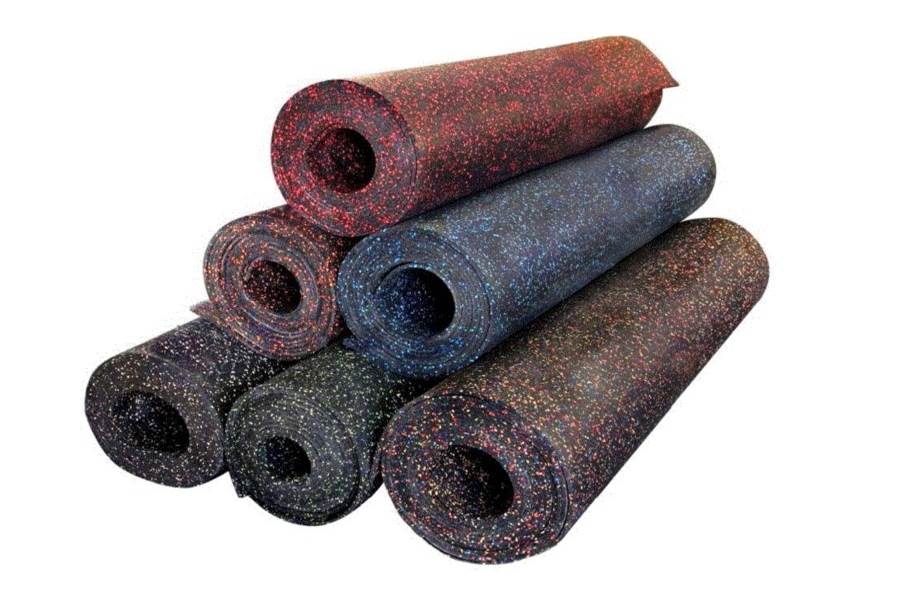
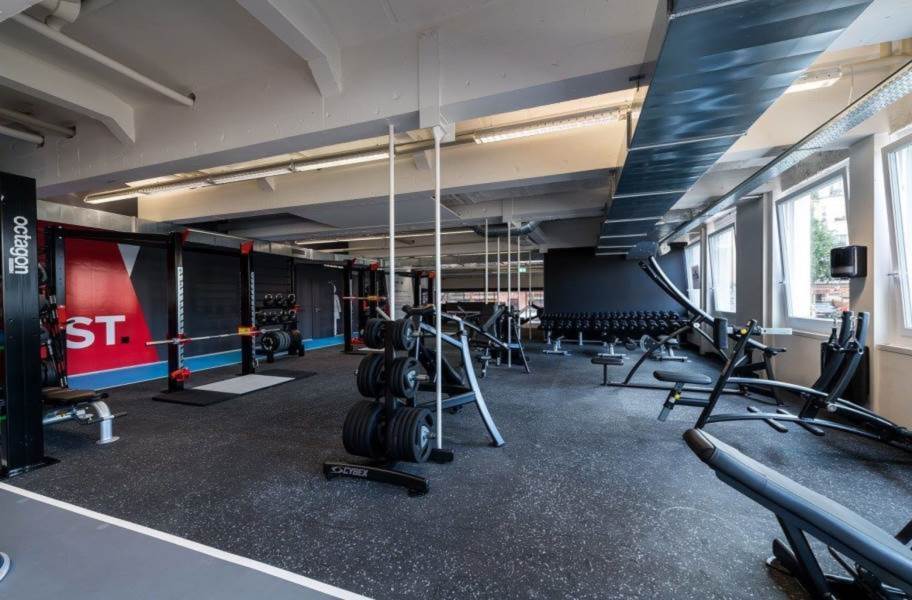
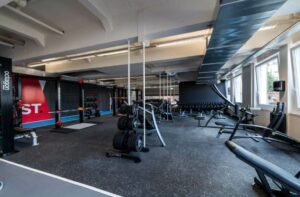
Rubber Gym Rolls
Crafted from high quality recycled rubber, our gym rolls provide superior shock absorption, noise reduction, and anti-slip properties, ensuring a safe and comfortable workout experience.
Shop Now >>
