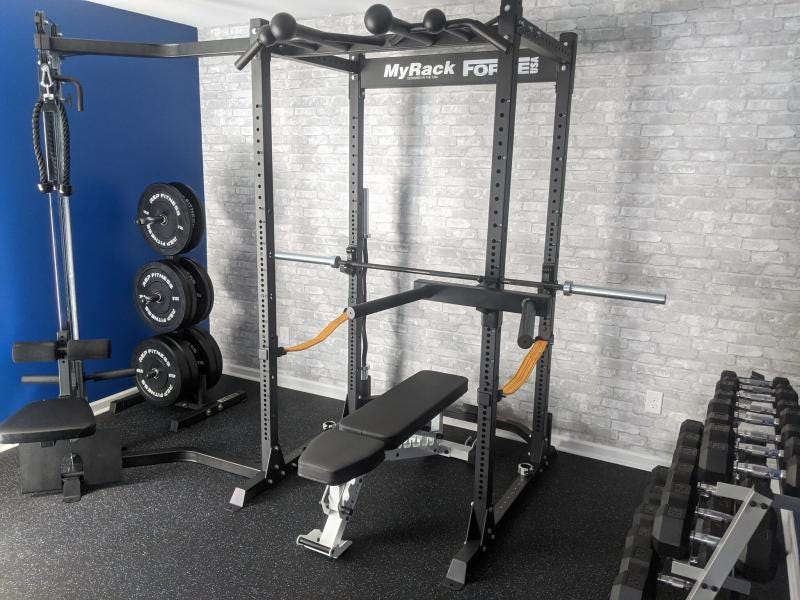
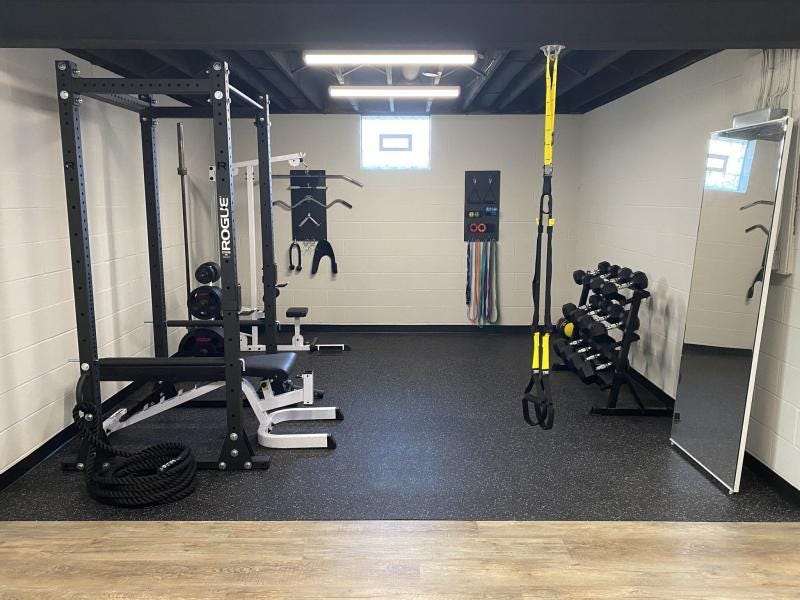
Rubber flooring rolls are one of the most durable and versatile options for covering your floors. Whether you’re outfitting a gym, basement, or any high-traffic area, these rolls deliver unmatched benefits like shock absorption, sound insulation, and slip resistance. Plus, they’re relatively easy to install, even for a DIY enthusiast.
If you’re wondering exactly how to install rubber flooring rolls, you’ve come to the right place. This step-by-step guide will walk you through the entire process, from preparation to the finishing touches, so you can achieve a flawless result that stands up to heavy equipment, frequent use, and whatever life throws at it.
#1. Prepare Your Workspace

Before diving in, it’s crucial to ensure your installation area is clean and ready to go. Start by removing any excess dirt, dust, and debris, as these can interfere with the adhesion or placement of the rolls. If you’re installing on a concrete subfloor, make sure it’s smooth and dry to allow the rubber material to sit evenly. For wood subfloors, double-check for loose boards or nails that might create an uneven surface.
If you’re replacing old carpet or flooring, make sure to remove it entirely and inspect the subfloor for any damage. A clean, stable base sets the foundation for a smooth rubber flooring installation.
#2. Measure and Mark Your Floor


Accuracy is essential when laying down flooring rolls. Use measuring tape to determine the room's dimensions and calculate the number of rolls you’ll need. Add an extra 10% to account for excess rubber due to trimming and adjustments.
Once measured, use chalk or painter’s tape to outline the layout on the floor. Mark where each rubber roll will be placed, ensuring proper alignment and avoiding gaps between adjacent rolls. Taking the time to carefully plan the layout will save you headaches later.
#3. Acclimate the Rubber Rolls
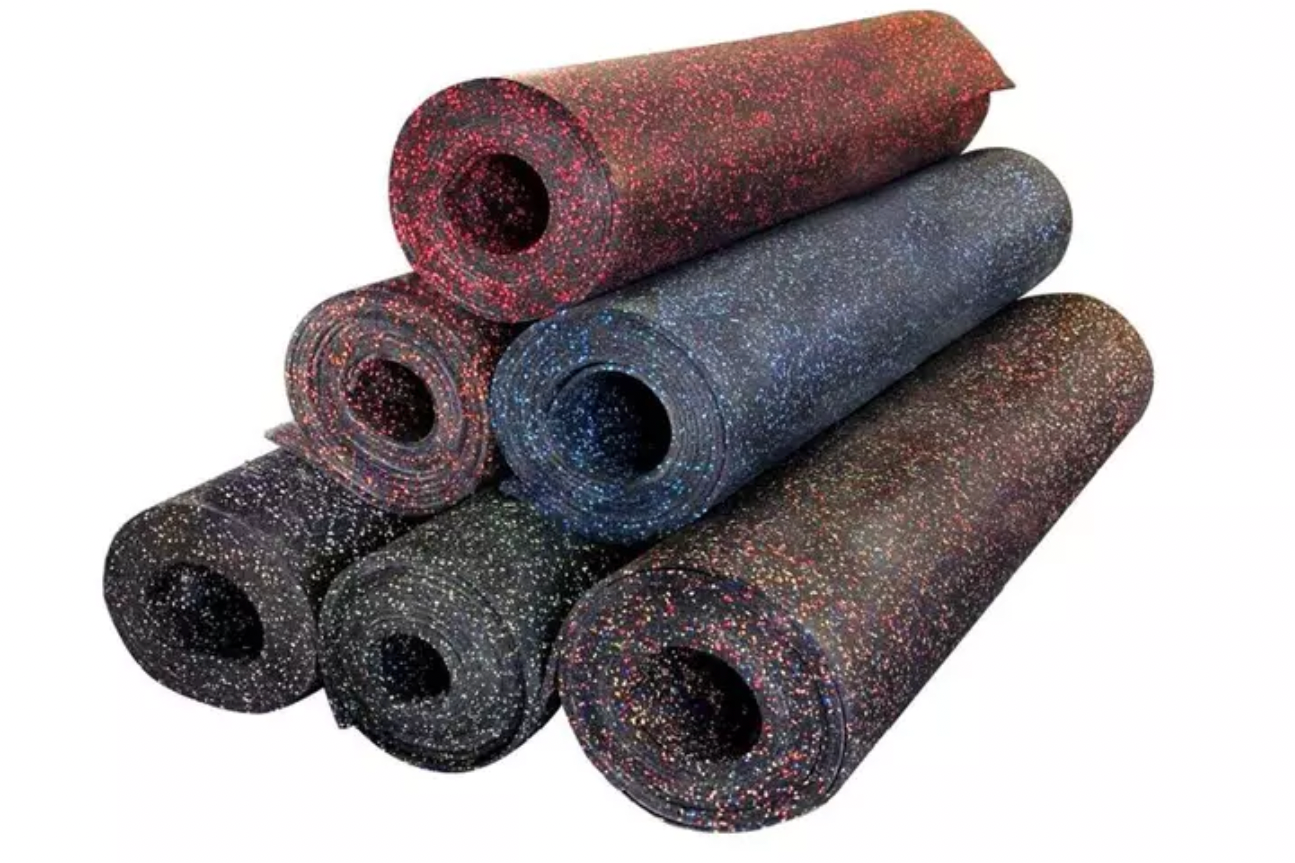

Rubber flooring rolls need time to adjust to the room’s temperature and humidity levels before installation. Lay the rolls out flat and allow them to acclimate for 24–48 hours. This step is critical to prevent shrinking or warping once installed, especially in spaces that experience temperature fluctuations, like garage flooring or basements.
During this time, you can double-check your measurements and explore more about rubber tiles vs. rolls to ensure rolls are the best choice for your project.
#4. Cut the Rolls to Fit
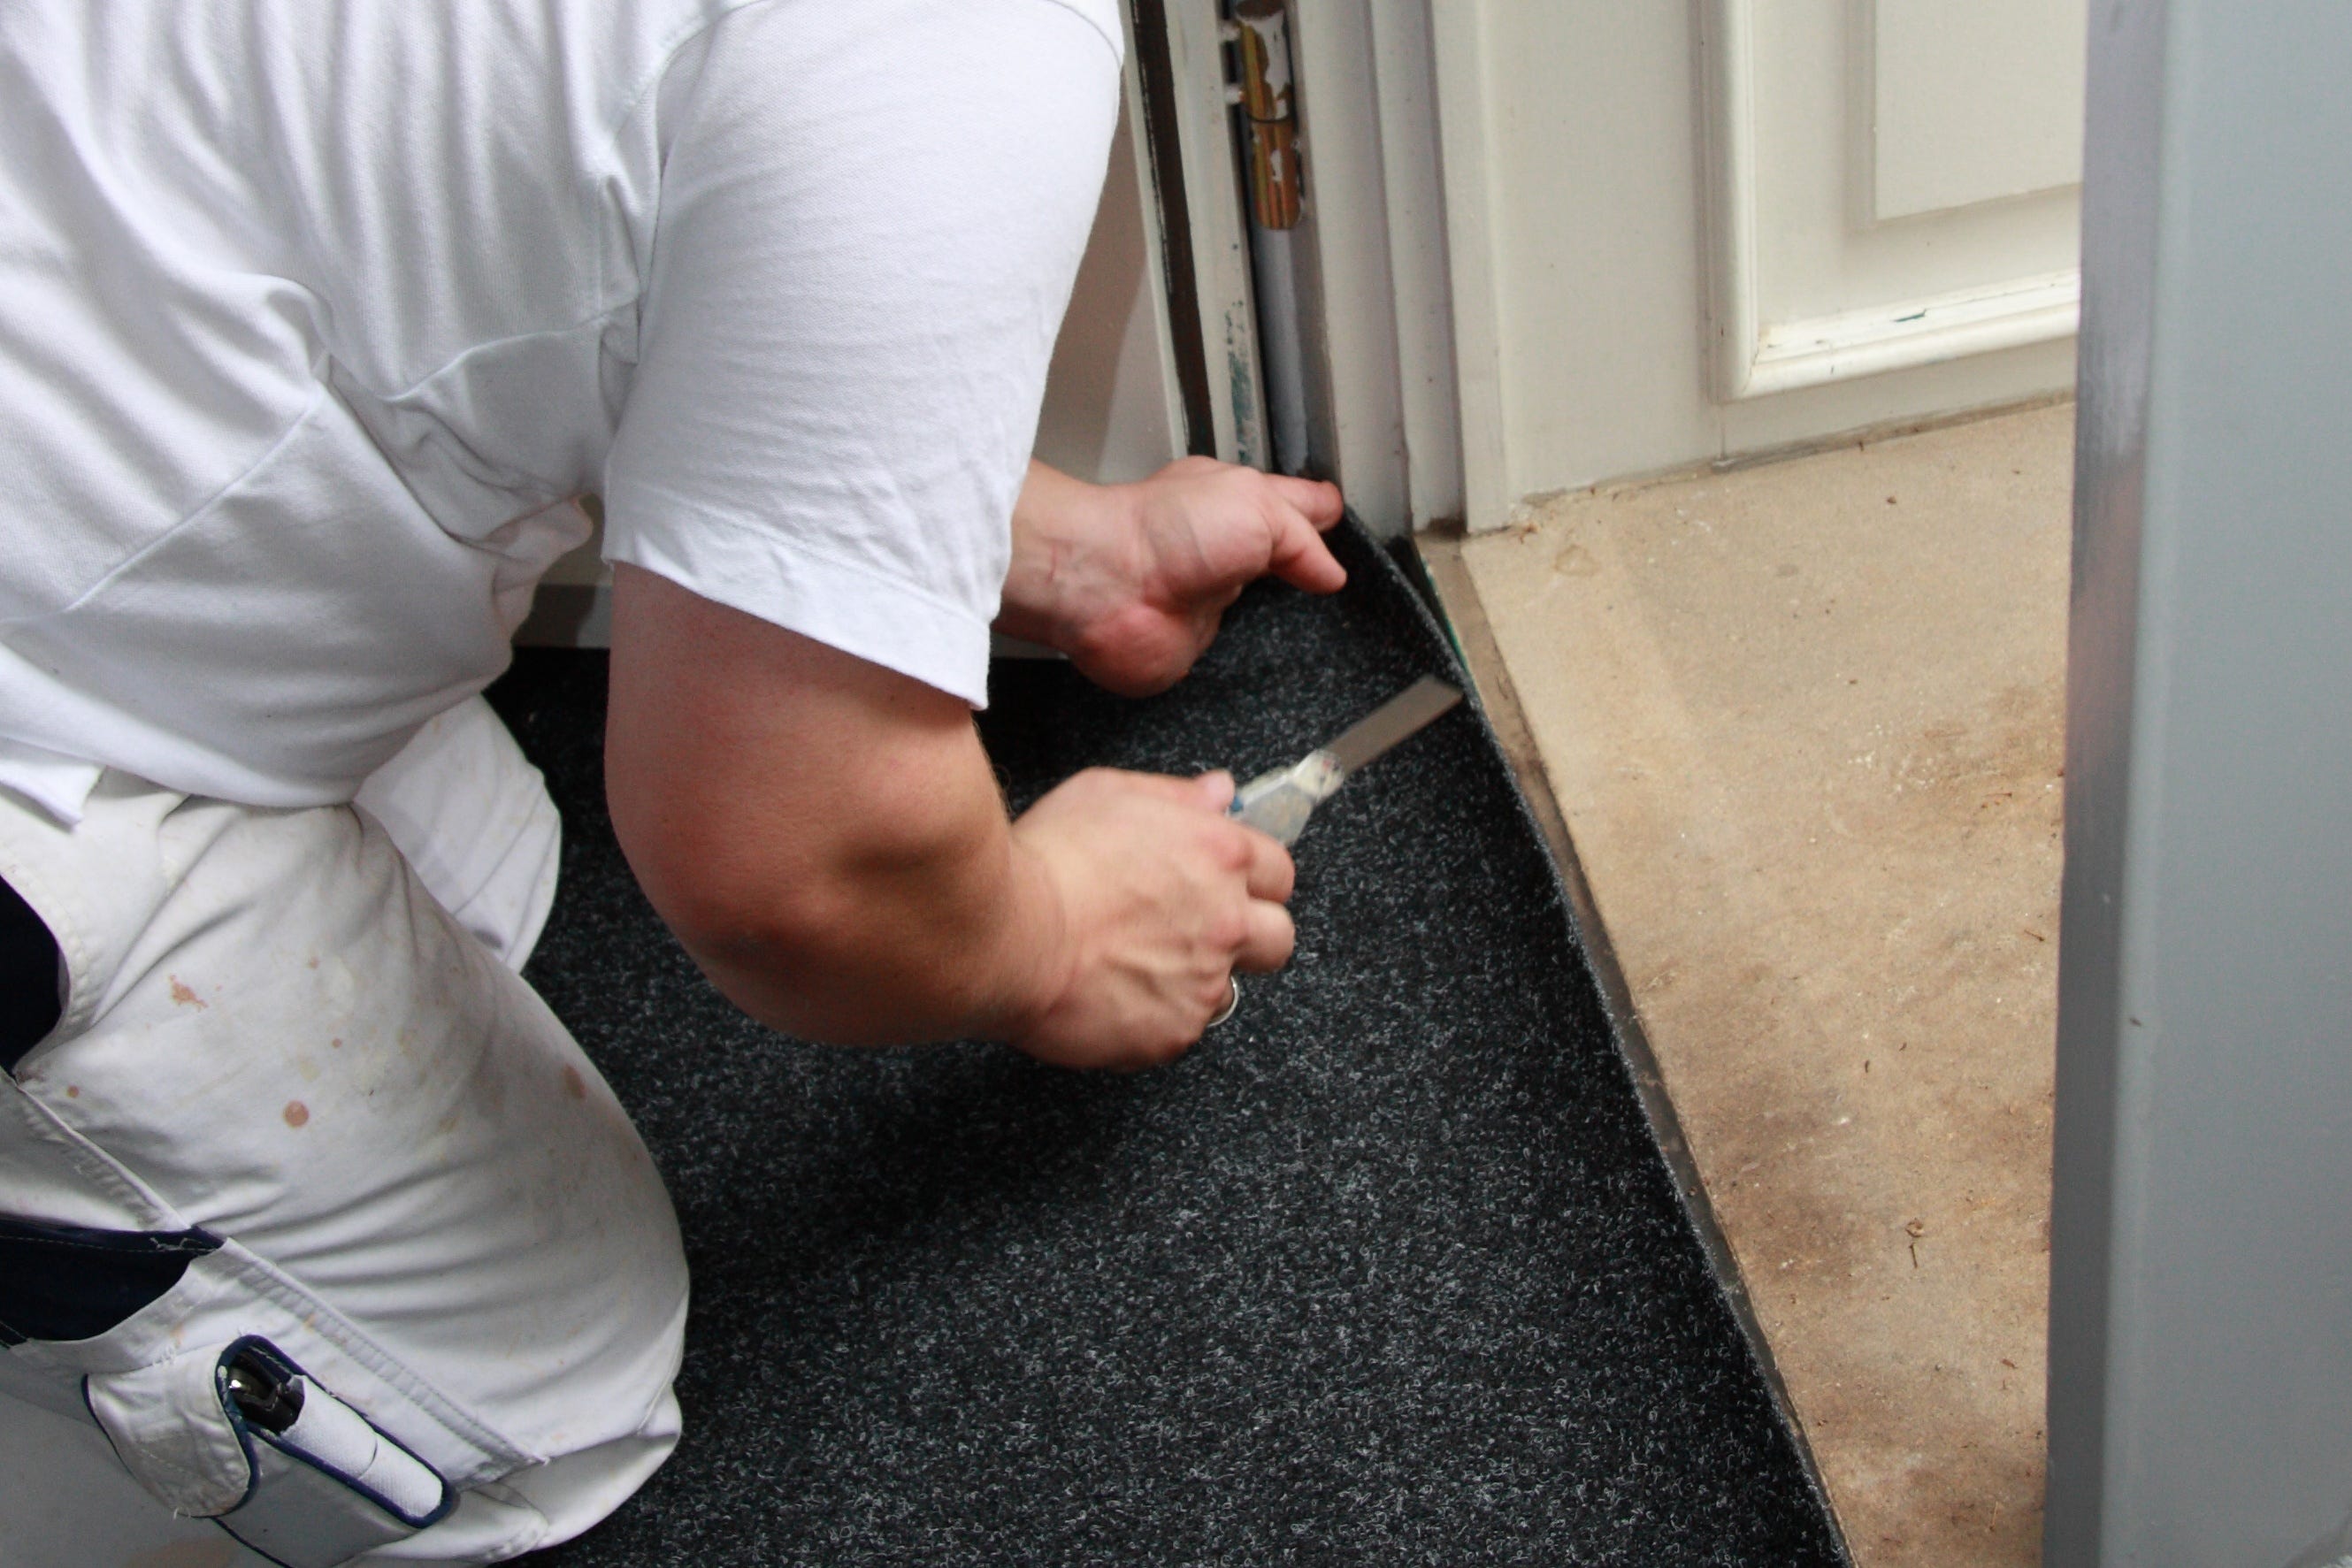

To achieve a professional look, you’ll need to cut your rubber flooring rolls to fit the room’s dimensions perfectly. Using a straight edge and a sharp utility knife, trim the rolls to size. For areas with obstacles, like columns or corners, cut carefully to ensure a snug fit.
It’s always better to cut slightly oversized and trim down during placement rather than risk gaps. If you’re covering an entire floor, make sure your cuts are precise to allow adjacent rolls to meet seamlessly.
#5. Apply Adhesive (Optional for Permanent Installation)
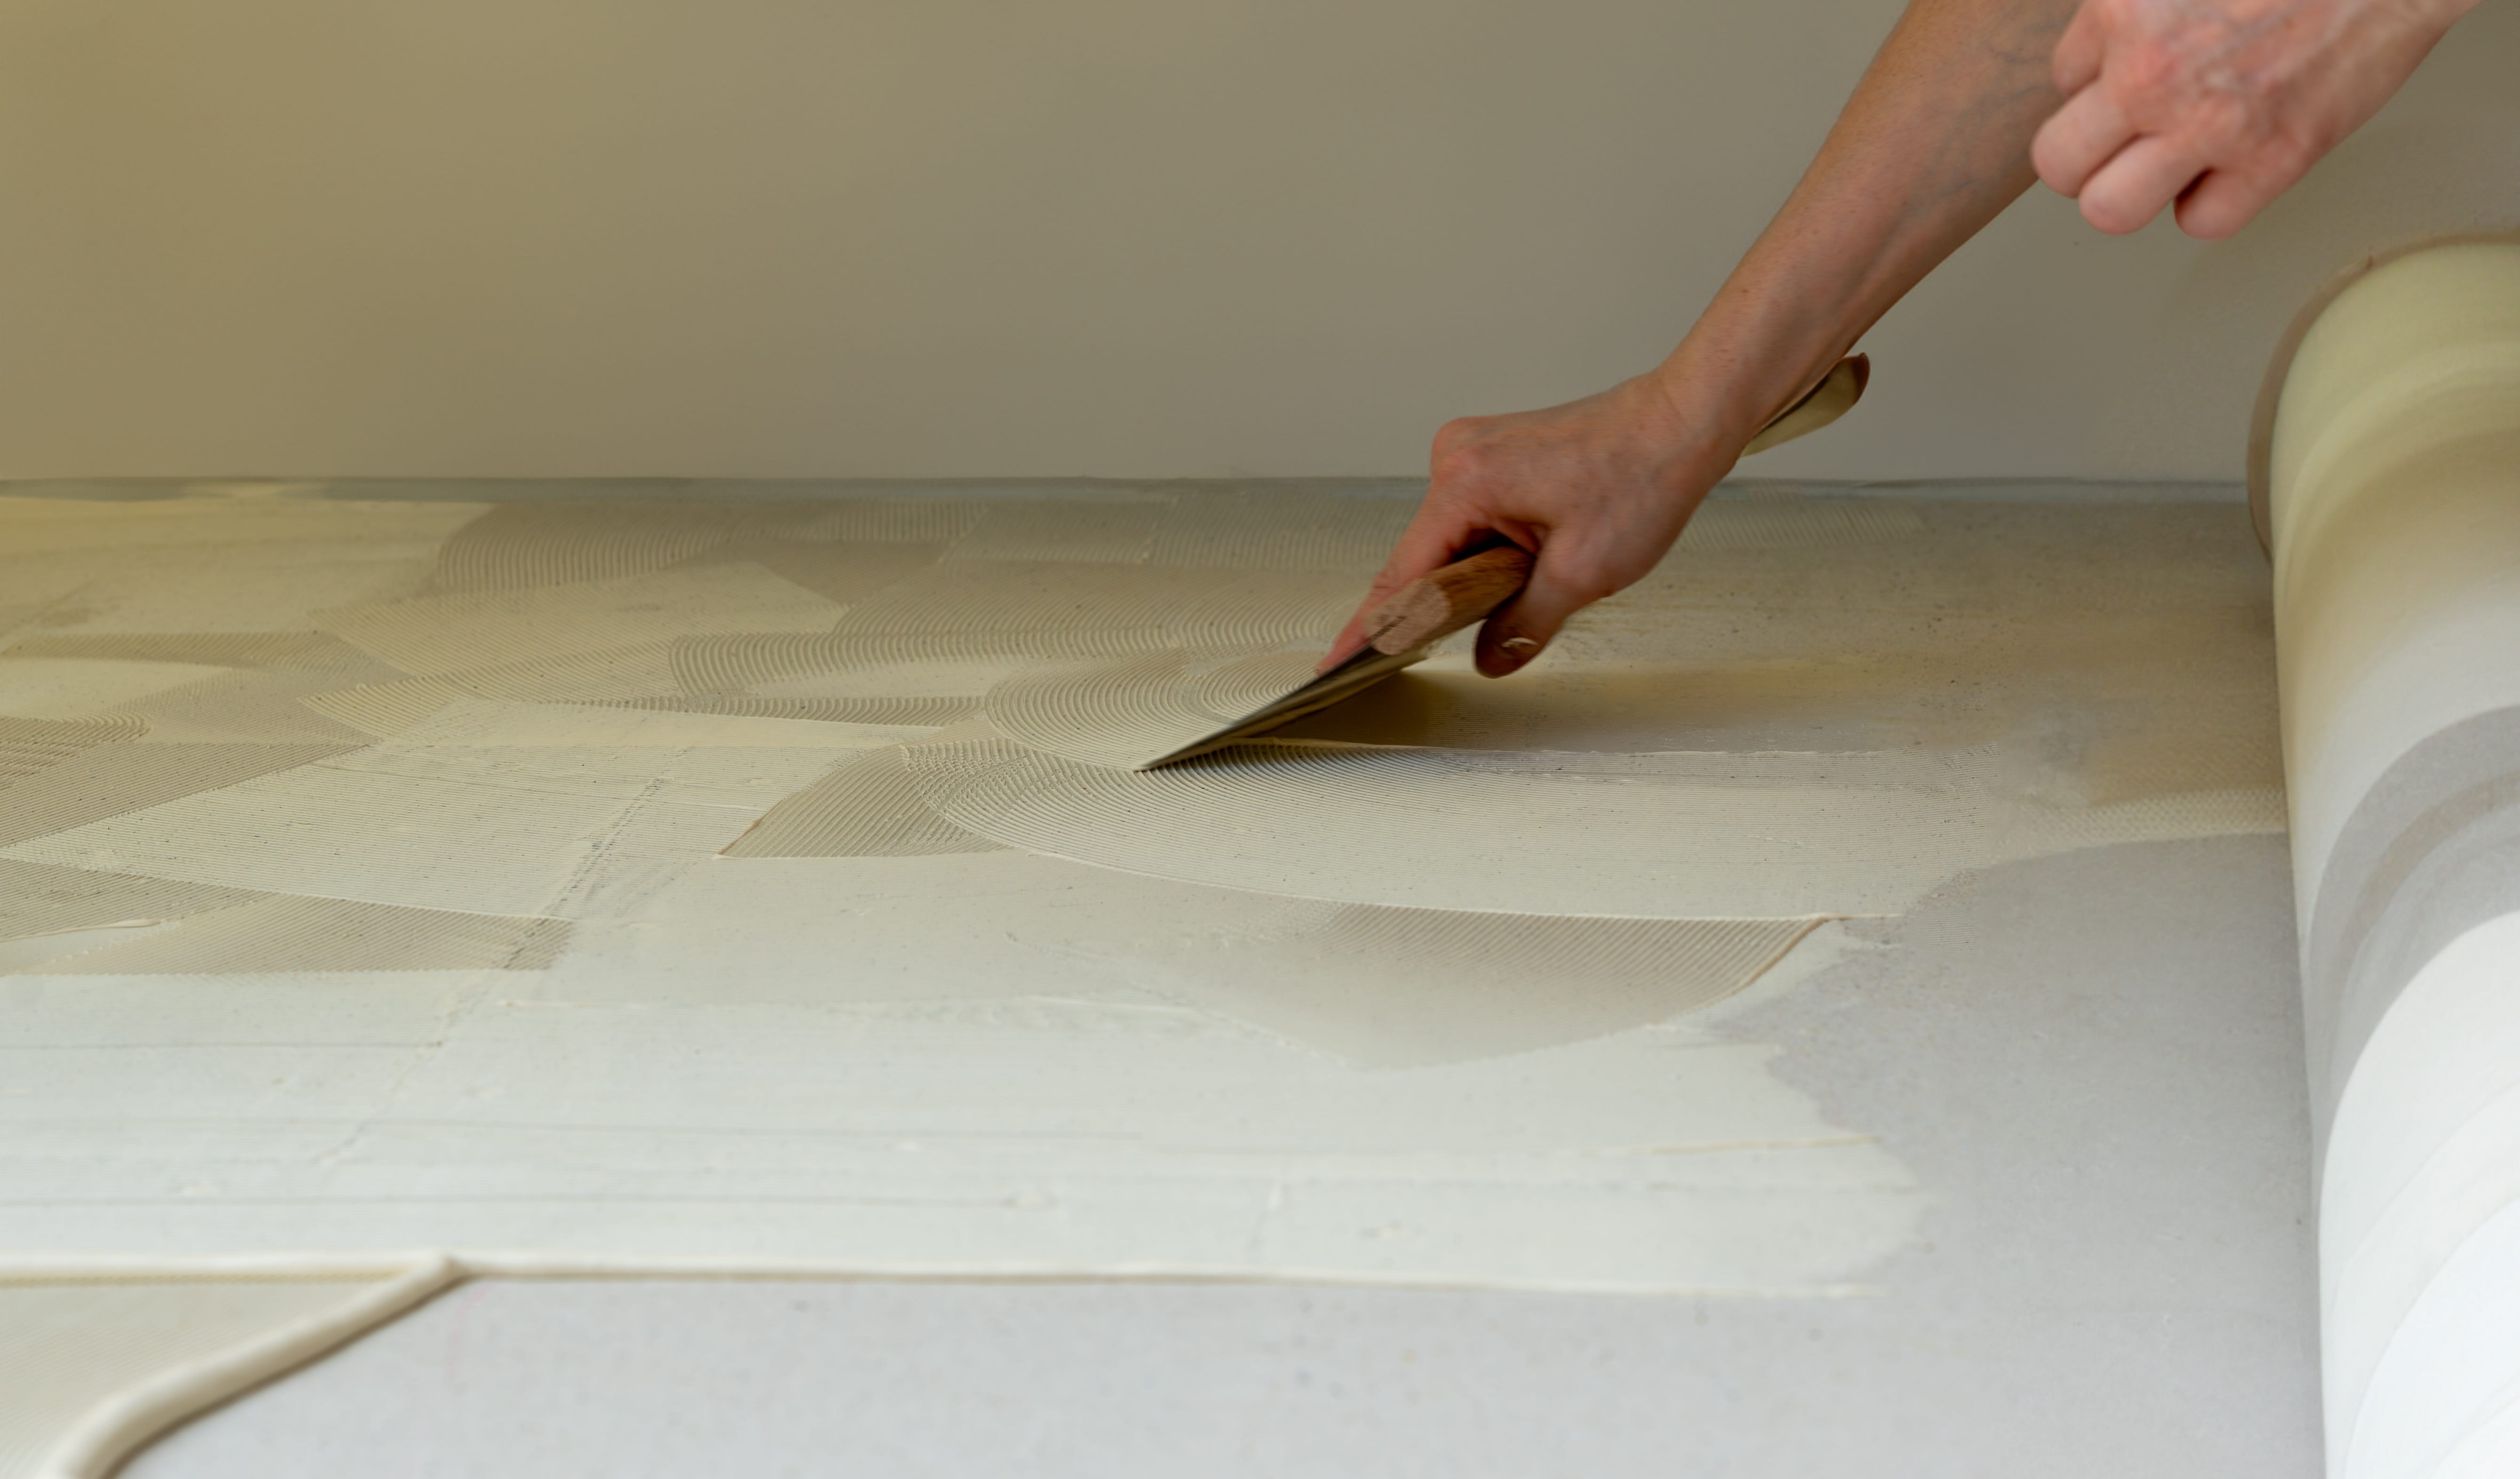

For a secure and long-lasting installation, applying adhesive is highly recommended, especially in high-traffic areas or for industrial flooring. Use a quality adhesive designed for rubber flooring, spreading it evenly across the subfloor with a trowel.
For a more temporary setup, double-sided tape can provide sufficient grip while allowing for easier removal later. If you’re working in a smaller space, like a home gym or office, you may choose to skip adhesives entirely, as the weight of the rolls often holds them in place.
#6. Place the Rubber Rolls
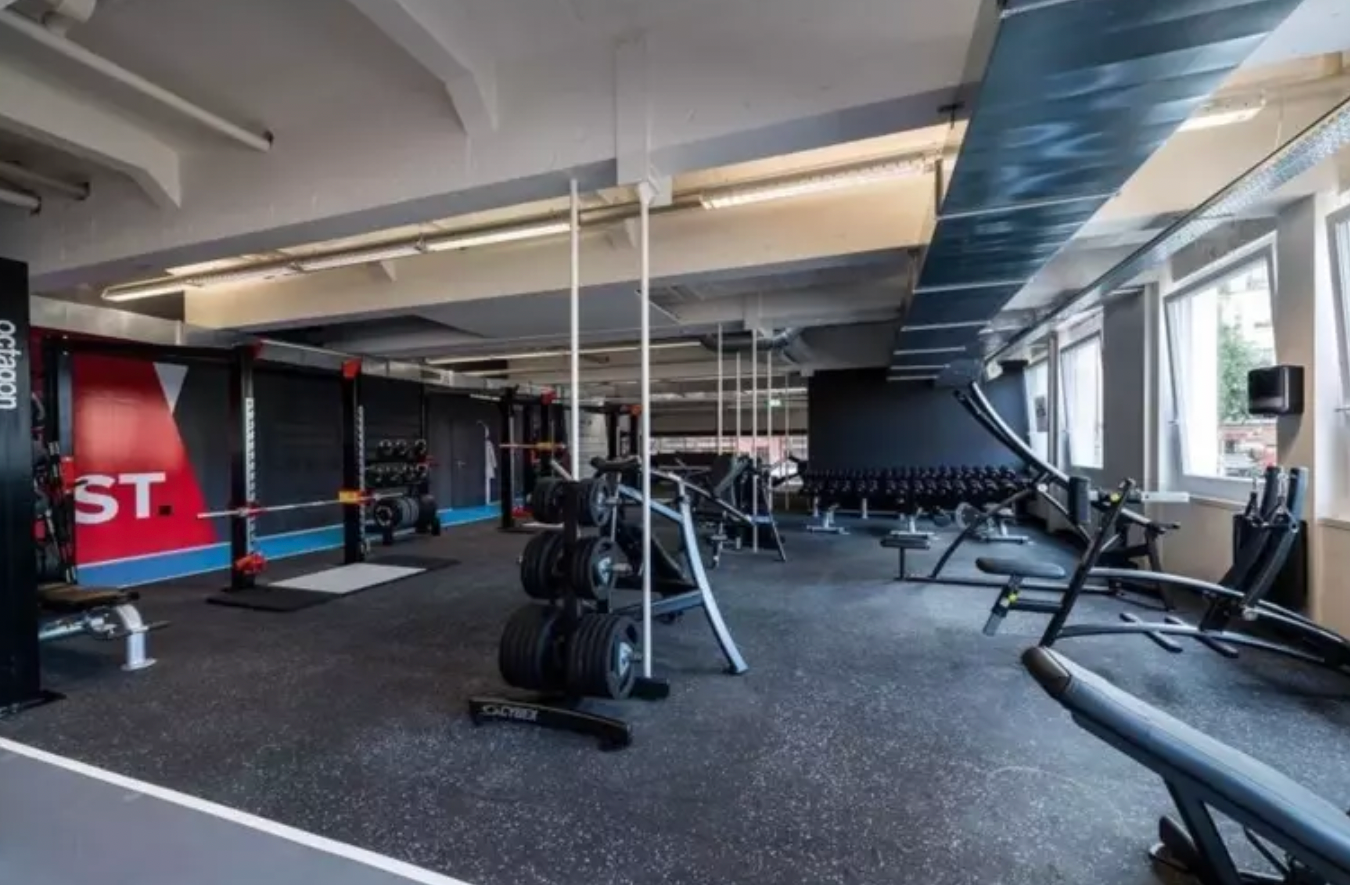

Start laying down the rubber rolls from one end of the room, aligning them carefully with your pre-marked layout. Work slowly, ensuring each roll fits snugly against the walls and aligns perfectly with adjacent rolls.
For larger areas, it’s helpful to have someone assist you to keep the rolls straight as you work. Avoid overlaps and make sure there are no gaps, as these can affect the overall durability and appearance of the flooring. If you’re unsure how much material you’ll need, check out our rubber roll size guide for additional guidance.
#7. Smooth and Press the Rolls
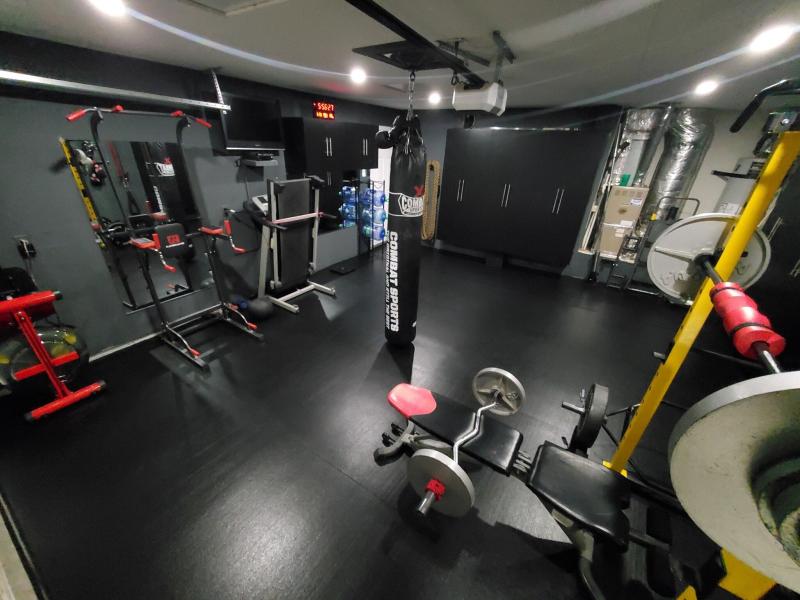

Once all the rolls are in place, it’s time to smooth them out and ensure proper adhesion. Use a carpet roller or a similar heavy tool to press the rolls firmly into the floor. Start from the center and work your way outwards to eliminate any air pockets or bubbles.
This step ensures a secure bond with the subfloor (if adhesive was used) and creates a smooth, professional finish. Pay extra attention to the edges, especially around walls or obstacles, to prevent lifting over time.
#8. Trim and Finish
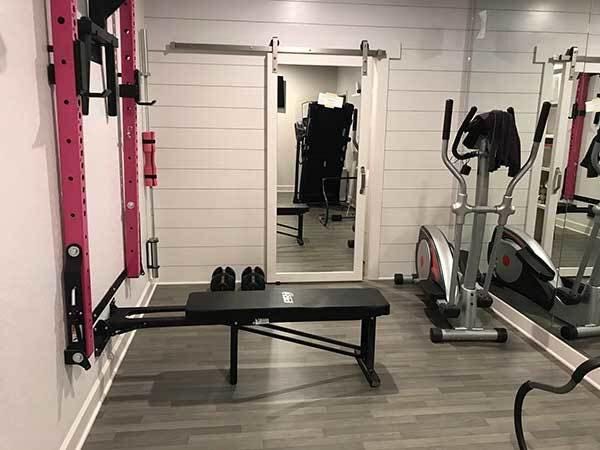

The final step is trimming any excess material to achieve a clean, polished look. Use your utility knife and straight edge to cut along the edges of the room, making sure the flooring fits perfectly against walls or adjacent surfaces.
After trimming, inspect the entire floor for any loose spots or bubbles. If needed, reapply adhesive or tape to secure those areas. Once everything is in place, your installation is complete, and you’re ready to enjoy the benefits of your new rubber flooring.
A Flawless Finish
Installing rubber flooring rolls doesn’t have to be complicated. With the right preparation, tools, and attention to detail, you can achieve a professional-quality finish that’s perfect for gym flooring, garage flooring, or any high-traffic space.
Ready to transform your space? Explore our wide range of rubber flooring options today, and let Flooring Inc. help you get started with ease. Whether you’re outfitting a home gym or a commercial space, we have the flooring you need.


