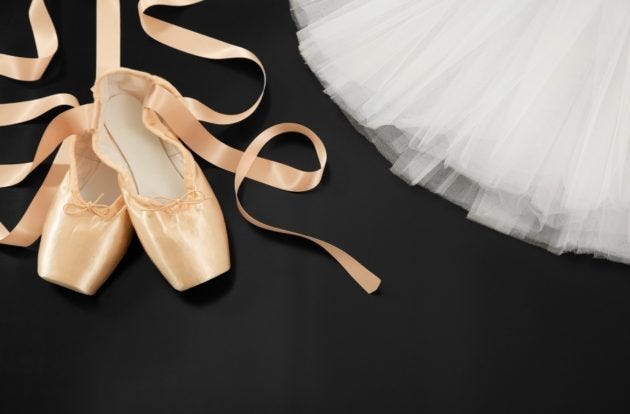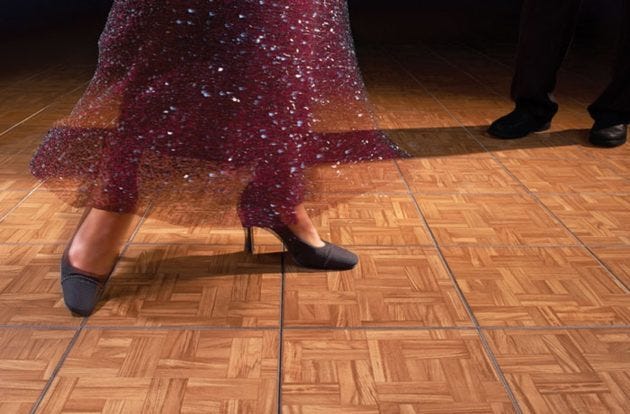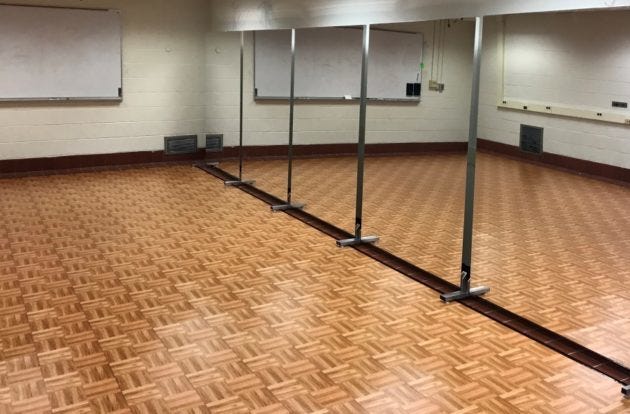
Every dancer deserves flooring that will work with their turns, leaps, and explosive movements during practices and recitals.
With so many materials and options to choose from, it can be overwhelming to decide what’s best for your dance style! Explore our in-depth dance flooring guide for answers to the most common flooring questions and discover helpful tips and tricks to decide what’s best for you!
What is a Dance Floor? The Basics
A dance floor, also known as a performance floor, is a non-slip surface that allows dancers, event guests, and anyone on the dance floor to feel comfortable while dancing on it. Dance floors come in an array of sleek looks to complement any room or backyard event. The best part — you don’t have to be a professional to enjoy the benefits of a dance floor!
Where Can You Use Dance Floors?
Dance floors make a fantastic floor surface for all sorts of activities! Ready to get your groove on? Let’s leap into the possibilities.
- Weddings and events: Dance floors are not just for aspiring performers. You can use dance floors at social gatherings, birthdays, weddings, and business events! Temporary dance floors are the perfect choice for anyone looking for comfortable, stylish, and durable floors that won’t get scuffed up after a night of having fun. If you’re a business owner, having your own portable dance floor is extremely cost-effective in the long-run.
- Practice at home: Looking to get some extra practice on your pirouettes or full hip-hop routine? You can bring the studio home to you with dance floor packages and portable dance tiles and rolls.
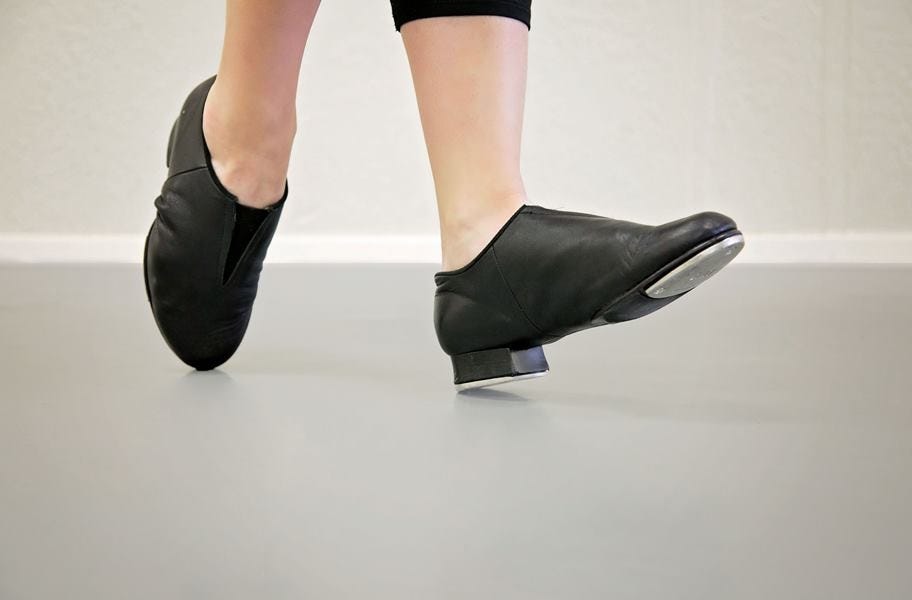
- Dance studios: Studios often have various dance floors throughout their facilities to ensure their dancers have surfaces that work well with their dance class style. Specialized dances, such as tap, require different flooring from lyrical and ballroom.
- Theaters: Many musical theaters take advantage of resilient and heavy-duty dance flooring for their production rooms and stages. Many musical productions include heavy choreography that requires supportive flooring.
Are Dance Floors Necessary?
Yes, dance floors are a necessity for a safe dance environment! Surfaces like concrete, tile, grass, and even the average hardwood floor can be painful and uninviting to dance on.
There are several benefits to having dance floors as your flooring choice. Below are just a few:
Pros of Dance Floors:
- Protects your body: Protecting the joints is an essential part of every dancer’s routine. One of the most significant factors for prevention is dancing on performance floors. With a supportive subfloor that absorbs shock, dancers can use it comfortably and reduce injury risk.
- Slip-resistant: Dance floors have materials that offer just enough slip for pirouettes and grip for leaps and acrobatics. Rest assured that your dancers will have the control they need to hit precise choreography during their routines.
- Promotes energy: Hours of floor work can be draining on dancers’ joints. The type of floor a dancer moves on directly impacts the amount of energy and force they can produce.
What are Dance Floors Made Out of?
Dance floors are made out of several different materials. We listed four of the most common options you’ll find in dance studios.
- Marley vinyl rolls: Vinyl dance floor rolls, commonly referred to as Marley floors, are the most popular and versatile choice among floor materials.
- Plastic interlocking tiles: Hard plastic dance tiles are one of our most versatile options. They work great as a stand-alone dance floor, above the carpet, or underneath Marley vinyl floors. As a subfloor, they provide a sturdy foundation compared to other options that may be too soft for specialized dance styles, like pointe.
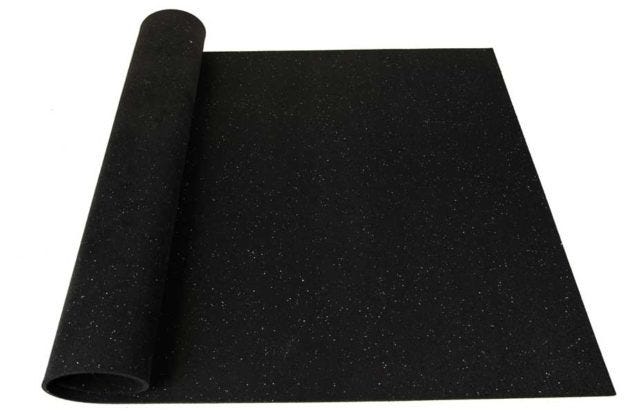
- Sprung foam and rubber subfloors: Dance subfloors often contain foam or rubber material, which create a cushioned yet sturdy surface that helps aid dancers’ joints. Rubber dance underlayments and mats are shock-absorbing and help reduce the stress on dancers’ legs. This material is excellent for drill and dance teams looking to do more plyometric training.
| Related Content >> Dance Subfloor Buying Guide |
What are Marley Dance Floors?
Marley floors are dance floors that consist of multi-layered sheet vinyl. From beginners to advanced performers, Marley vinyl floors are loved because of their versatility.
Marley dance floors can be used for all types of dance thanks to their smooth, heavy-duty vinyl material that allows dancers to have full control of their body movements.
How Do You Choose Between Dance Floor Rolls vs. Tiles?
Both rolls and tiles are dance flooring favorites! You can count on them being reliable, so your show can always go on.
Dance Floor Rolls: If you’re looking to cover a large space in a dance studio, rolls are a perfect choice. They create a seamless, professional look that’s easy to install both temporarily and permanently.
Our most popular vinyl floor option, ProStep Dance Floor Rolls, is fantastic for performance stages looking for a non-reflective, non-skid surface.
Dance Floor Tiles: For temporary flooring or dance styles that need strong acoustics, dance floor tiles offer stylish looks that are sure to impress your dancers and audience. Dance floor tiles come in solid-colored, wood, and stone looks that match any space.
You can purchase Practice Dance Tile Kits to make your garage or basement a dance studio for additional choreography practice.
| Related Content >> Portable Dance Floor Buying Guide |
How Big of a Dance Floor Do You Need?
Your dance floor size depends on your needs, like how many dancers you plan to have for one routine and if you plan on using your space for multiple occasions.
Our tiles and rolls also come in various pre-configured and custom order square foot options so that you can build your dance floor vision with the perfect amount of material.
Our Guideline
We recommend the rule of thumb of 9 sq ft per couple:
- 3' x 3' - Personal practice dance floor.
- 5' x 5' - Personal practice dance and aerobic floor.
- 8' x 8' - Dance floor and event floor for up to 8 couples.
What’s the Best Type of Dance Floor?
The best floors for dancing begin with the material and dance style they were designed for. In many cases, rolls and tiles will offer the same resiliency, style, and durability benefits. Here are just a few of our favorites.
For jazz, lyrical, ballet, and ballroom dance styles: Our VersaStep Dance Rolls are the perfect option! They’re our most versatile Marley option and work well to give the grip and stability that every dancer desires for a floor.
For hip-hop, tap, flamenco, and Irish jig: Practice Dance Tiles are a classic choice! You’ll get clear acoustics and foot support for the detailed sole and partner choreography.
For touring companies and multi-use dance studios: ProStep Dance Rolls work well with soft-soled shoes, meaning they can be used with many styles, like advanced pointe. ProStep comes in a full roll and custom cut options, making it a budget-friendly choice for home installations and on-the-go flooring while traveling.
| Related Content >> Dance Floor Tile Buying Guide |
Can You Tap Dance on a Marley Floor?
Yes, you tap dance on tap-approved Marley floors! You’ll want to confirm your manufacturer’s product specifications to be sure it will remain durable enough for hard-sole shoes and create precise, loud acoustics for this style of dance.
Dance Floor Installation
How Can You Install Dance Floors?
- Temporary: Portable, also known as temporary dance floors, are lightweight for traveling dance companies, dancers on the go, and event flooring. Many options come as interlocking dance floor tiles, which are easy to install and store away either stacked or stored in a bag.
- Semi-permanent: Semi-permanent flooring is often achieved with double-sided dance floor tape and maintained in a space for an extended time. Semi-permanent is a popular choice for those looking for a stronger temporary installation that requires minimal effort to remove.
- Permanent: Permanent installations are the most common and strongest hold for dance studio flooring. With proper installation, your dance floors should last for years and remain buckle-free.
Installing dance floors is relatively easy to do, especially if you have one to two helpers! Many of our customers can install in just a few hours to less than a day.
Do You Need a Subfloor for Dance Floors?
A subfloor acts as a protective barrier between your floor foundation and the main dance floor. It’s easiest to think of it as everything underneath the performance floor.
It’s important to have resilient material, such as dense foam, hard plastic, or rubber, to absorb the energy going from the main floor into the subfloor. Subfloors are required to make sprung dance floors, which provide stability and support for dancers’ joints.
If you don’t plan on having a subfloor, a sheet of plywood will help create a barrier between unforgiving foundations, such as carpet, tile, and concrete.
What Do You Put Under a Marley Floor?
For Marley floors, it’s recommended that you put a high-density subfloor underneath. For ballet on pointe, use a plyometric rubber subfloor instead of other softer-options under Marley floors.
To prevent your subfloor and performance floor from disconnecting during routines, you will need to make sure you use double-sided tape during installation.
Is Installing a Dance floor DIY-friendly?
Yes, installing dance floors is achievable as a DIY-er! You will need to follow directions closely and confirm your manufacturer’s product specifications match your desired installation.
Are you searching for something easy, temporary, and portable? We recommend interlocking dance tiles, as their installation calls for no adhesive and can be pulled apart when needed without hassle.
If you intend to install for long-term flooring, dance rolls are a durable choice that leaves a seamless and professional appearance to any dance room.
How Do You Install a Temporary Dance Floor?
Depending on whether or not you have portable dance floor tiles, your temporary installation will be different.
Temporary dance floor tile installation:
- Prep your surface and clean it of any dirt, dust, and grease.
- Begin at the top left corner of your designated dance floor area and place a tile with male edges (no loop) facing the top-left direction. Make sure the female sides (loops) of the tile face the bottom right direction.
- Attach your second tile to the right side of the first tile and interlock the loops. Repeat step #2 until you’ve completed a row.
- Follow the installation process to fill the rest of the rows to create the full dance floor size.
- Once you’ve interlocked your dance floor, snap the edge pieces together if you purchased them. Snap the male edges first across your floor and finish with the female tile edges.
Note: When coming up to a wall, door jamb, or object, measure and cut around the tile to remove excess material. Use a tile cutter or power saw with a fine-toothed blade to ensure a smooth polished look. Remember to leave about ¾” space between the wall and tiles for proper ventilation.
Double-sided tape installation:
As Marley dance floor rolls can slip and shift apart from their adjacent rolls, it’s vital to secure them with tape. You will find this method to be the most common installation for vinyl flooring.
- Clean and prep the subfloor.
- Loose-lay your rolls and allow for 24-48 hours for your rolls to acclimate. Organize rolls in the direction you want for the completed look.
- With a new utility knife, measure the excess material and cut the rolls to fit your desired space. Allow for a ¼” gap around the rolls to allow for expansion and contraction.
- Apply double-sided carpet tape on the underside of each roll or the perimeters of adjacent roll sides.
- Secure your rolls together from the top with mat tape.
- Complete your floor by applying tape in any other desired areas to keep your rolls secure.
| Related Content >> How to Install Home Dance Studio Flooring: DIY-Friendly Tips |
How Do You Install a Permanent Dance Floor?
Before permanently installing your dance floor, make sure you have the following items: utility knife, dance floor adhesive, 100-pound roller, pencil, and flooring tape (optional).
Permanent glue-down installation:
- Start with a clean subfloor, free of dirt, debris, and moisture.
- Loose-lay our Marley vinyl rolls shiny side down and matte side up. Organize the dance floor rolls in the direction you would like them for the completed result. Allow 24-48 hours for the rolls to become acclimated to the room’s temperature.
- Before gluing down your dance rolls, make sure you have the desired fit for your space. If not, use a utility knife with a fresh blade to cut a straight edge and remove the access roll material. Remember to leave ¼ ” on the rolls’ perimeter to allow for floor expansion and contraction.
- After acclimating, roll the flooring up and place it at one end of the room. Put down a light-layer of dance flooring adhesive every 10 feet and unroll your flooring to match it one section at a time.*
- Once all the rolls are glued down, take a 100-pound roller across the floor to guarantee a long-lasting hold between the subfloor and Marley floor.
*Applying your dance flooring 10 feet at a time is recommended for the most-efficient application. You do not need to follow that increment if it seems too challenging to manage each roll section.
How to Take Care of Dance Floors
How Do You Clean and Maintain Dance Floors?
For your daily routine, you should start by sweeping or vacuuming any loose crumbs, debris, or dirt on your dance floors, then lightly damp mop to remove spills and staining.
For tougher scuffs and excessive soil, carefully scrub your dance floors with a soft-bristle brush and non-abrasive solution. Never use wax, products that contain ammonia, or store-bought vinyl wax cleaners on your dance floors, especially Marley vinyl.
Tip: To avoid UV fading and discoloration of your dance floors, place them in a space away from direct sunlight or use blinds/drapes to protect them during peak sunlight hours.
Dance Floor Cost
How Much Do Dance Floors Cost?
The cost of dance floors depends on the size of the installation. Our dance tiles range from as low as $3 per sqft to $7 per sqft. We recommend dance rolls for more extensive facilities, as this flooring option tends to be the most cost-efficient. Dance floor rolls range from $3-7 per sqft.
It’s important to note that dance flooring is an investment that will transform your space for years, and many dance floors come backed with 3- to 5-year warranties for manufacturer defects. Rest assured your floors can handle the wear and tear of dancing shoes and high-impact practices.
Conclusion
Whether you’re a beginner, a seasoned company dancer, or simply wanting a dance floor for your next big event, we hope this guide has helped inspire you. Ready to chassé your way to your perfect dance floor?


