
Composite decking is ideal if you’re looking to create a low-maintenance outdoor space. Made from a blend of wood fibers and recycled plastics, composite decking offers the natural look of wood without the high upkeep. It's durable, resistant to rot and insects, and comes in a variety of colors and finishes to suit any aesthetic.
In this guide, we'll walk you through the process of installing composite decking in six simple steps, helping you transform your outdoor area into a space you'll love.
#1. Plan Your Deck Layout


Before you can start laying down any decking boards, it's crucial to have a solid plan in place. The planning stage is where you'll determine the size, shape, and layout of your deck. Whether you're working with composite deck tiles, traditional composite decking boards, or a mix of materials, knowing exactly what you want will save you time and prevent costly mistakes later on.
Consider the overall design: Will your deck have stairs, railings, or special features like built-in seating? Measure the area accurately, marking the perimeter with stakes and string to visualize the space. Use a decking calculator to estimate the number of composite decking boards or tiles you'll need.
As you plan, it's also important to consider what composite decking is and the types that best suit your project. Here are a few popular options:
- Composite Deck Tiles: These composite deck tiles are ideal for small areas or quick installations and offer a variety of patterns. If you are considering this, check out our Helios Deck Tiles.
- Traditional Composite Decking Boards: These composite deck boards are perfect for larger decks, providing a wood-like appearance with enhanced durability.
- Trex Decking: Trex is a trusted brand known for its quality and wide range of finishes to match your design preferences.
- WPC Decking: Wood-plastic composite (WPC) decking combines wood fibers with plastic, offering low maintenance and a modern look.
By carefully planning your deck layout and selecting the right materials, you'll set the foundation for a smooth installation process and a stunning final result.
#2. Prepare the Site


With your deck layout planned, the next step is site preparation. A level and clean surface is key to a successful deck installation. Start by clearing the area of any grass, plants, or debris. If you're installing the deck on a concrete base, ensure it's clean and free of cracks or uneven spots. For timber decking installations, you'll want to remove the top layer of soil and compact the ground.
Once the area is clear, check for drainage issues. Composite decking is water-resistant, but proper drainage will help maintain the deck's longevity. If necessary, install drainage tiles or create a slight slope away from your home to direct water runoff. Ensuring a well-prepared site will make the installation process easier and prevent future problems.
#3. Install the Deck Frame
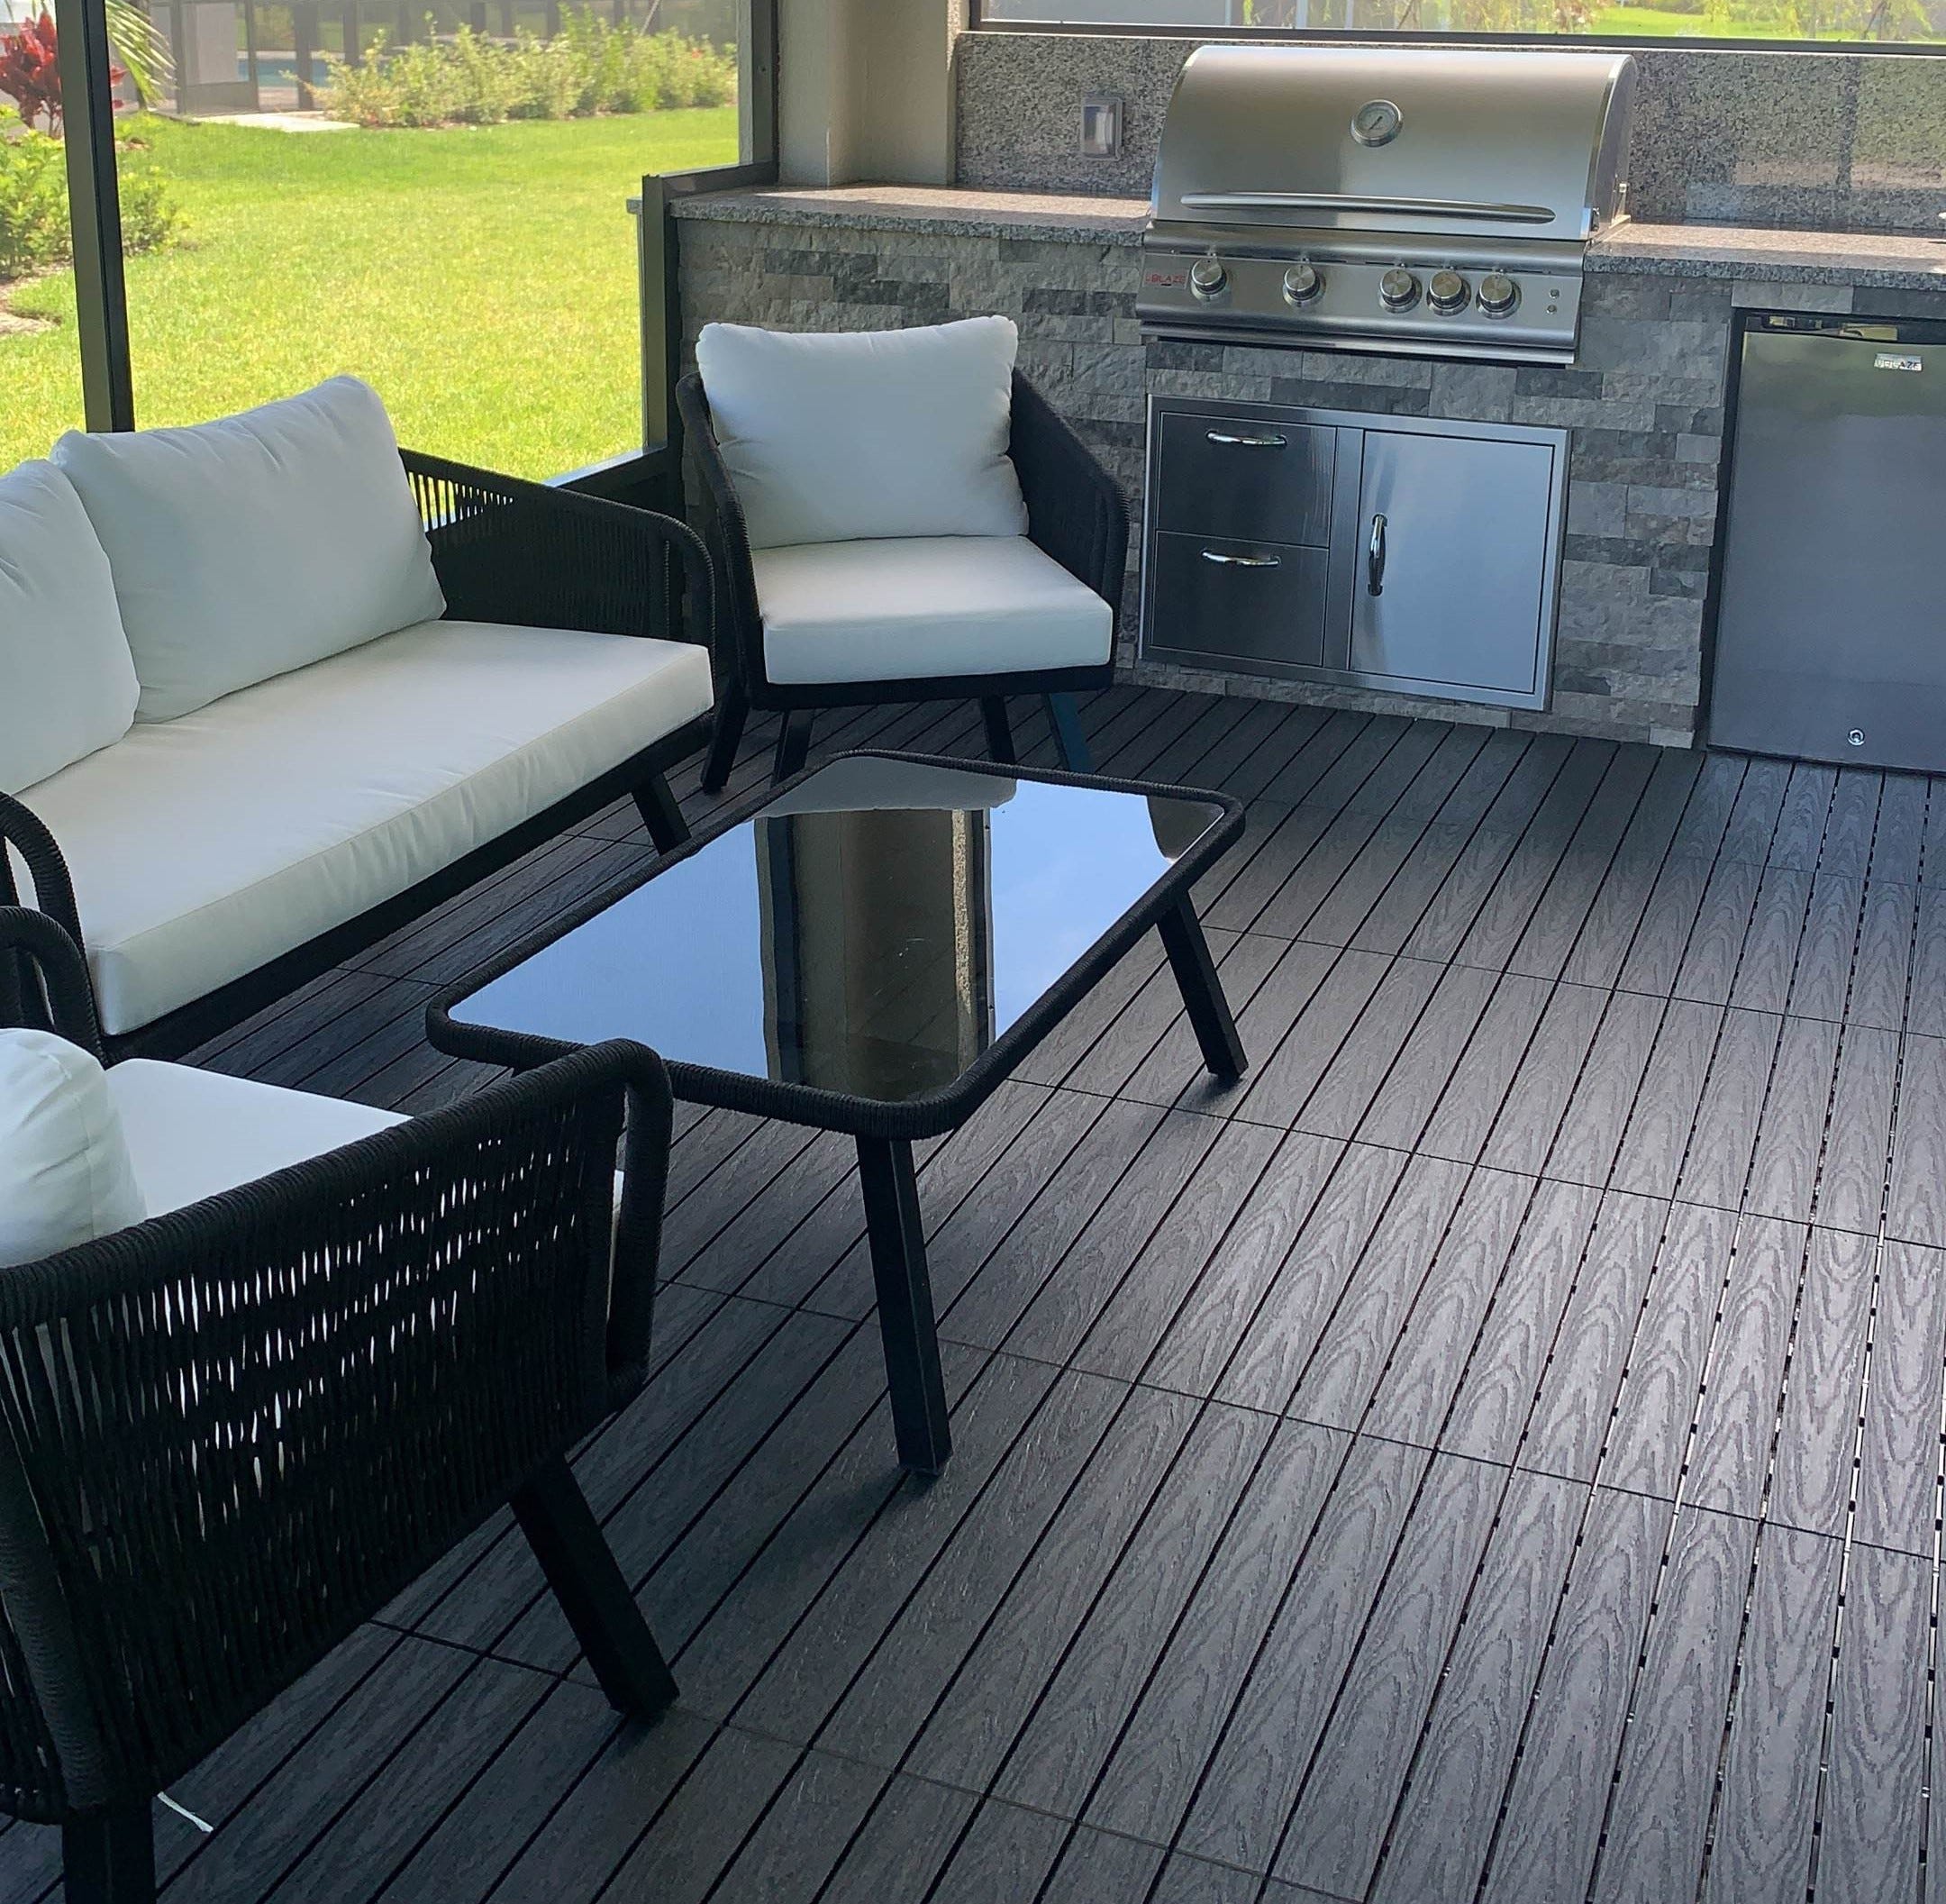

Now that your site is ready, it's time to build the deck frame. The frame is the backbone of your deck, providing the support needed for your composite decking boards. Use pressure-treated lumber to construct the frame, as it resists moisture and decay. Begin by installing the deck joists, and spacing them according to the manufacturer’s recommendations—typically every 12 to 16 inches.
Secure the joists with deck screws, making sure they are level and firmly attached. If you're working on a larger deck, consider using a double joist system for added stability. Don't forget to include blocking between joists to prevent them from twisting over time. Once the frame is complete, double-check everything for levelness, as a well-constructed frame is essential for a long-lasting, sturdy deck.
#4. Lay the Composite Decking Boards
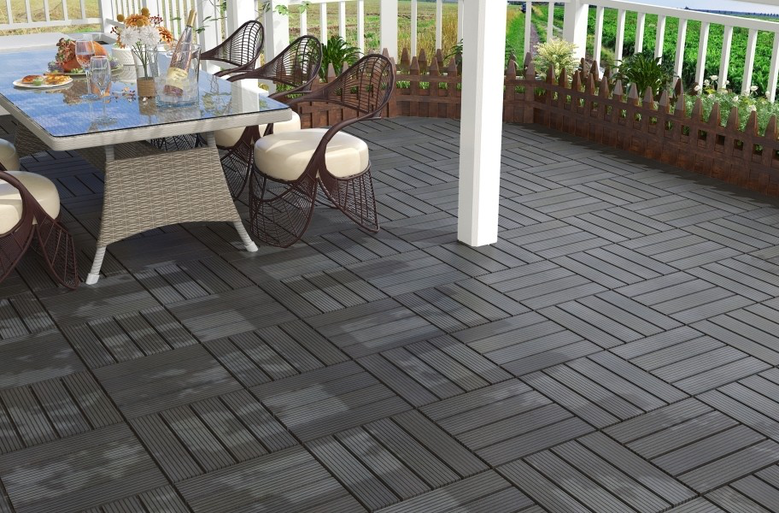

With the frame in place, you're ready to start laying the composite decking boards. Begin at the edge of the frame and work your way inward. Place the first board flush with the edge and use a starter clip to secure it in place. This will ensure the board is stable and evenly aligned. As you lay each board, leave a small gap (about 1/8 inch) between them to allow for expansion and drainage.
If you're working with a curved or uniquely shaped deck, you'll need to cut the boards to fit. A miter saw is ideal for this, providing clean, precise cuts. Remember to save the scrap pieces—they might come in handy for smaller sections or steps. Lay each board with care, ensuring consistent spacing and alignment.
Securing the Decking Boards
Securing the composite decking boards is a critical step. You can choose between using screws or hidden fasteners, depending on the look you want to achieve. For a seamless appearance, hidden fasteners are ideal as they allow the boards to be secured without visible screws on the deck surface.
When using screws, opt for composite deck screws made from stainless steel or other corrosion-resistant materials. This will prevent rust and ensure the longevity of your deck. Drive the screws flush with the board surface but avoid over tightening, which can cause the boards to crack or warp. Maintain consistent spacing between screws or fasteners to keep the boards securely in place while allowing for natural movement.
#5. Install the Fascia and Trim
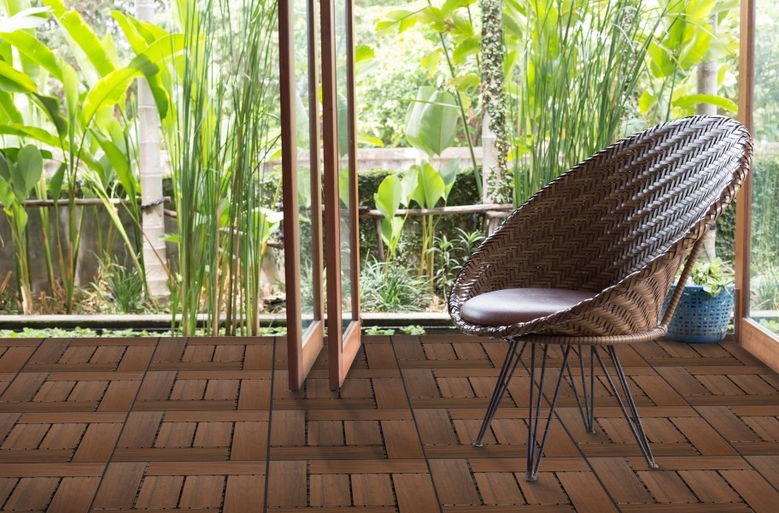

Once the decking boards are securely in place, it's time to focus on the fascia and trim. Fascia boards are installed around the perimeter of the deck to conceal the frame and provide a polished, finished look. Here’s how to proceed:
- Measure and Cut: Measure the perimeter of your deck to determine the length of fascia boards you'll need. Cut the fascia boards to size, ensuring they fit snugly around the deck's edges.
- Attach the Fascia Boards: Position the fascia boards flush with the surface of the decking boards. Secure them using screws or hidden fasteners, spacing the fasteners evenly to prevent warping.
- Install the Trim: Add trim pieces to cover any exposed edges or seams. Measure and cut the trim pieces to fit, ensuring they align with the adjoining boards. Secure the trim with screws or adhesive, taking care to hide any visible fasteners for a cleaner appearance.
By installing the fascia and trim correctly, you not only enhance the visual appeal of your deck but also add an important layer of protection against the elements. This step requires patience and precision, but the results will give your deck a professional, finished look that ties the entire structure together.
#6. Add the Finishing Touches


Your deck is almost complete, but a few finishing touches can make it truly stand out. Consider adding features like railings, steps, or even built-in lighting to enhance the functionality and aesthetics of your new outdoor space. When installing railings, make sure they are securely fastened to the deck frame and meet local building codes for safety.
If you prefer a more traditional look, consider staining or sealing the composite wood decking. While composite materials are low-maintenance, a sealant can add an extra layer of protection against the elements. It can also enhance the color and texture of the decking, giving it a richer appearance.
Don't forget about the little details—like cleaning up any debris and giving the deck a final inspection. These finishing touches not only make your deck more enjoyable but also ensure it remains in great condition for years to come. And for ongoing maintenance, it's important to learn how to clean composite decking to keep your deck looking fresh and new.
Enjoy Your New Outdoor Space!
Installing composite decking may seem like a daunting task, but by following these six steps, you can create a beautiful, durable outdoor space that will last for years. From planning your layout to adding the finishing touches, each step is designed to make the process straightforward and manageable.
Don’t forget to check out Flooring Inc.’s composite decking options to help get you started!
Sources
Research Gate. Wood-Plastic Composites in the United States. https://www.researchgate.net/profile/Abdelkader-Bouaziz/post/Wood_plastic_composites_WPCs/attachment/6054ba7d220bc5000149d744/AS%3A1003084968902666%401616165501817/download/wpc+2.pdf
ASCSD. FLOOR DECK DESIGN GUIDE. https://ascsd.com/files/FloorDeck.pdf


