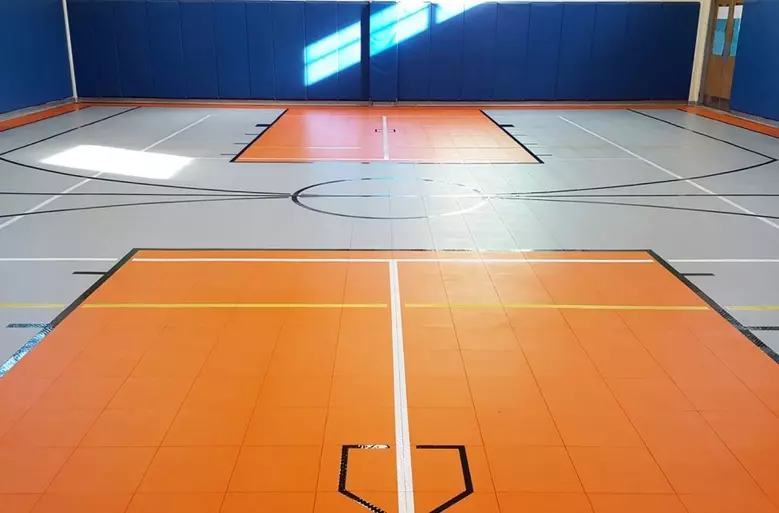
Premium Indoor Sports Tiles
- Beveled edging for safe thresholds available.
- 15-year limited warranty.
- Effortless install, minimal maintenance.
- Smooth surface for unsurpassed traction.
- Reduces stress on joints.
Checkout using your account
Checkout as a new customer
Creating an account has many benefits:
Installing Premium Indoor Sports Tiles is simple and can be done as a DIY project:
Prepare the Subfloor: Ensure the surface is clean and free of dirt, dust, grease, or other debris.
Begin Installation: Start in the front left corner of the room, ensuring that the female side (loops) of the first tile faces away from the wall.
Lay Out the Tiles: Align the tiles along the left and adjacent walls, then proceed to fill the rest of the area with whole tiles.
Trimming for Edges: Measure and cut tiles as needed using a tile cutter or a power saw with a fine-toothed blade. Leave a 3/4” gap between the tiles and any walls or obstructions to allow for expansion and contraction.
Edge Installation: Place the trimmed tiles into position to complete the installation.
For applying game lines:
Maintaining your Premium Indoor Sports Tiles is easy: