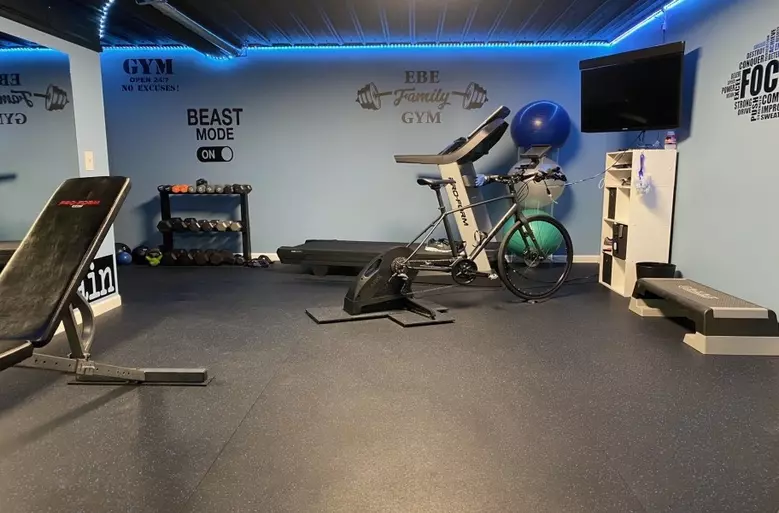
Our heavy-duty 3/4" Olympian Rubber Rolls are designed for high-performance environments, making them an ideal choice for both commercial and home gym flooring. Their thick, durable construction provides excellent shock absorption and noise reduction,the perfect flooring for bodybuilding, powerlifting, weightlifting, Strongman, Olympic Lifting, CrossFit, and other intense workouts. These premium rubber flooring rolls also excel in animal related settings, offering a resilient and easy-to-clean surface as horse stall mats, and as dog kennel flooring. Additionally, these verstaile rubber rolls help minimize vibrations, enhancing comfort and functionality in any space that demands robust flooring.
Recommended Uses: Ideal for home gym flooring, commercial gym flooring, fitness studio flooring, in weightlifting areas, locker room flooring, as rubber stall mats in barns and horse stables, and as dog kennel flooring, offering exceptional durability, shock absorption, noise reduction, and easy maintanance.
When installing rolled rubber flooring, it is important to choose the right installation method for your project. The most common methods of adhering rubber rolls to the subfloor are:
A: Double-Sided Tape Installation
- Ensure that the subfloor is clean, dry, and free of any debris.
- Loosely lay the rubber rolls in the room to achieve your desired layout. Allow the rolls to relax for 24-48 hours to ensure proper installation.
- Note: Rolls may be directional, so make sure the color matches on each roll. If the roll colors do not match, flip them or turn them 180 degrees to ensure the color matches.
- Cut the rubber rolls to fit the room using a straight edge and a utility knife with a fresh blade. Leave a gap around the perimeter roughly the thickness of the rolls being used to account for expansion and contraction.
- Roll up the rubber rolls at one end of the room. Apply double-sided tape to the subfloor along the perimeter of each roll.
- Place the rubber rolls back into position on top of the double-sided tape.
B: Glue Installation
- Ensure that the subfloor is clean, dry, and free of any debris or moisture.
- Loosely lay the rubber rolls in the room to achieve your desired layout. Allow the rolls to relax for 24-48 hours to ensure proper installation.
- Note: Rolls may be directional, so make sure the color matches on each roll. If the roll colors do not match, flip them or turn them 180 degrees to ensure the color matches.
- Cut the rubber rolls to fit the room using a straight edge and a utility knife with a fresh blade. Leave a gap around the perimeter roughly the thickness of the rolls being used to account for expansion and contraction.
- Roll up the rubber rolls at one end of the room. Spread a light layer of polyurethane adhesive that is 10 feet long (maximum) and unroll the flooring into the adhesive 10 feet at a time.
- Repeat step 5 for every 10 feet of roll length until the entire roll has been unrolled into its desired position.
- After all of the rolls have been glued down, it is recommended to use a 100-pound roller on the floor to guarantee good adherence to the subfloor. If a roller is not available, walking on the flooring in small choppy steps may also work.


