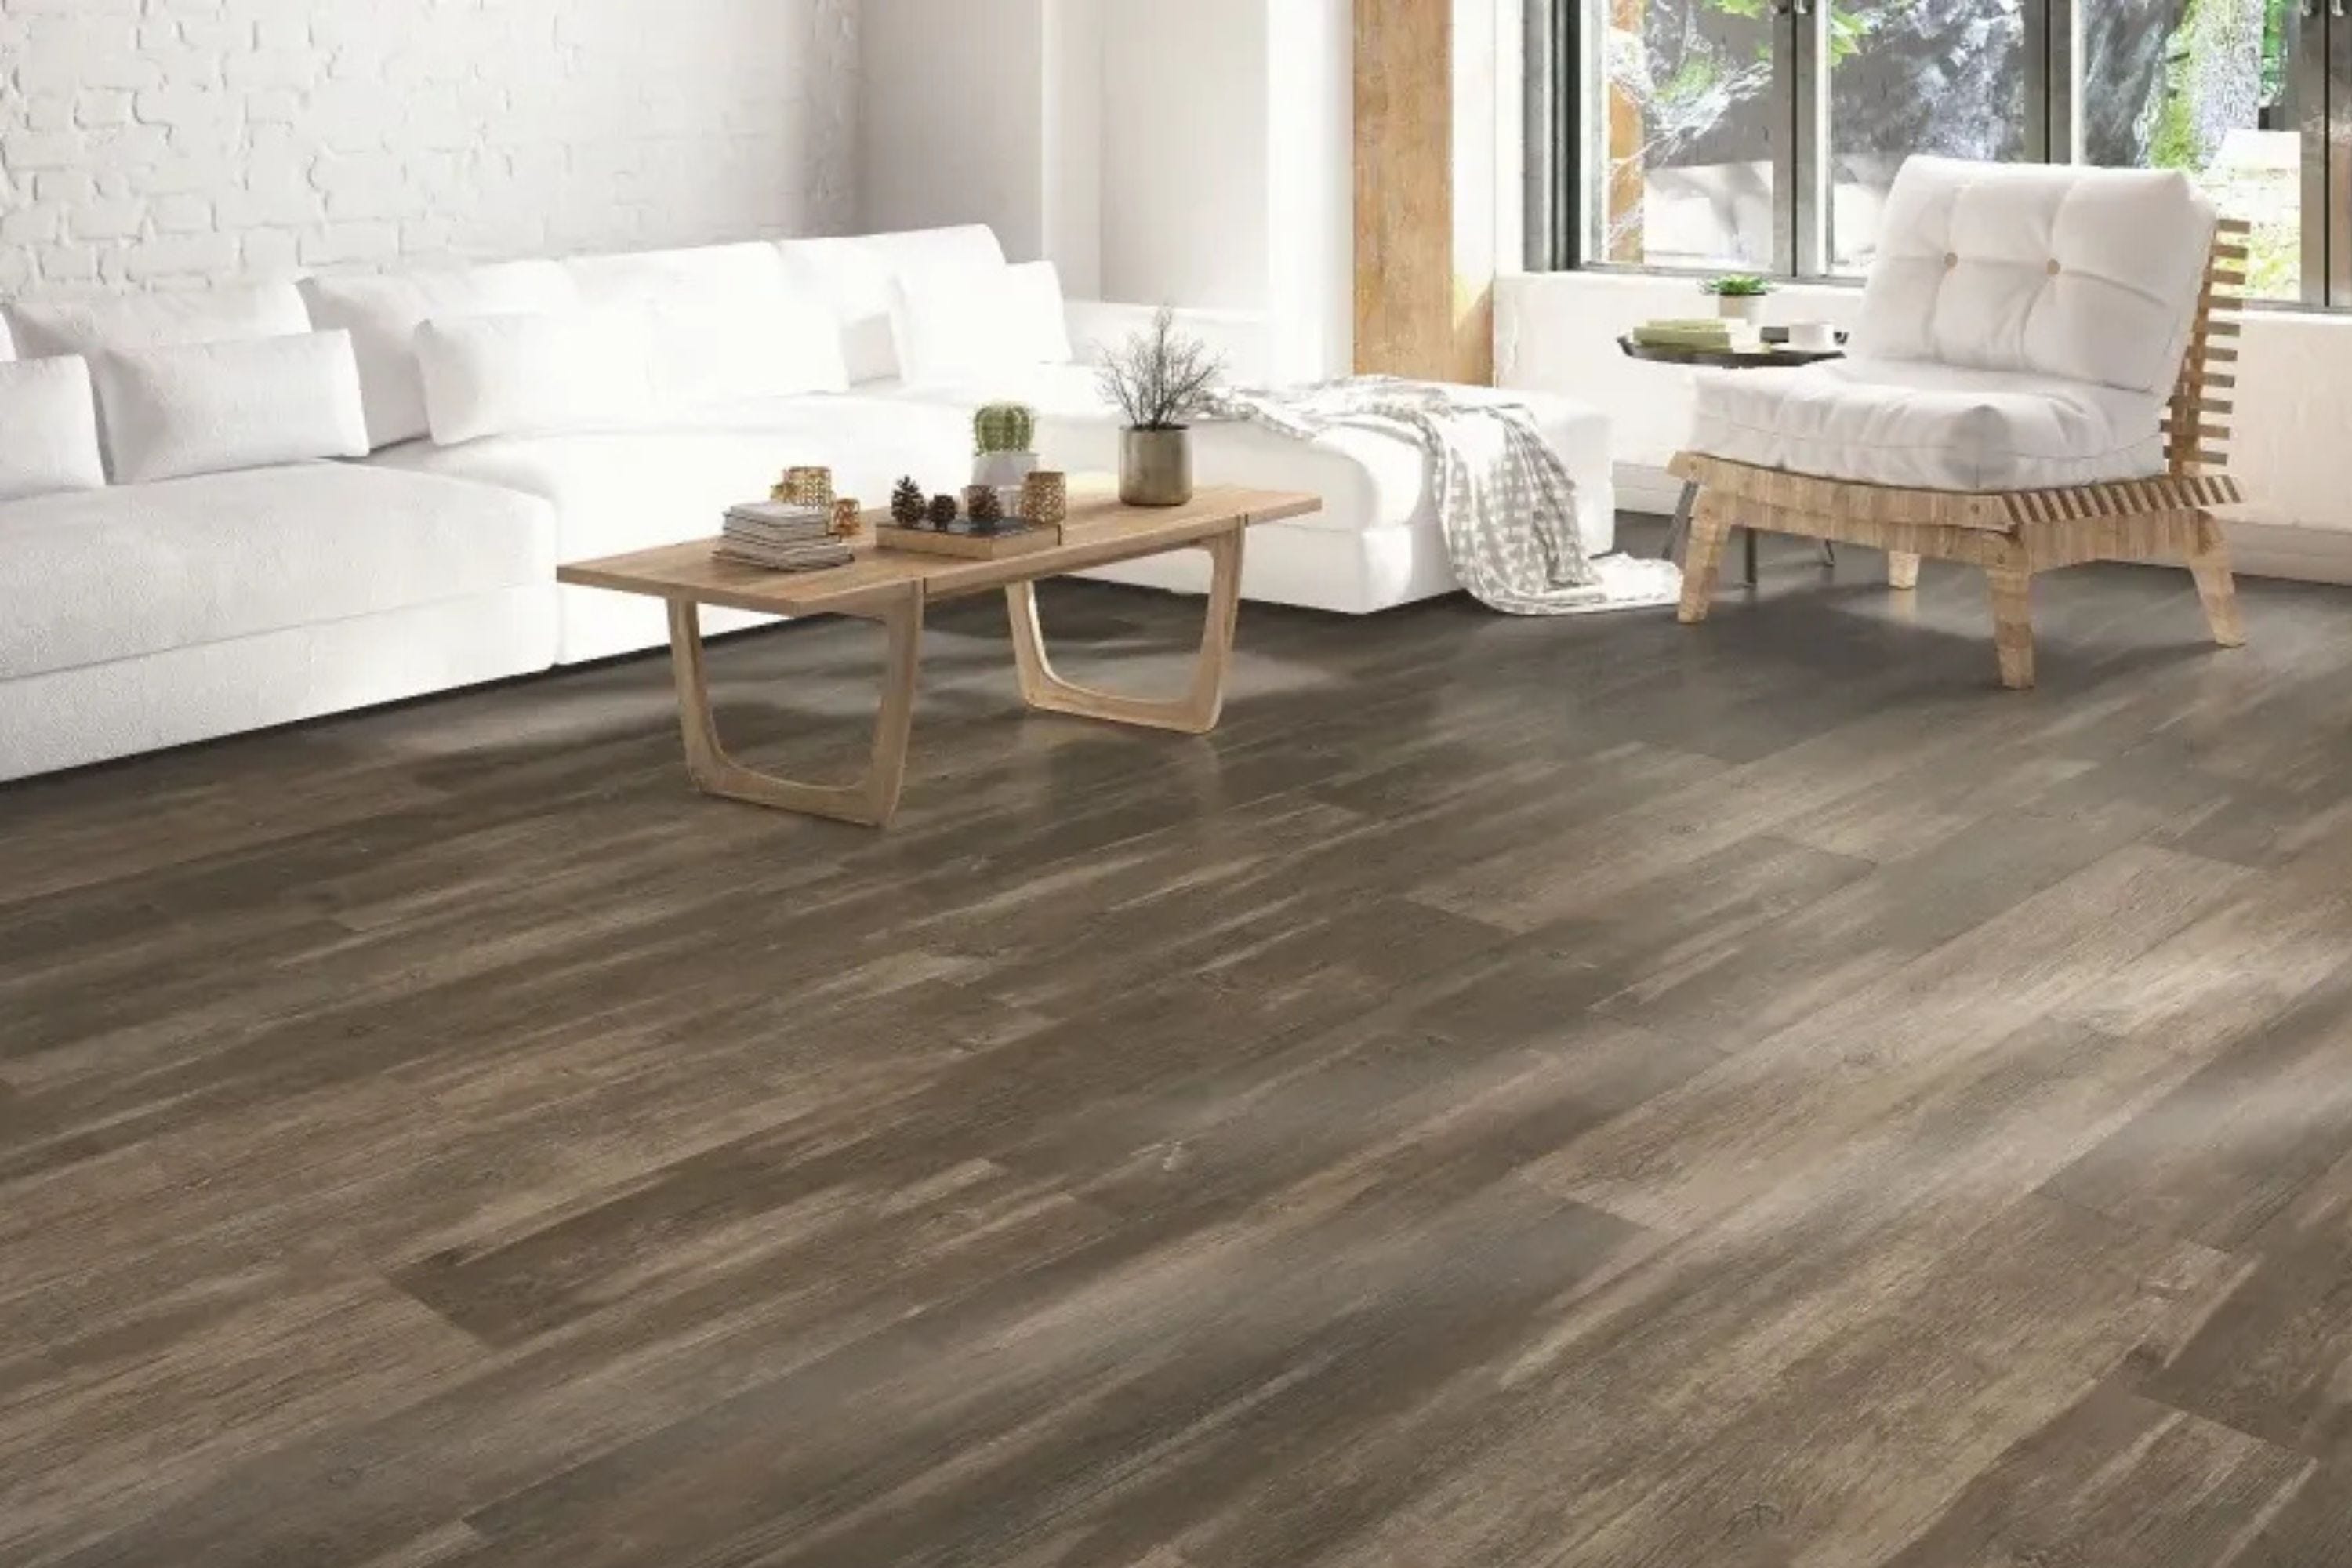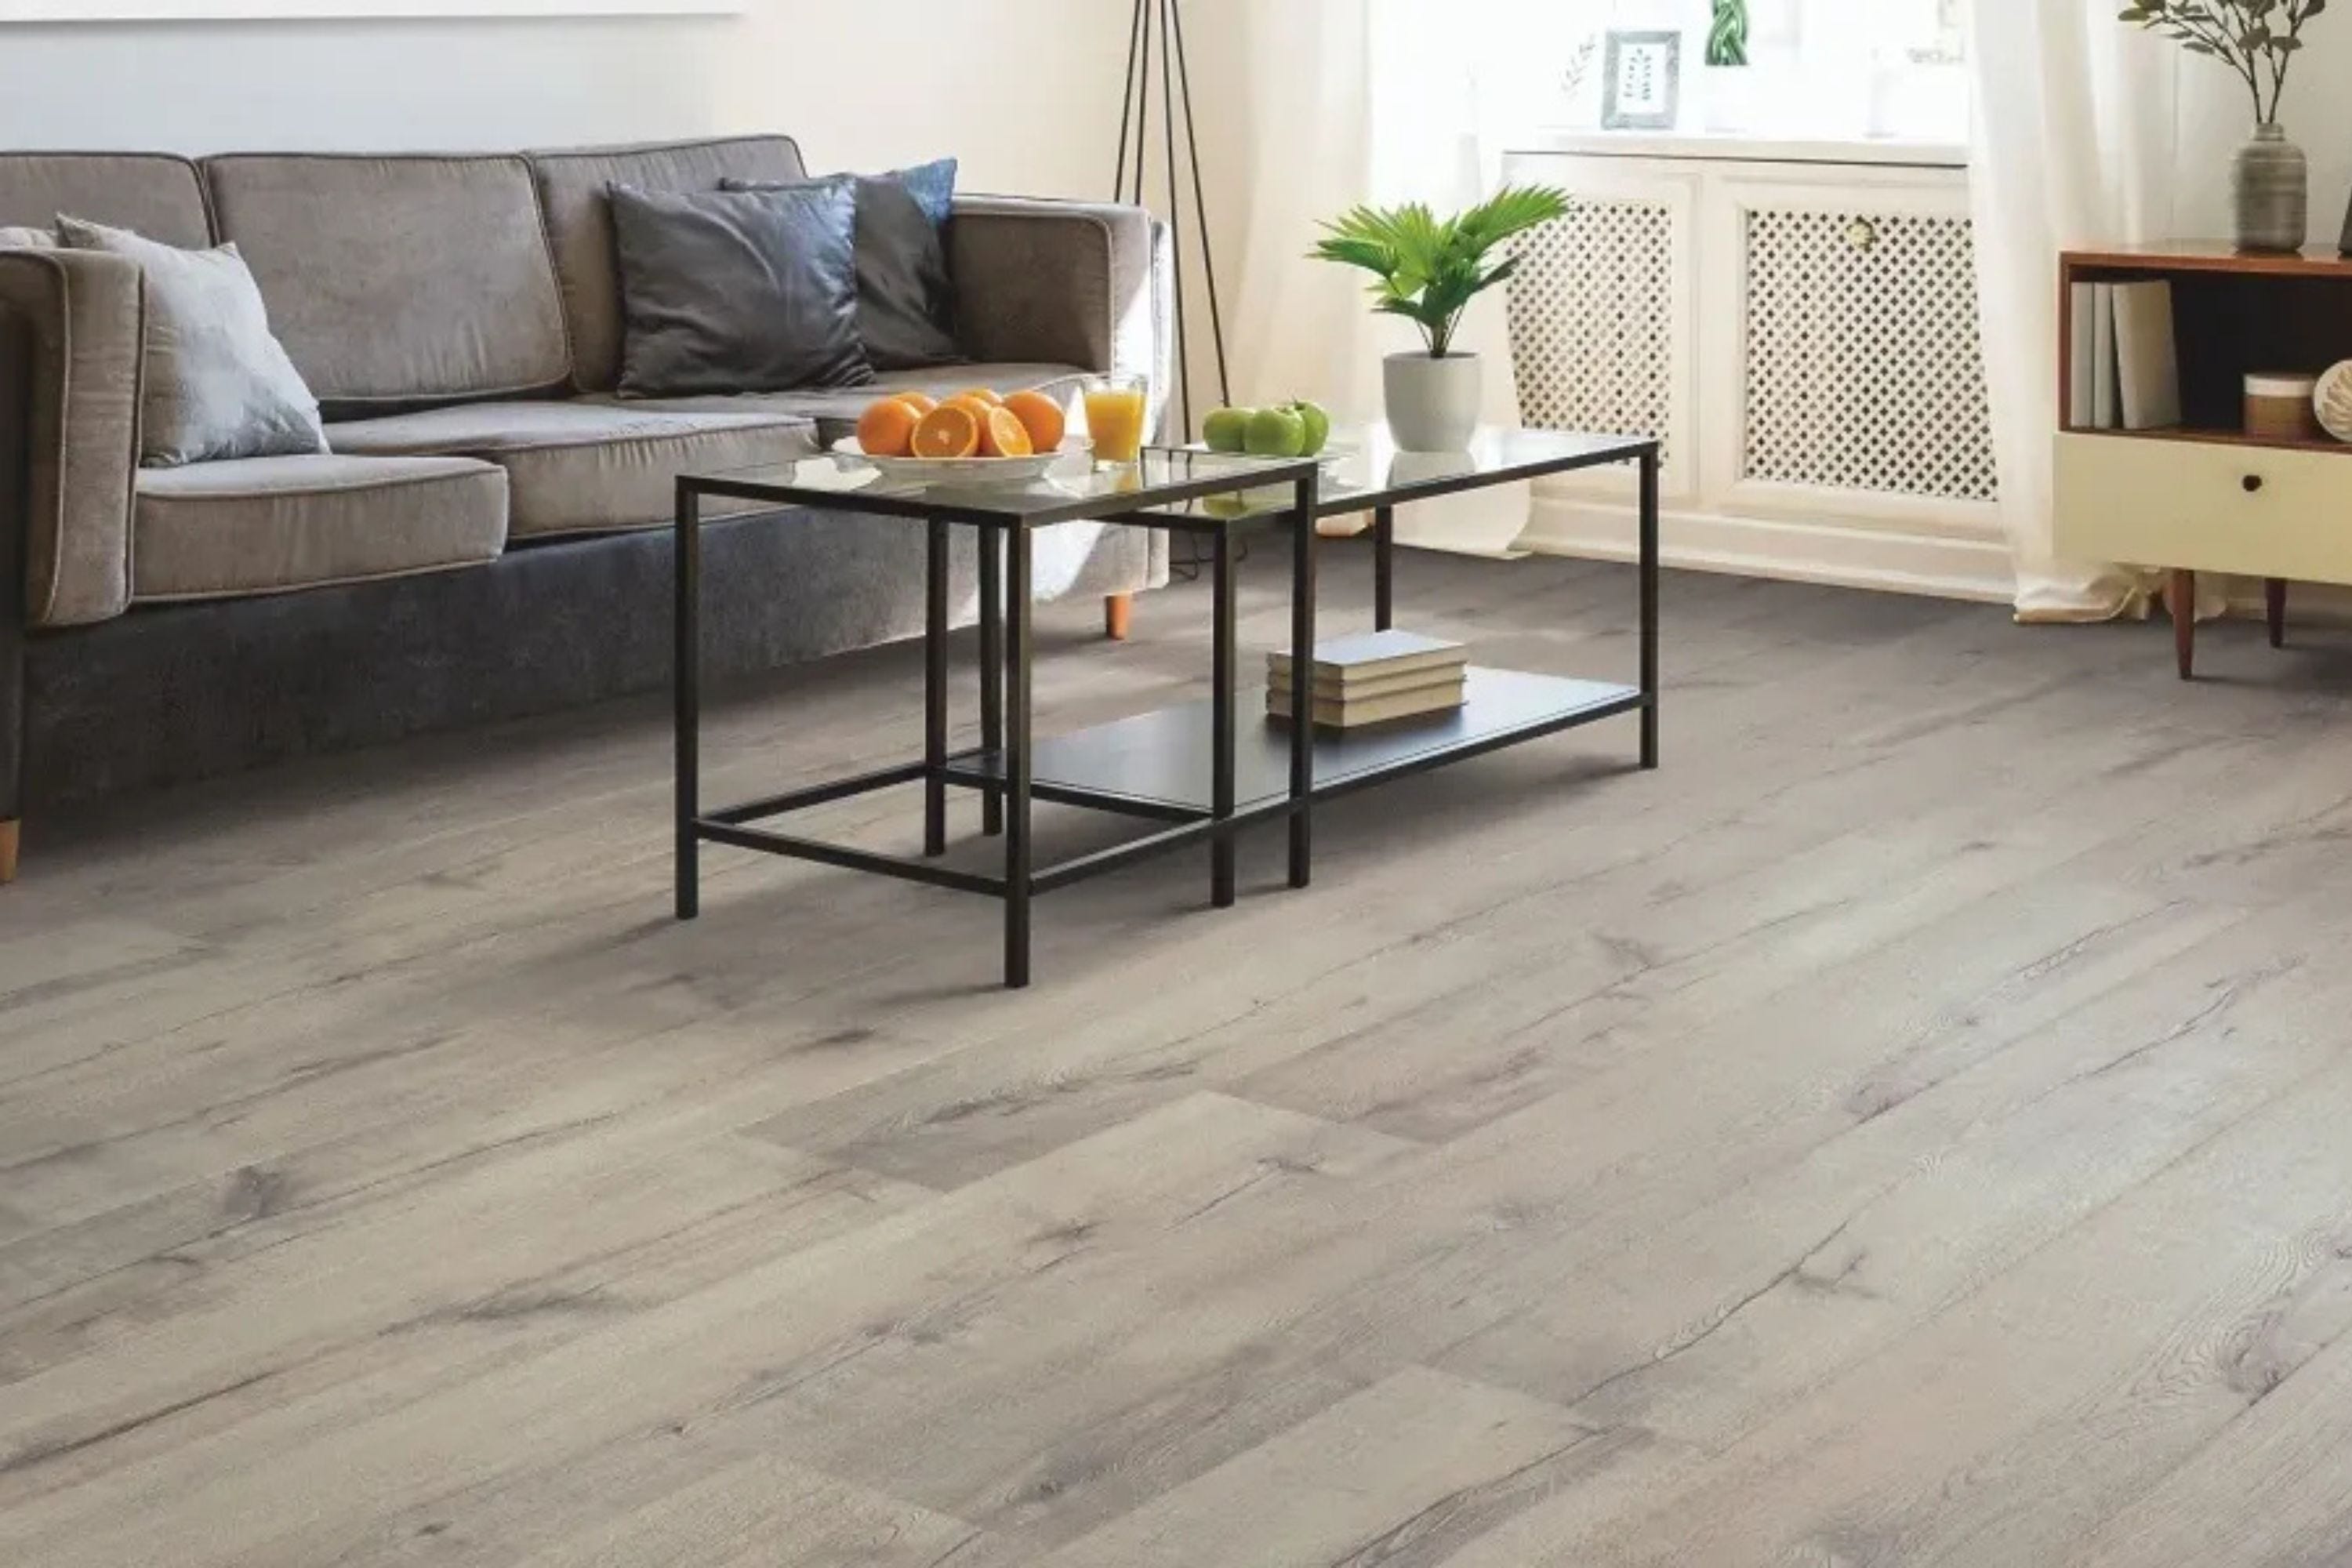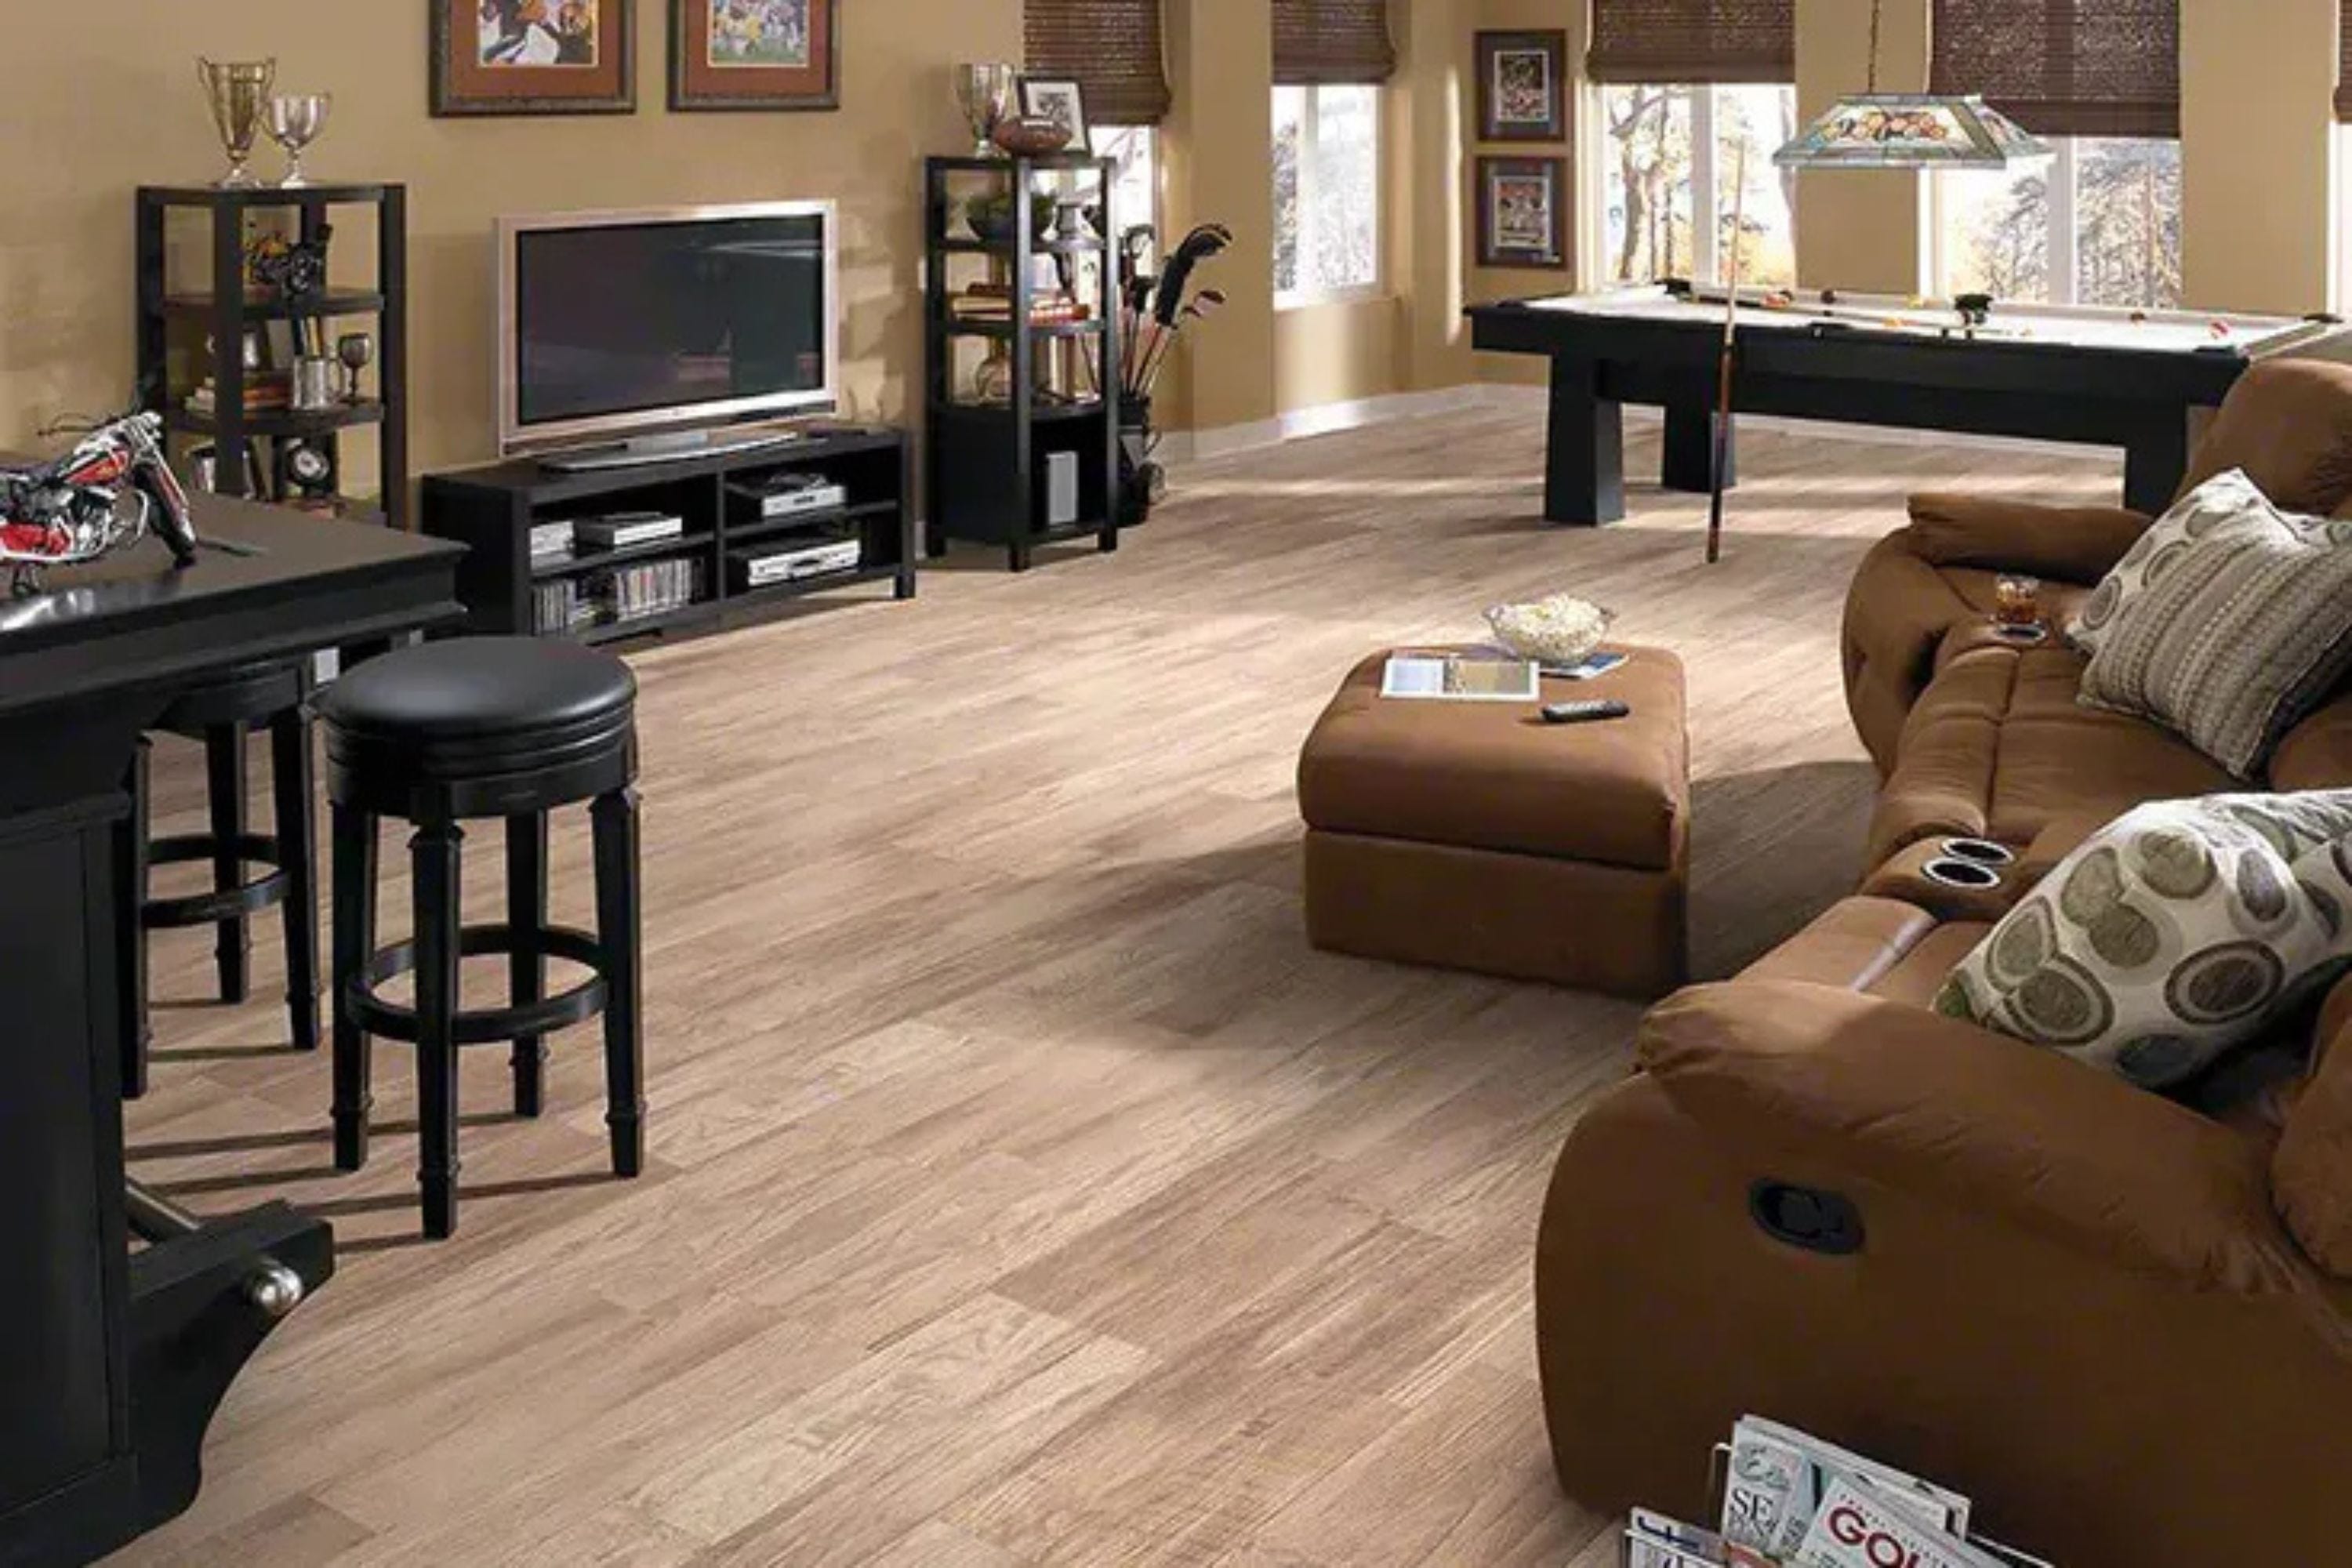


Waterproof Laminate
Need content


Staff Picks
Need content
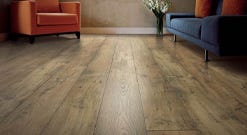

Wide Plank Laminate
Need content
Customer Favorite Laminate Flooring
Laminate Flooring
Laminate is an alternative to real wood that is easy to install, clean, and maintain. With the benefits of realistic wood looks and versatile styles, laminate has become a flooring favorite. Not to mention scratch, stain, and moisture resistance are among the many benefits laminate flooring has to offer!
Laminate wood flooring is loved by flooring contractors and is an increasingly popular option for residential and commercial spaces.
Ready to remodel with laminate flooring but not sure where to start? Here’s what you need to know to choose the best laminate flooring product for your home or business.
What is Laminate Flooring?
Traditional laminate flooring is considered a hybrid floor, made of a particleboard wood base topped with an image layer and top layer Today, laminate includes floor features that resemble solid hardwood, as well as a significantly longer lifetime. With several looks and styles to choose from, there is a wood-looking flooring for everyone!
How Laminate Flooring Works
Laminate wood flooring has several technological advantages over real wood flooring. Resilient, attractive, and longer-lasting, laminate flooring is a fantastic flooring option for a home renovation. Laminate’s benefits begin with its four-layer construction:
✅ Backing: The backing of laminate planks provides stability to the floor and keeps water from penetrating the subfloor.
✅ Base layer (core): The core layer gives the laminate flooring its durability. This layer is often made of compressed high-density fiberboard (HDF) and is often water-resistant. In newer laminate models, there are waterproof capabilities.
✅ Image layer: The image layer holds the pattern or print and gives you a beautiful wood or stone look. The laminate image layer for wood offers various real textures, like embossed, hand-scratched, and distressed.
✅ Wear layer: The wear layer protects the floor from dents, scratches, and staining. It’s one of the most critical layers to look for while shopping, especially when you want long-lasting floors!
✅ Locking System: Many new laminate floors utilize proprietary locking mechanisms. These locking mechanisms not only make installation of a floating floor easier, some new technologies often lock so tightly that they can withstand standing water.
Laminate Flooring AC Rating System
Laminate floors go through a series of durability and installation tests. The Abrasion Class rating, otherwise known as AC rating, determines the laminate’s most appropriate purpose – commercial or residential. Below you’ll find the 5 AC ratings for laminate flooring:
✅ AC1: For low-foot-traffic residential spaces
✅ AC2: For medium foot traffic residential spaces
✅ AC3: For all foot traffic residential spaces
✅ AC4: For all residential locations and some medium traffic in commercial areas
✅ AC5: For heavy foot traffic in commercial spaces
Laminate Flooring Thickness
Like the AC rating, the thickness of the floorboards impacts laminate flooring’s longevity. With a range of 6mm to 14mm, it can be hard to compare the differences while browsing online and in-store. However, with significant thickness, you’ll experience less echo and a more realistic hardwood feel.
Thicker laminate also allows for more etches to be put into the laminate design of choice. With so many advantages to thicker options, let’s take a more in-depth look.
6mm – 8mm
This thickness is the baseline for what laminate flooring can do for you. From 6mm to 8mm laminate thickness, you may experience less durability and subfloor imperfections due to the laminate being thinner. If you can, size up to the 8mm laminate for a longer-lasting floor. Not recommended for commercial but can be perfect for quick renovations.
10mm-12mm
10mm is where you can start to notice an upgrade to performance in laminate flooring. 10mm planks will hold up well in busy households and commercial spaces with light traffic. 12mm laminate thickness is one of the thickest, best quality, and most reasonably priced options for everyday residential use. No wonder 12mm is the go-to thickness!
13-14mm
14mm laminate thickness is by far the most durable option for commercial use. It’s top of the line and the most pricey out of all laminate flooring, but you’ll want that if you have heavy traffic and impact.
Trending Features
Waterproof Laminate
With waterproof seals, joints, and water-resistant cores,100% waterproof laminate flooring is becoming a household game-changer. If you’re looking to put laminate flooring in moisture-prone areas, this is your perfect match.
Water-resistant Laminate
Water-resistant laminate can withstand water better than the average laminate options. Advanced moisture barriers within the water-resistant laminate prevent liquids from seeping into the core for a substantial amount of time.
USA-made Laminate
You can get high-quality laminate flooring that’s made right in the U.S.A. Made by reputable manufacturers that have high standards and regulations set in place, USA-made laminate flooring will last for years to come.
Trending Laminate Surface Textures
Distressed
Distressed laminate flooring is similar to antique, reclaimed wood looks. This laminate flooring’s texture looks naturally aged and visually appealing with scrapes, burns, and knots. Distressed floors are a trendy choice for homes because of their timeless style appeal.
Embossed in Register
Embossed laminate flooring mimics real wood grains and texture while remaining more affordable than traditional hardwood floors. Embossed surfaces add a unique and warm touch to every space.
How to Install Laminate Flooring
The great news about laminate flooring is its ease of installation! Many laminate options come with interlocking planks, meaning you don’t have to worry about glue or adhesives.
The locking system in laminate flooring is meant to be installed as a “floating” floor and is excellent for first-time DIYers. Before beginning installation, make sure you have the necessary tools in your inventory: rubber mallet, tape measurer, tapping black, spacers, wide-angle pull bar, table saw, pen, and jamb saw.
Pro-tip: Allow your laminate planks to acclimate to your space for at least 24 hours before installation.
Steps for Interlocking Laminate Installation:
- Prep the room with a clean, level subfloor.
- Plan the first and last rows for laminate flooring.
- *Install underlayment for sound dampening or added water-resistance.
- Set the first plank in the corner of the room, working from left to right. * For proper ventilation and expansion, add spacers every few feet around the room’s edges.
- Use the interlocking tongue and groove connectors to complete the first row and align the seams.
- Use the rubber mallet and tapping block to fix the planks into the locked position and continue this process while laying the floor.
- For measuring around door jambs and casings, simply measure the space and mark on the plank where you need to cut it. Use a tile cutter or table saw for a polished edge.
- If you have cut ends at least six inches long, you can begin your next row with them to give a more staggered, natural wood look.
- At the start of a new row, set the plank into the previous row at a slight angle to ensure it interlocks correctly.
- Continue installation while checking the seams for a tight fit.
- Remove spacers when installation is complete.
Voila! You’re finished!
*Some laminate flooring comes with the underlayment attached to the planks, so be sure to check manufacturer specifications.
Laminate Maintenance
No need for wet mopping with laminate flooring! For proper regular maintenance, all you need is a soft bristle broom or dry mop for everyday crumbs and spills. For deeper cleaning, use a rung-out mop every two months.
A feature of our newer laminate floors is the ability to steam mop without the risk of wearing or damaging the laminate. Remember to refer back to your manufacturer’s recommendations and use products made for laminate floor care.
Other Helpful Laminate Flooring Content
Laminate flooring is a stylish and resilient alternative to hardwood flooring. With advanced manufacturing technology, laminate floors perform better than ever before and come in ultra-realistic designs and textures that mimic expensive wood species at a fraction of the price.
We’ve heard you’ve got questions about laminate flooring. The good news – we’ve got answers to the most frequently asked questions and DIY solutions for maintenance, installation, and more!
So you want to update your home with new flooring, and laminate flooring is your top pick. You’re in good company! Laminate is incredibly popular for its durability, easy installation, and style. But how do you find the best laminate flooring for you?
Don’t worry! We know a thing or two about laminate, and we’ve created this guide to help you find the best laminate flooring.
Don’t worry, cleaning laminate floors is fairly easy and won’t take up your whole Saturday. Set aside a little time each week and you’ll have plenty more time to kick back, even if that means watching your family track in dirt and unravel your hard work.
In this guide, we’ll show you a quick weekly cleaning routine, the steps to perform an occasional deep clean, and best practices for maintaining your laminate floors. We’ll also share how to spot treat stains and what NOT to do when cleaning laminate. Let’s get started.


