

How to DIY Install Court Sports Flooring
| Fact Checked By: Sonal Agarwal
Published: April 6, 2020 | Updated: August 25, 2021
Sports tiles are the ideal flooring for anyone looking to install an athletic court in their yard. These tiles are easy to install, so you can create a DIY backyard court in a matter of hours. Multi-sport athletic court flooring is also durable, fade-resistant and comes in many bold colors to suit your style.
In addition to showing you how to install court flooring, this guide will cover the tools and materials you may need, the different types of game courts you can build, and the court subfloor requirements to ensure a stable, long-lasting playing surface.
What is Court Flooring?
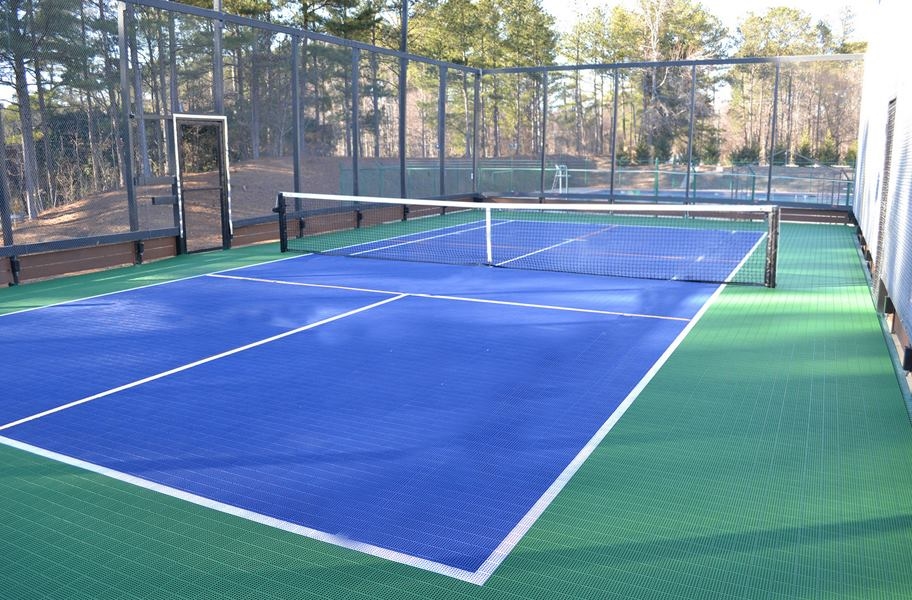
Court sport flooring is flooring that’s made to provide a safe, level surface for your games, whether you play indoors or outdoors. It typically comes in durable, easily installed tiles. Court flooring tiles are perfect for basketball, pickleball, tennis, and much more.
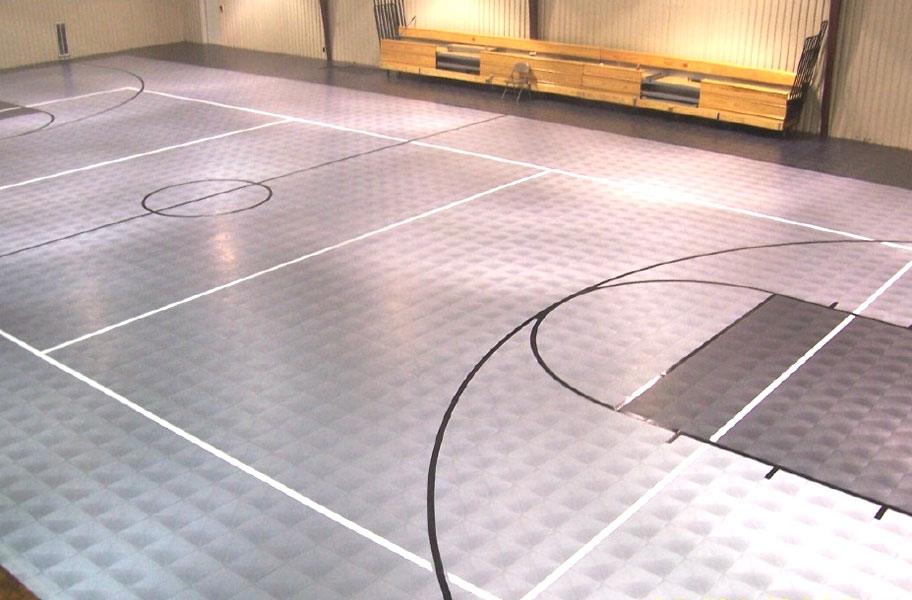
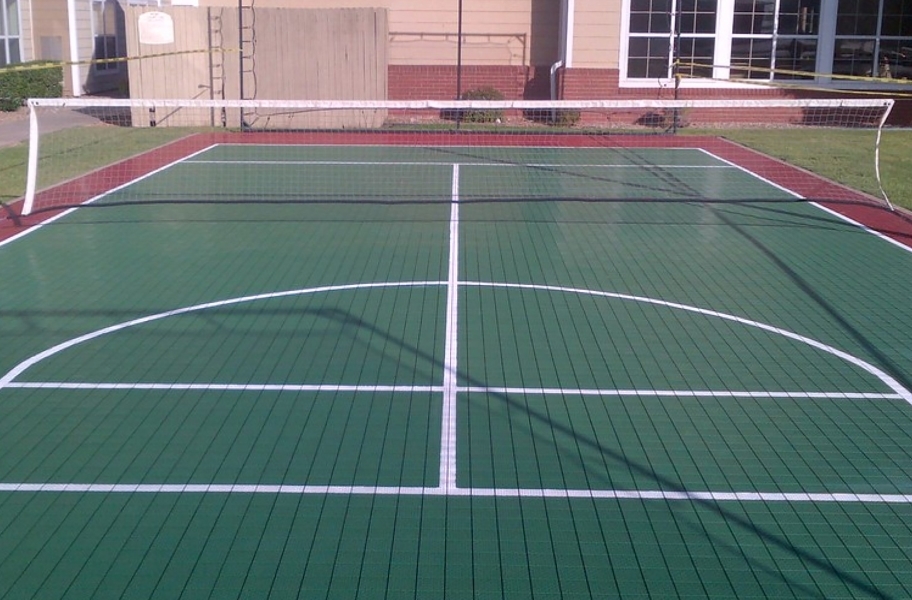
Indoor sport tiles feature smooth surfaces and can be installed with rubber underlayment for enhanced shock absorption. Meanwhile, outdoor tiles feature a vented surface to allow optimal water drainage, which decreases the risk of slipping after rain.
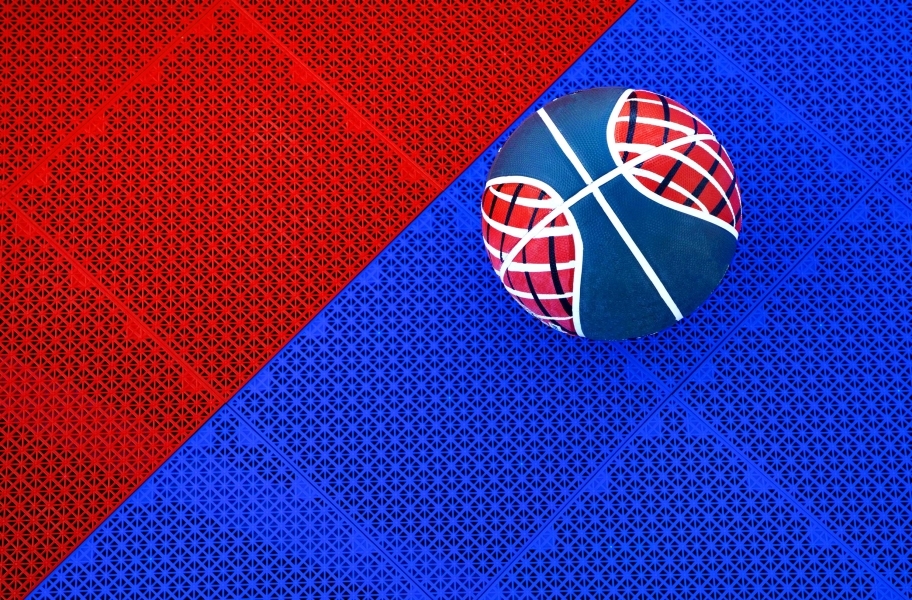
Built from impact-resistant high performance polypropylene that can withstand 70,000 lbs, these tiles can tackle even the most high impact sports. These snap lock tiles are easy to install on your own, so you can save money by not hiring an installer.
Court flooring tiles also come in a variety of bold colors so you can match your favorite sports team or follow your own unique style for your court’s design. Best of all, since they’re UV resistant, they won’t fade with extended exposure to sunlight.
With all of these benefits, who wouldn’t want to upgrade their yard with outdoor court flooring? To make the court of your dreams into a reality, you need to start with the basics. Let’s begin!
| Related Content >> Court Flooring Buying Guide |
Installation Tools and Materials
A successful installation project begins with having the right tools. Here’s what you will need.
- Measuring tape
- Tile cutter or table saw
- Game line paint kit (optional)
- Gravel, 4” x 4” or 6” x 6” lumber, rebar, weed fabric, and hand tamper (for gravel subsurface)
Pro Tip: To make purchasing easier, you can get a pre-made court kit that takes all the guesswork out of buying court flooring. This is seriously the easiest way to buy court flooring.
SHOP PRE-MADE COURT FLOORING KITS
Subfloor Preparation for Court Flooring
Before you start laying out court tiles, you need to make sure you’re setting yourself up for success with a properly prepared subfloor. The floor underneath a court must be solid, stable, and level.
Consider these subfloor requirements for indoor and outdoor court flooring.
| Related Content >> Court Flooring FAQ |
Indoor Court Flooring
Most of the time, all you have to do to prep an indoor surface is clean it, make sure it’s dry, and then possibly add rubber underlayment if you want extra impact absorption and bounce.
Indoor court tiles can be installed over any subfloor that is solid and stable, without a lot of give or cushion. Concrete, tile, wood, laminate, and even low pile commercial carpet are all acceptable subfloors. Something like plush, high pile carpet should be removed before installing indoor sport tiles.
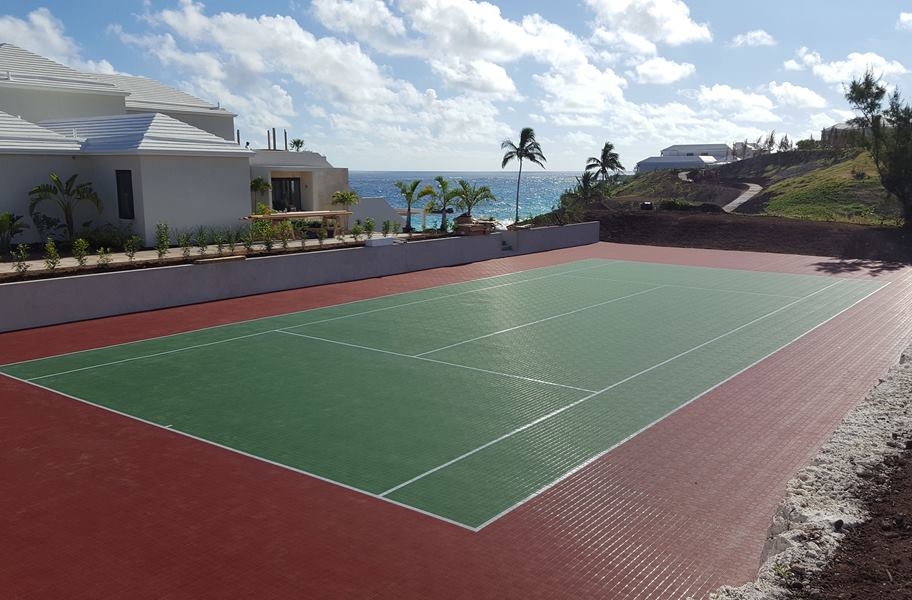
Outdoor Court Flooring
Concrete is an ideal subfloor for court flooring. However, there won’t be a nice, level concrete pad in your backyard 100% of the time, so you might need to put in some prep work before you have the ideal surface to begin court construction. Trust me though, this part is entirely worth it, so don’t cut any corners.
Outdoor Court Flooring Subfloor Conditions
If you do have concrete or asphalt, make sure it is structurally sound before moving forward:
- No cracks should be wider than 1/2″ or the edges of the tiles could get caught
- Ensure that the concrete pad is large enough for you to maintain at least a 3/4” expansion gap around the edges of the court.
No concrete or asphalt? No problem! If you don’t have the budget for concrete right now, you can get the same results with gravel by following these tips:
- First make sure the ground is level enough to provide a stable surface, while still being optimized for proper drainage.
- Layout a containment border along the perimeter of the court area. 4” x 4” or 6” x ”6 lumber is typically the best material for this purpose. You can secure the lumber with a rebar to prevent any shifting in the future.
- Fill the space with compatible gravel until it reaches just over the top of the lumber and then press it down to be level using a hand tamper. Areas with lots of ground moisture may require you to use larger gravel at the bottom before adding the main layer of finer gravel.
- Once the gravel is compact and level, lay weed fabric over the surface and secure it to the lumber on each end. This will discourage the growth of weeds as well as further prevent any gravel from eroding away.
Once the weed fabric is secured, you’re ready to start installing your court tiles!
| Related Content >> Tennis to Pickleball Court Conversion |
How to Install Court Flooring Tiles

Whether you’re installing an indoor court or an outdoor court, the steps are the same.
- Make sure you’re starting with a clean, dry, and level surface.
- Begin at one corner of the court, placing the first tile with the peg sides facing outward, and both looped sides facing inward.
- To connect tiles, insert the pegs into the loops of an adjacent tile, and step down on the connected edges to snap them together.
- Work your way along the perimeter, creating an L shape along two adjacent sides. Leave a 3/4” gap between the tiles and any walls or obstacles, to leave room for expansion and contraction with temperature changes.
- Once two sides of the court are completed, continue to fill in the rest of the area until it is complete.
- If you have also purchased edge pieces, now is the time to install them. To install an edge piece, simply snap the pegs into the loops of the tiles. These pieces also come with attachable loops so you can secure them to the peg edge of a tile if necessary.
Note: Even though our outdoor sports tiles are made from the same plastic as our standard garage tiles, we do not recommend daily driving of a vehicle over them. If a vehicle must drive over the court on a daily basis, we recommend the use of our Vented Grid-Loc Tiles. Vented Grid-Loc tiles in the area where the vehicle will cross. Both our outdoor sports tiles and Vented Grid-Loc tiles will interlock with each other.
How to Cut Court Tiles
When you come up to an edge, wall or object, it’s easy to cut court tiles to fit. Just measure the area and cut the tiles with a tile cutter or table saw.
When trimming the tiles into place, make sure you leave about a 3/4” space between the tiles and the outside of the court or near a wall to allow for expansion and contraction of the floor.
And there you have it! That’s how to install outdoor court flooring!
How to Install Court Flooring Planks

Note: These steps work with our two hardwood court planks from Junckers, Truplay Sports System and Trufit Hardwood System.
- Make sure the subfloor is level, clean, and dry. Install a vapor barrier if the installation area is at or below ground level.
- If recommended by the manufacturer, roll out a sports foam support layer perpendicular to the planned direction of the planks, and tape the rolls together.
- Begin installation by laying the planks face-down on the foam, parallel to the longest side of the room. Carefully hammer the included clips into the holes on the bottoms of the planks. These clips will connect to adjacent planks along the length of each plank.
- To connect the tongue and groove head joints of each plank, use adhesive in the joints. Stagger the plank head joints in a random pattern, leaving at least 18” between each joint on 6’ planks, and 30” of space on 12’ length planks.
- As you install, use spacers around the edges of the room to ensure the proper amount of space for expansion. For every 10’ of width, add ¼” to the expansion gap on both sides.
- The very last row of planks should be glued to the adjacent row along the length. No other rows should be glued together along the length.
- Finally, remove the spacers around the edges of the floor and install the trim and transition strips.
Painting Game Lines on Your Court
Make sure when applying painted game lines that you use painter’s tape or 3M 2060 tape to outline the lines that need to be painted. For painted game lines, you will want to use two-part polyurethane paint. These kits include everything you’ll need to make crisp, professional lines on your court.
| Related Content >> Outdoor Flooring Options |
Conclusion

Installing court flooring in your backyard is an easy way to bring more opportunities for fun and physical activity into your life. It’s so easy to install and maintain that you’ll be wondering why you didn’t do this sooner. So, are you ready to start playing?
Chelsi Hewitt is a Phoenix-area content marketing professional. She joined Flooring Inc. to teach people about flooring, interior design, home trends, and more.
Premium Indoor Sports Tiles
Since its conception, our Premium Indoor Sports Tiles have been used in the harshest environments to provide an easy to install, low-maintenance, flooring solution for multi-purpose areas. A 10-year warranty backs These sports floor tiles and offers excellent traction and comfort.
Shop Now >>
Indoor Sports Tiles
Indoor Sports tiles have been designed to be a primarily indoor court tile for basketball courts, badminton courts, and shuffleboards just to name a few. These tiles come in various colors that can be mixed to create many unique patterns and designs and can be painted to create the custom court of choice.
Shop Now >>
Premium Pickleball Court Kit
Pickleball has been called the sport for all ages, and if you have ever played it, it is. With pickleball courts replacing tennis courts all over the US, this sport is certain to become mainstream in no time.
Shop Now >>
Premium Outdoor Sports Tiles
Finally, a court tile that has the fortitude to handle your skills. Our Premium Outdoor Sports Tiles are designed with precise vents for supreme traction making them ideal for indoor or outdoor use.
Shop Now >>
ProGame Sports Tiles
ProGame Sports Tiles are the perfect outdoor court tile when you need a seamless surface for your court. These non-slip tiles are designed for basketball courts, tennis courts, and many other sport-courts and also come with a gripped surface to keep your movements sharp, even on a wet day.
Shop Now >>
