

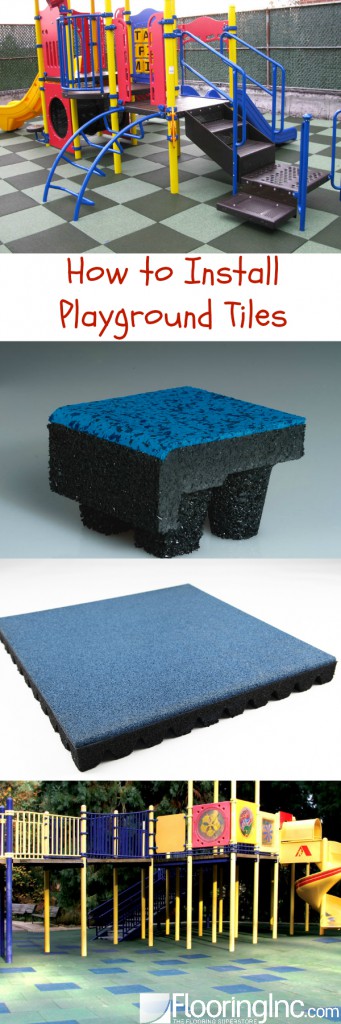
How to Install Playground Tiles
How to Install Playground Tiles
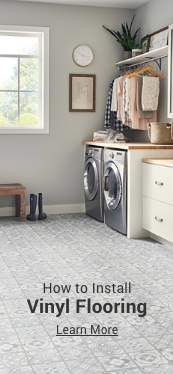
Playground tiles are great for the backyard and easy to maintain. With this great instructional video, we’ll show you how to install playground tiles, and also, how they are cleaned and maintained.
**Looking for more info on playground flooring? Learn about installation and much more in our comprehensive Playground Flooring post.**
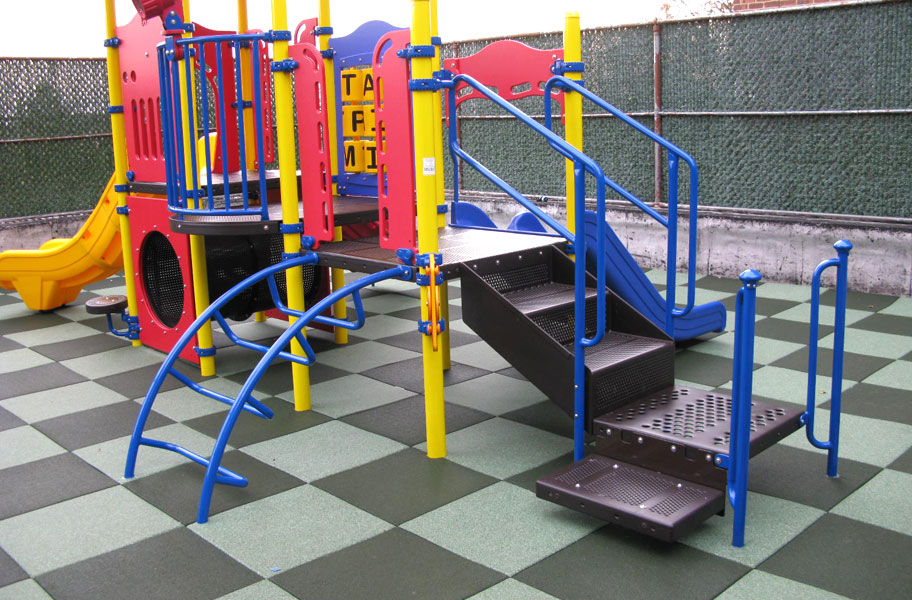
Whether you’re starting a new daycare. or just looking for a way to incorporate a play area in your backyard, playground tiles are a great option. Soft, cushiony, and easy to clean, so you can focus on playing with the little ones rather than worrying about them falling on concrete, or spending your time scrubbing the floor.
If you’re anything like me, the idea of ordering something off the internet and then having to install it yourself can seem super intimidating, but times are a changin’, and we’re making it easy for you to complete your at-home installation.

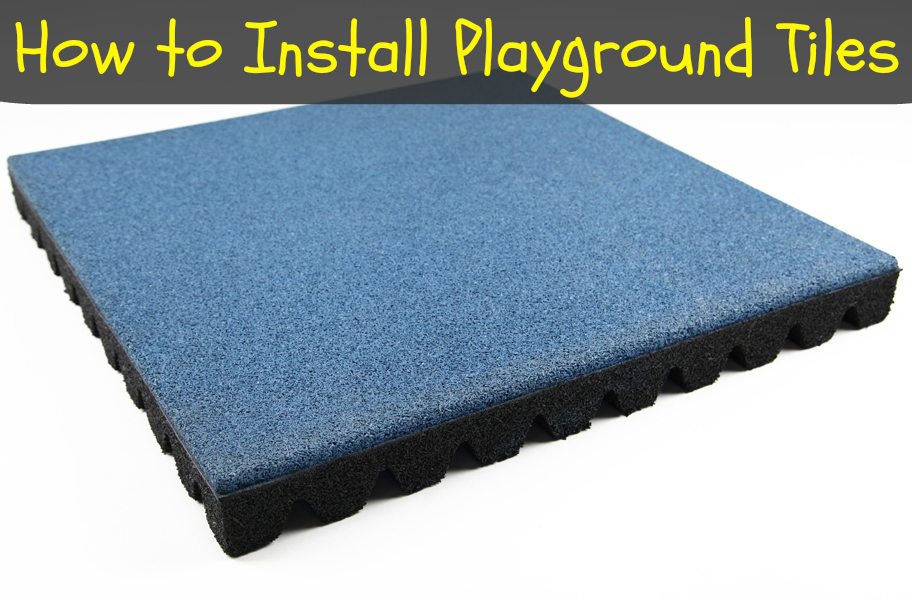
What you need to install playground tiles:
- Utility knife
- Old bread knife
- T Square / Straight Edge
How to install playground tiles:
- Remove everything from your area. Clean and level the ground floor.
- Add a layer of landscaping fabric.
- Start the first row at a wall, then line a row perpendicular. Use your knife to trim excess tile.
- Use connecting blocks to lock tiles together.
- Fill in remaining tiles and lock together.
- Add ramps and glue, if desired.
You can easily follow along with this step-by-step instructional video.
Ready to get started? You can choose from Jamboree Playground Tiles, Jamboree Playground Tiles Designer Series, or Rebound Playground Tiles. Order some free samples of each to see what you like, then let the fun begin!
Ari Ziskin is our resident expert in all things fitness, dance and flooring trends. After five years of blogging at Ari’s Menu, where she was featured on sites like The Huffington Post and Buzzfeed, Ari decided to pursue writing full-time. Nothing makes her happier than sharing her knowledge to help people create their gyms and begin their fitness journey.

