


How to Install Garage Tiles
Ready to start your own personal garage shop or man cave? Start from the ground up and learn how to install garage tiles in 5 easy steps!
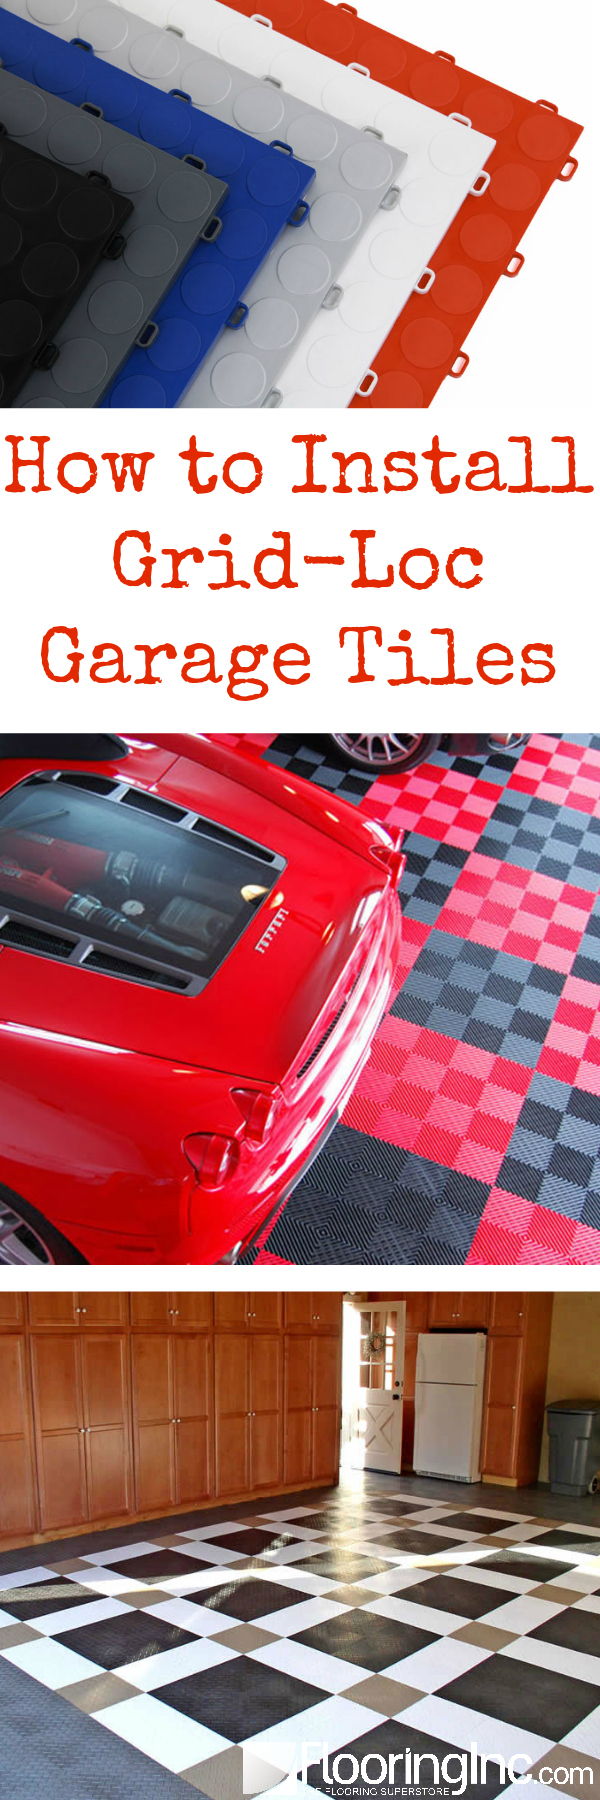
Looking to update your garage to get that chic shop look you’ve always wanted? That’s our specialty! You won’t believe how easy and affordable garage flooring can be. These babies are built to carry the weight of cars, tools and a number of people hanging around working on them. They’re easy to clean, resistant to mold, mildew and stains, and even most household chemicals! They are so popular, many customers use them outside of the garage in basements and trade shows. In case you’re intimidated about installing on your own, we’ve put together this step-by-step tutorial and video with our grid-loc tile to help get you started.
Related content –> Garage Flooring Buyer’s Guide
To install the tiles:
- Move everything from the area and clean the floor surface.
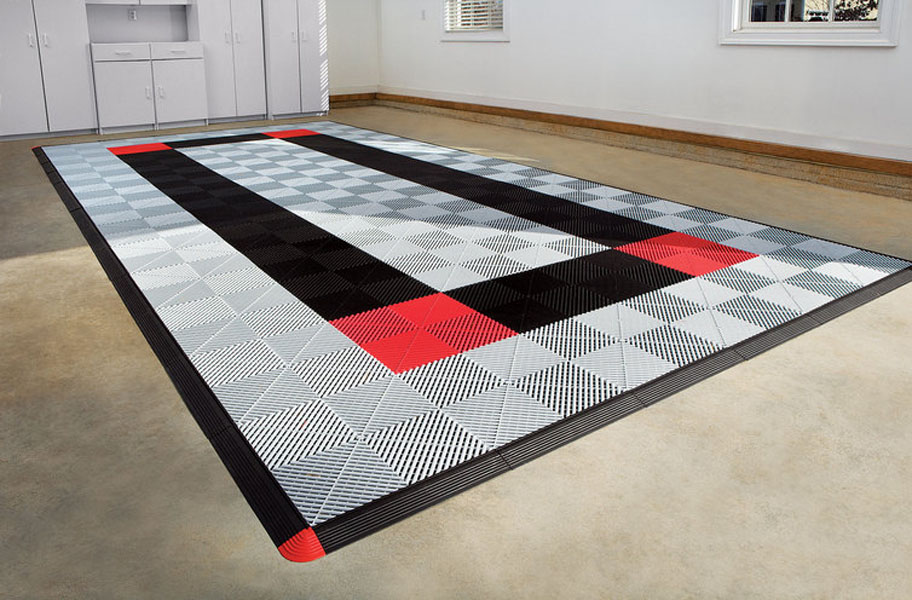
- Begin in the front left corner. Place tiles with female hooks facing away from the garage door and the wall you started next to.
- Work outward from left corner hooking tiles together to line the perimeter of the room. Fill in the middle with remaining tiles.
- When you reach a wall or obstruction, measure the tile and trim to fit with a sheer or saw.
- Leave 1/2″ between tiles and wall to allow for expansion/contraction.
- Enjoy! Drive around, Man Cave it up, fix up that old car, etc.
Order your free samples today to see how these babies will look in your garage! For more helpful DIY videos, make sure you subscribe to our YouTube channel.
Ari Ziskin is our resident expert in all things fitness, dance and flooring trends. After five years of blogging at Ari’s Menu, where she was featured on sites like The Huffington Post and Buzzfeed, Ari decided to pursue writing full-time. Nothing makes her happier than sharing her knowledge to help people create their gyms and begin their fitness journey.

